A little back story on my truck:
At the end of 2019, I bought a Toyota 4runner. One of my best friends, Alex, has a 4runner and I was always impressed with its capabilities and I thought it was a cool project vehicle. When another friend of mine was selling his for a good price and I couldn’t pass it up.
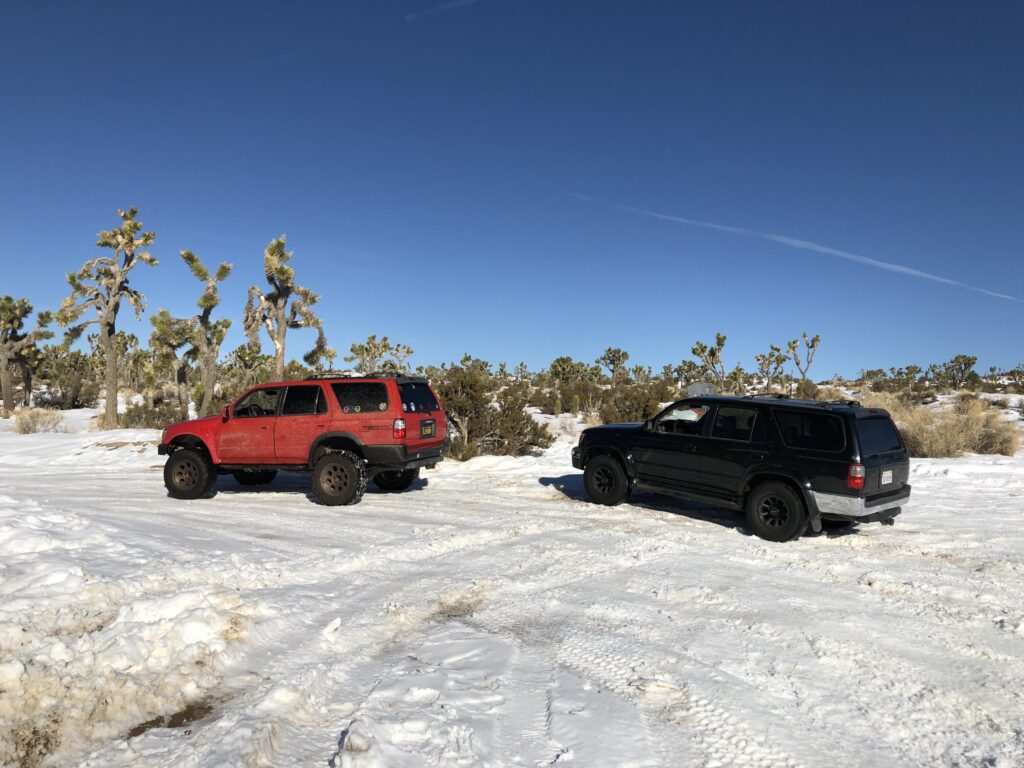
The first trip was on New Years Day when Alex and I went the backway to Big Bear from Yucca Valley, CA. It snowed earlier in the week and the trail was still 90% covered. With the tires aired down to 18 psi, there was a surprising amount of traction.
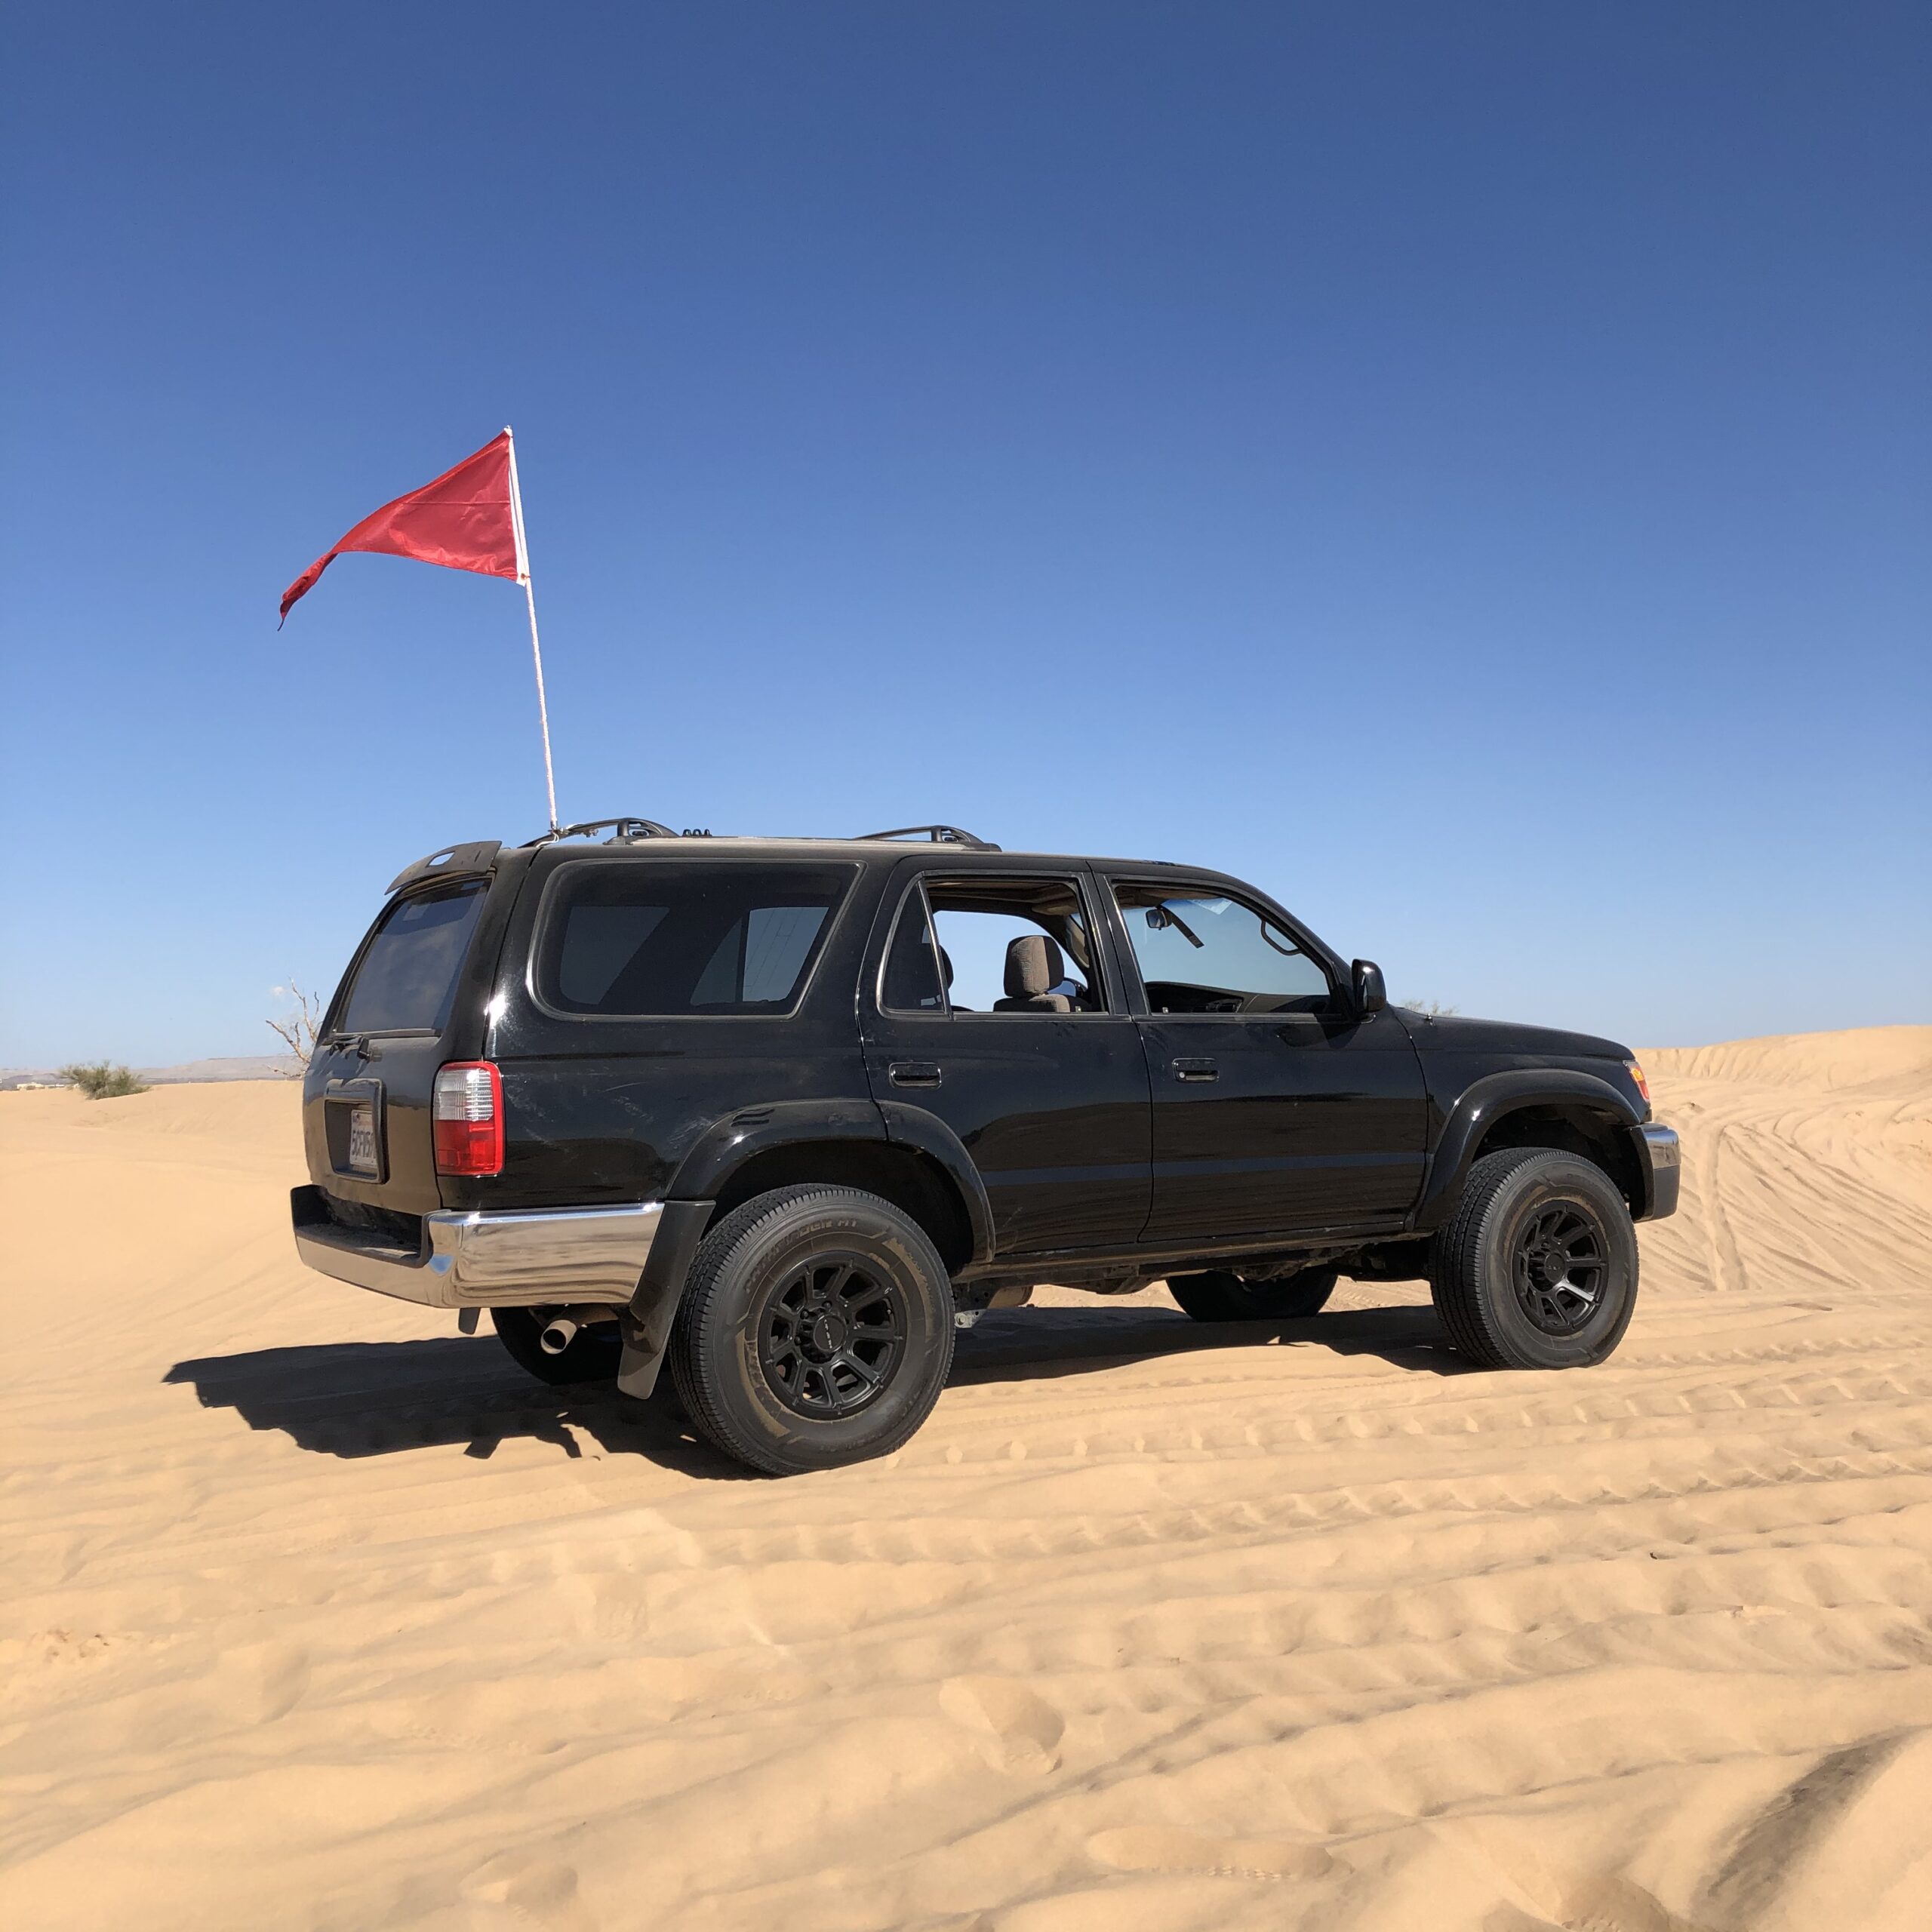
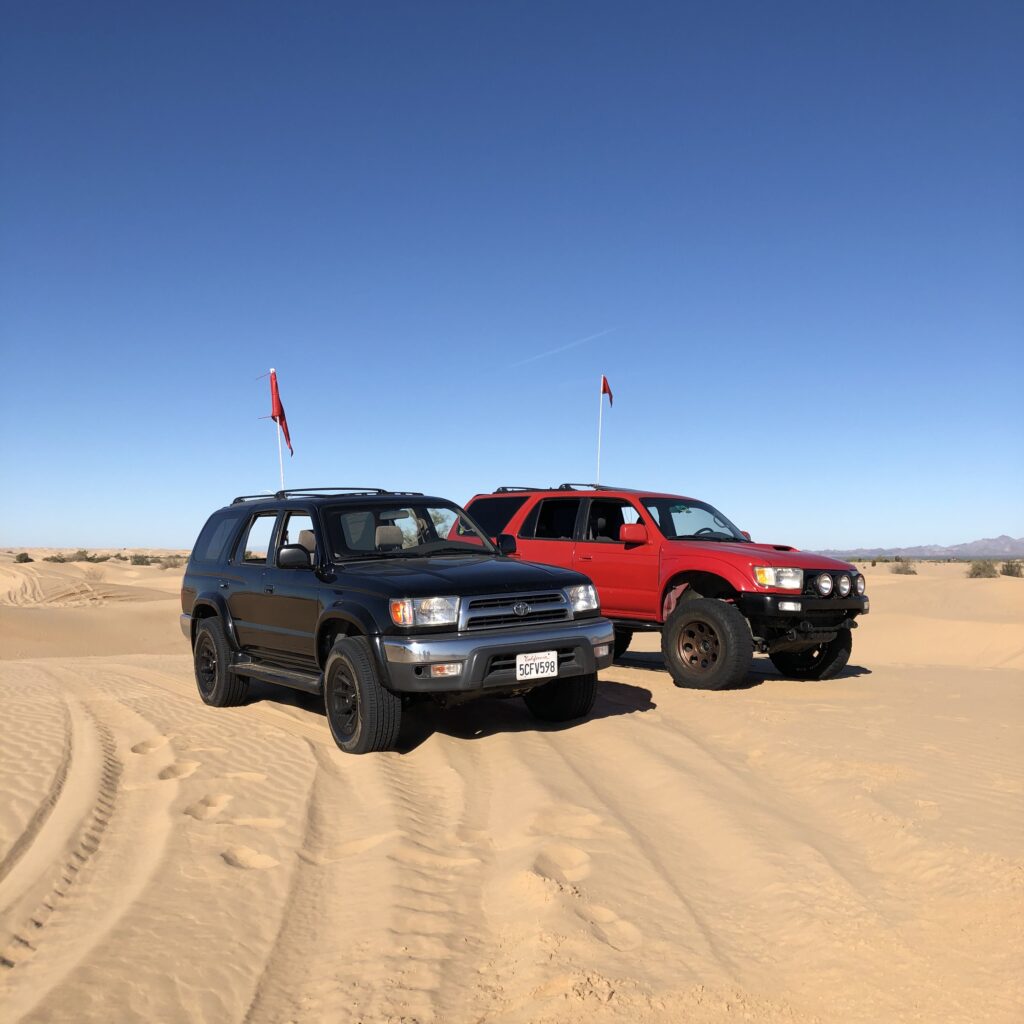
A few weeks later we went to Glamis. The sand dunes are more my speed. I’ve been going to Glamis since I was a little kid and was excited to see how my truck would get around. This was also the first time Alex would see Glamis with his truck so I was excited for how this was going to play out.
I was really happy with how my truck did. I aired down to 15 psi and not once did I feel I was going to get stuck. My good friend and co-worker, Allen went with us and rode shotgun most of the weekend. This was his first time in Glamis and He was impressed with the 4runner.
I led a ride from camp in Glamis Flats to Oldsmobile Hill through the dunes. There were a couple of times where I had to hit the transitions very aggressively in order to have enough momentum to make it onto the next dune. Other than the sound of the front tires rubbing the fender flares the truck seemed fine.
Once we got to the hill I made a few attempts to climb it. The first couple I went easy through the whoops at the bottom and made it only a short distance before getting stuck and having to turn down. I look at Allen and say “One more, and If it dies – it dies..”

There is a video somewhere of my truck doing what seemed to be wheelies as the front end was jumping off of the ground after each whoop. We ended up making it to the crest of the hill before wheel hoping and I turned down before I lost all of my speed. I tell Allen, “We made our point!” I felt accomplished.
Fast Forward a week or so…
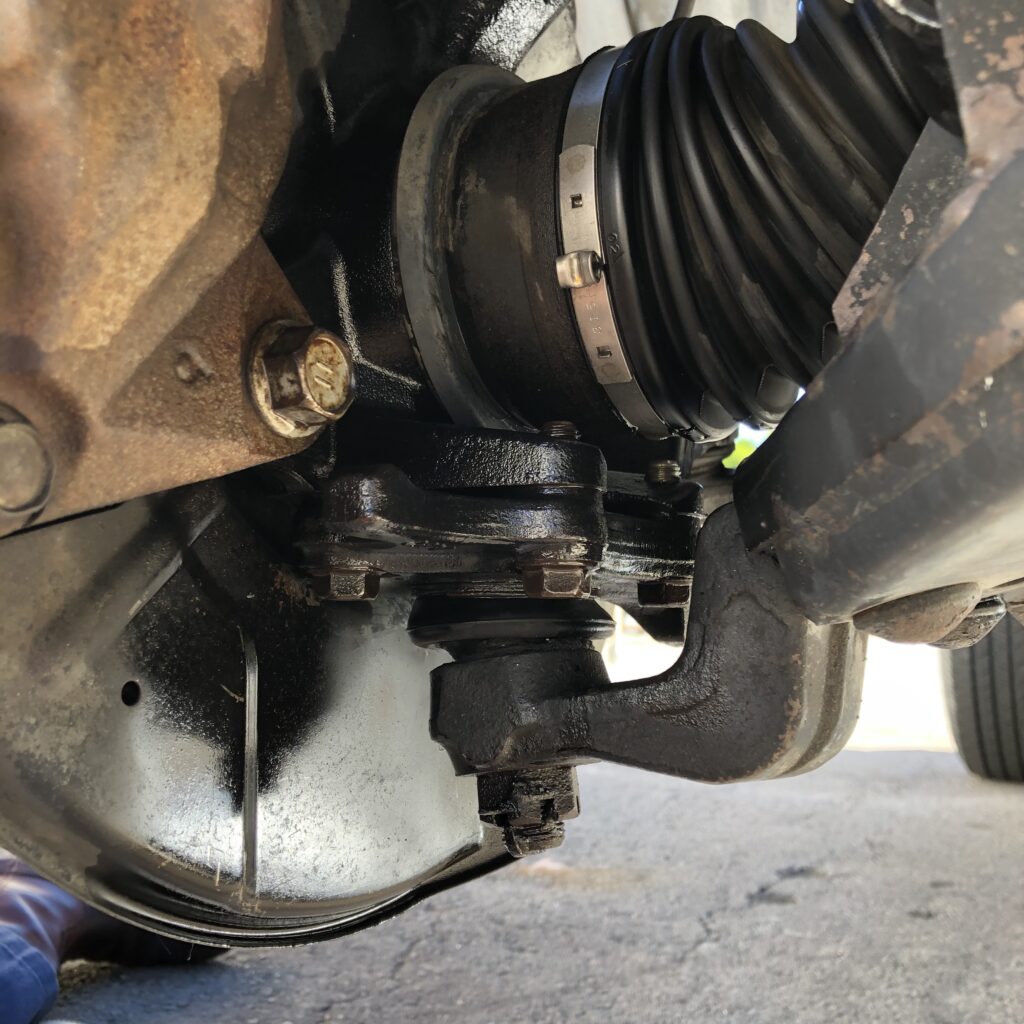
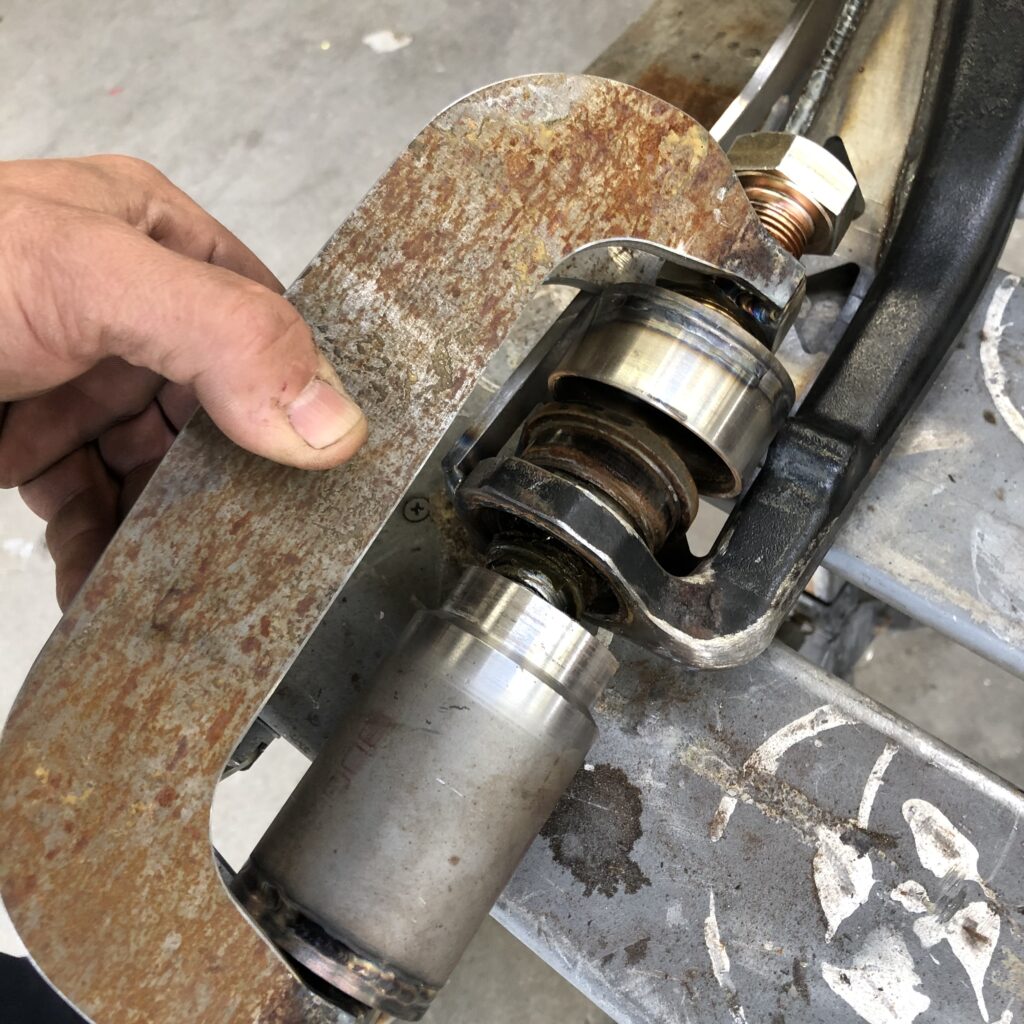
I’m perusing 4Runner group pages on Facebook. I see a guy post a photo with the caption, “Broke another LBJ on 2N02.” That’s the same trail from Yucca to Big Bear we went up. LBJ = Lower ball joint and why “another” – How many times can something fail to where you run over your own detached wheel.

This isn’t the same photo but the same type of damage. Come to find out this is a bit of a known issue with these types of trucks and especially when offroading with worn-out lower ball joints or cheap aftermarket replacements.
Then I thought about how hard I beat on my truck: Slamming into some harsh transitions in the dunes and sending it through the whoops. I have no reason to think the ball joints on my truck have ever been replaced and it has almost 220,000 miles on it so I could have easily been one of these guys. And my comment “If it dies, It dies.” For that, It should of broke.
I got away with it one time but now I know better. I’ve seen the photos and read through the comments about how this isn’t an uncommon failure. Below, I have detailed the modifications I made to the front suspension and steering on my 4Runner, cheers!
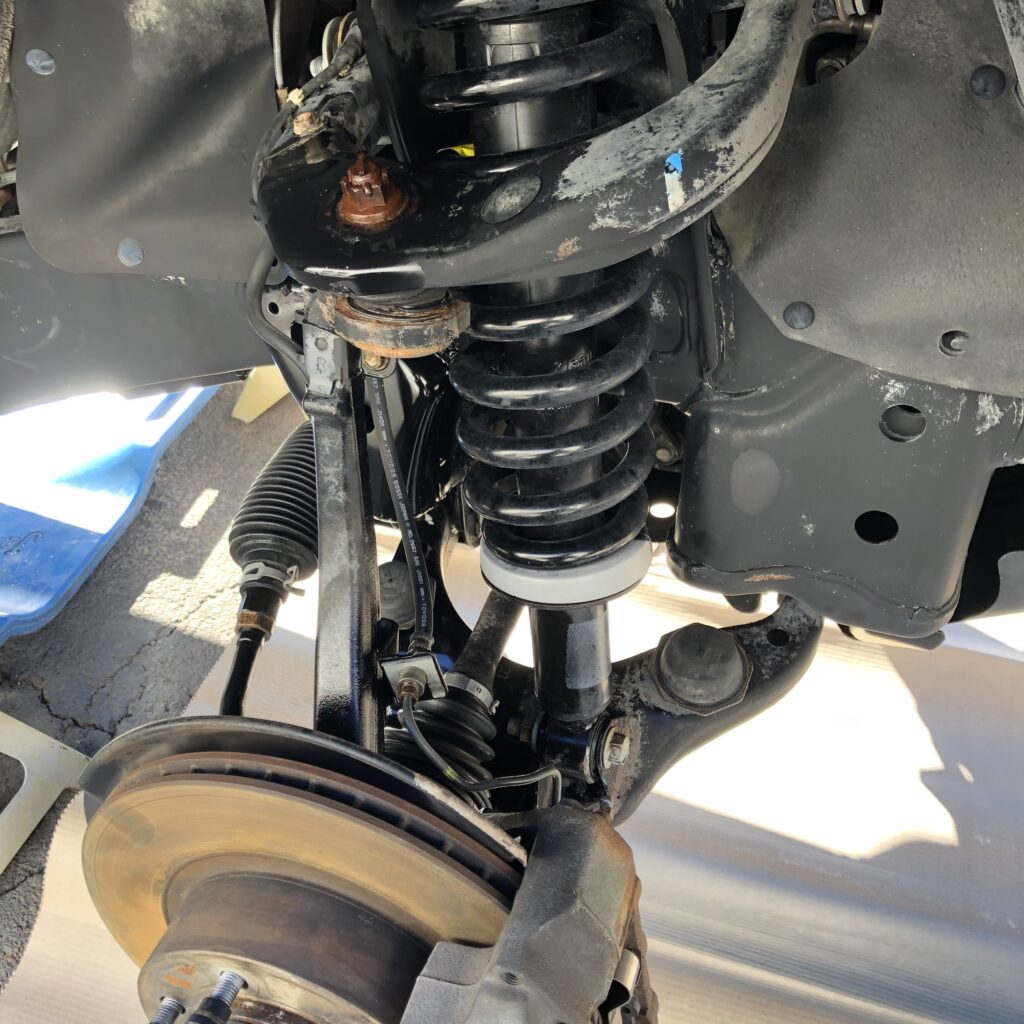
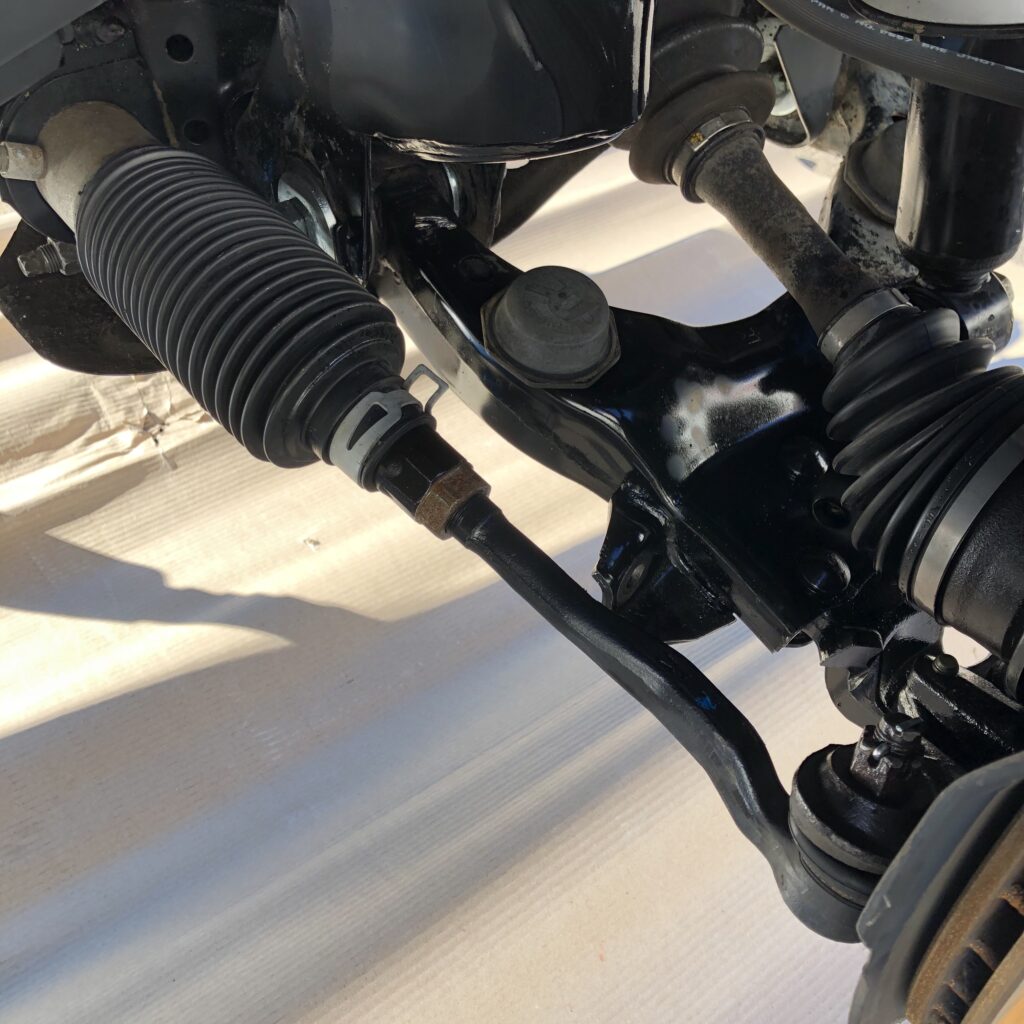
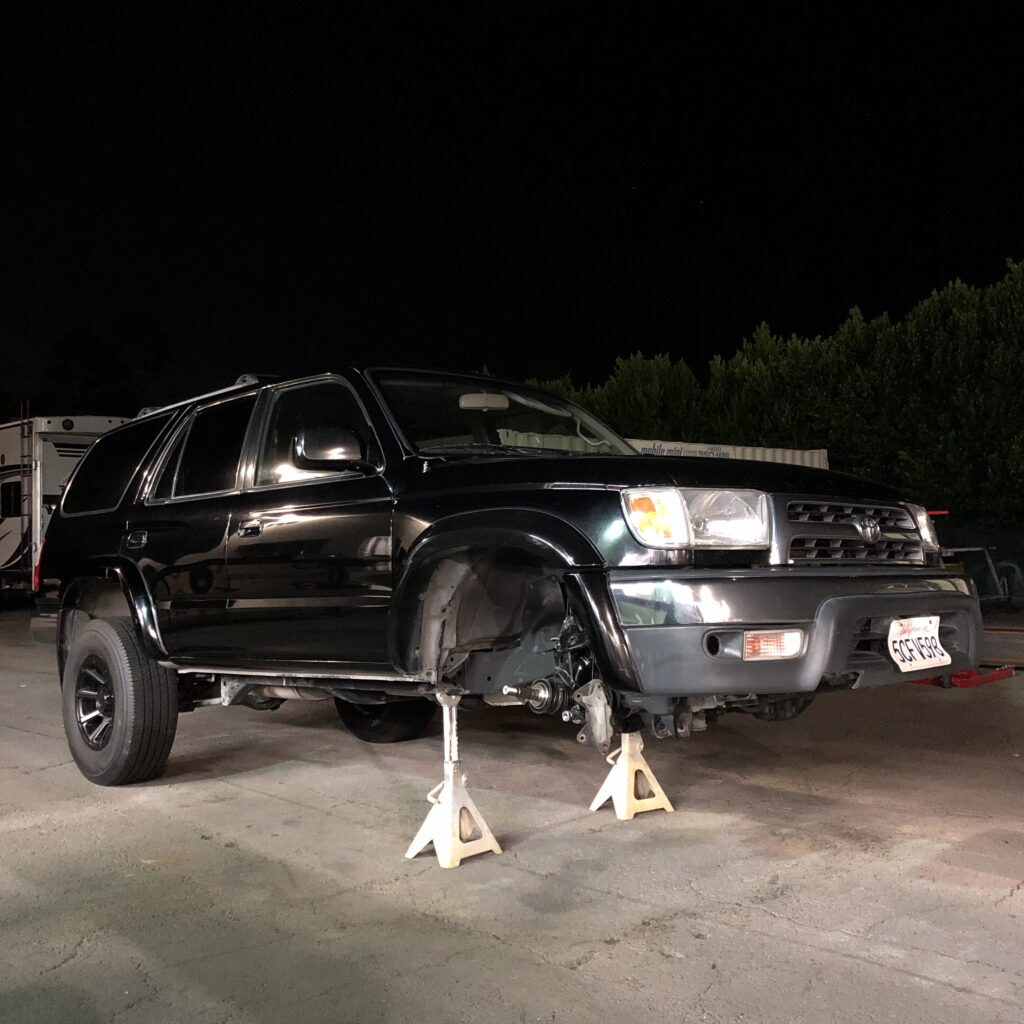
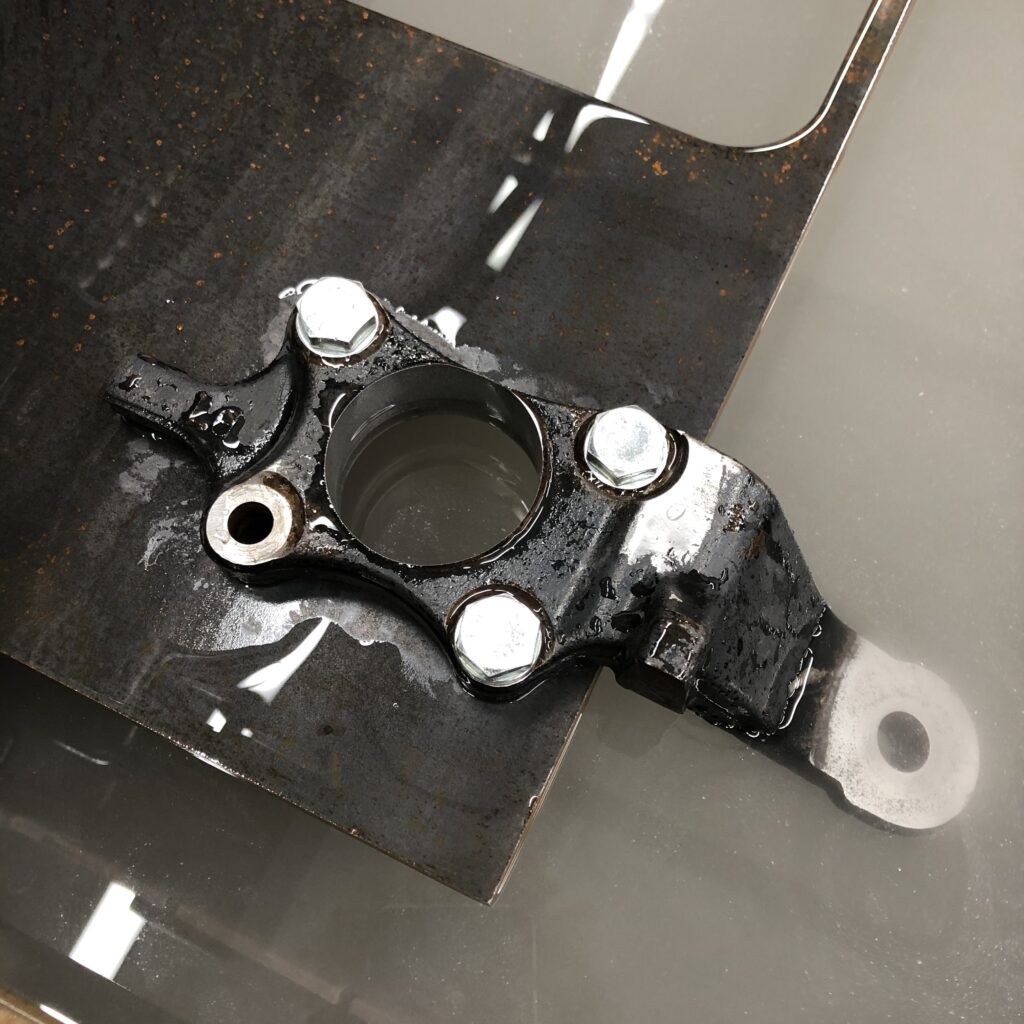
Before: All of the stock components, ball joints, etc.

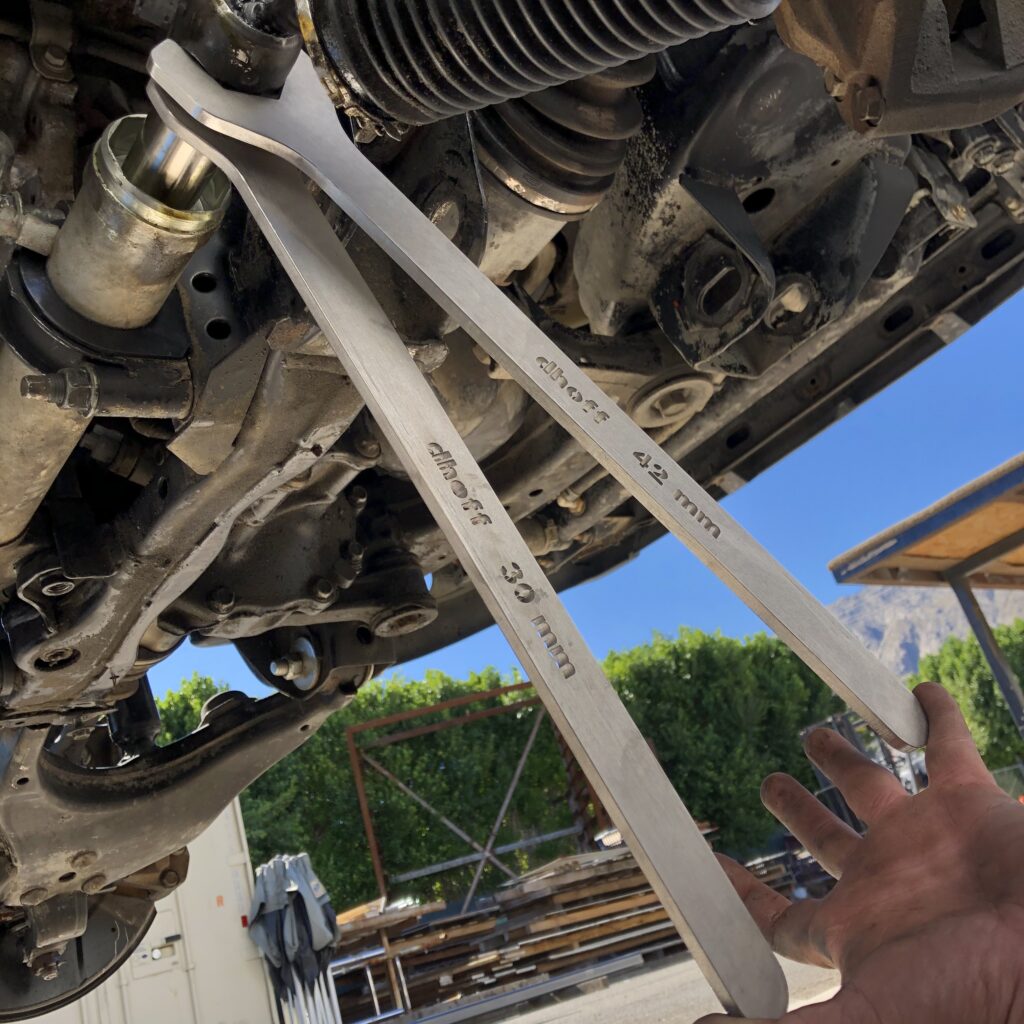
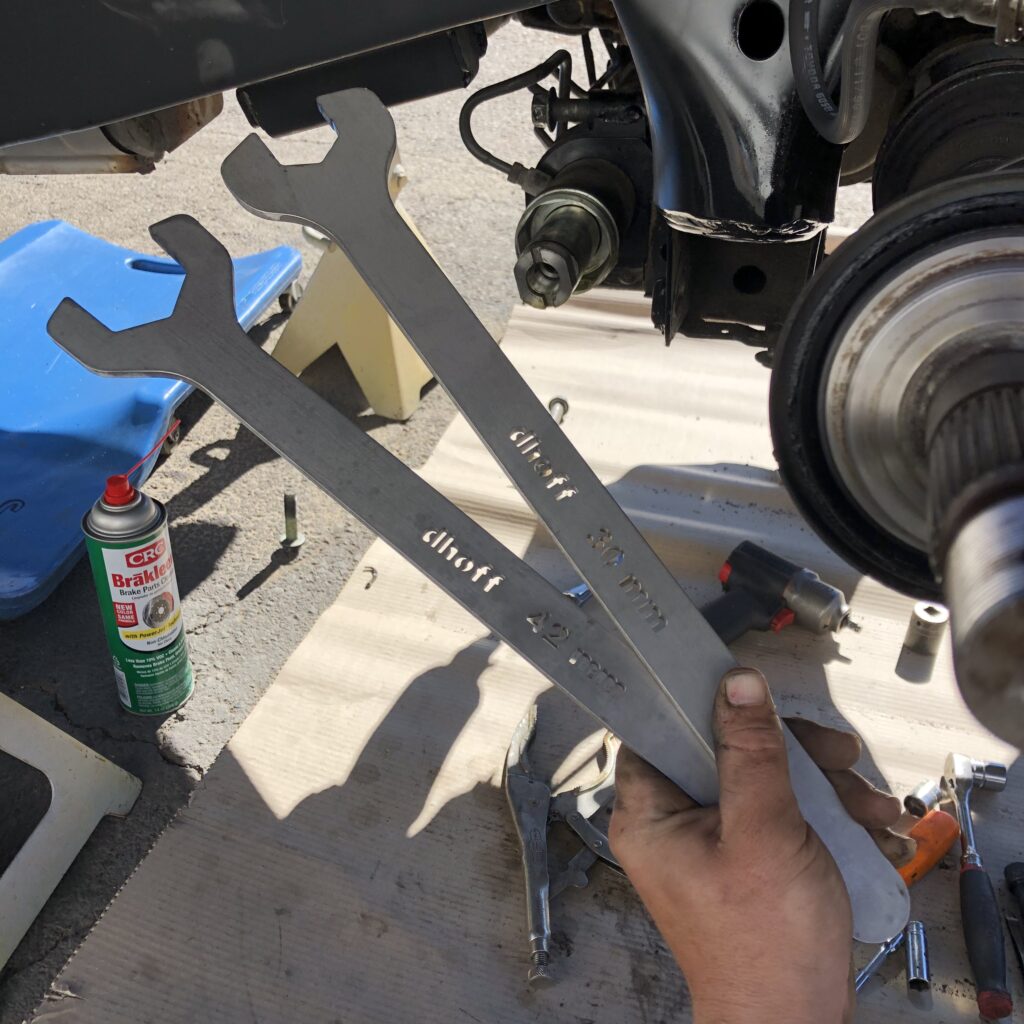
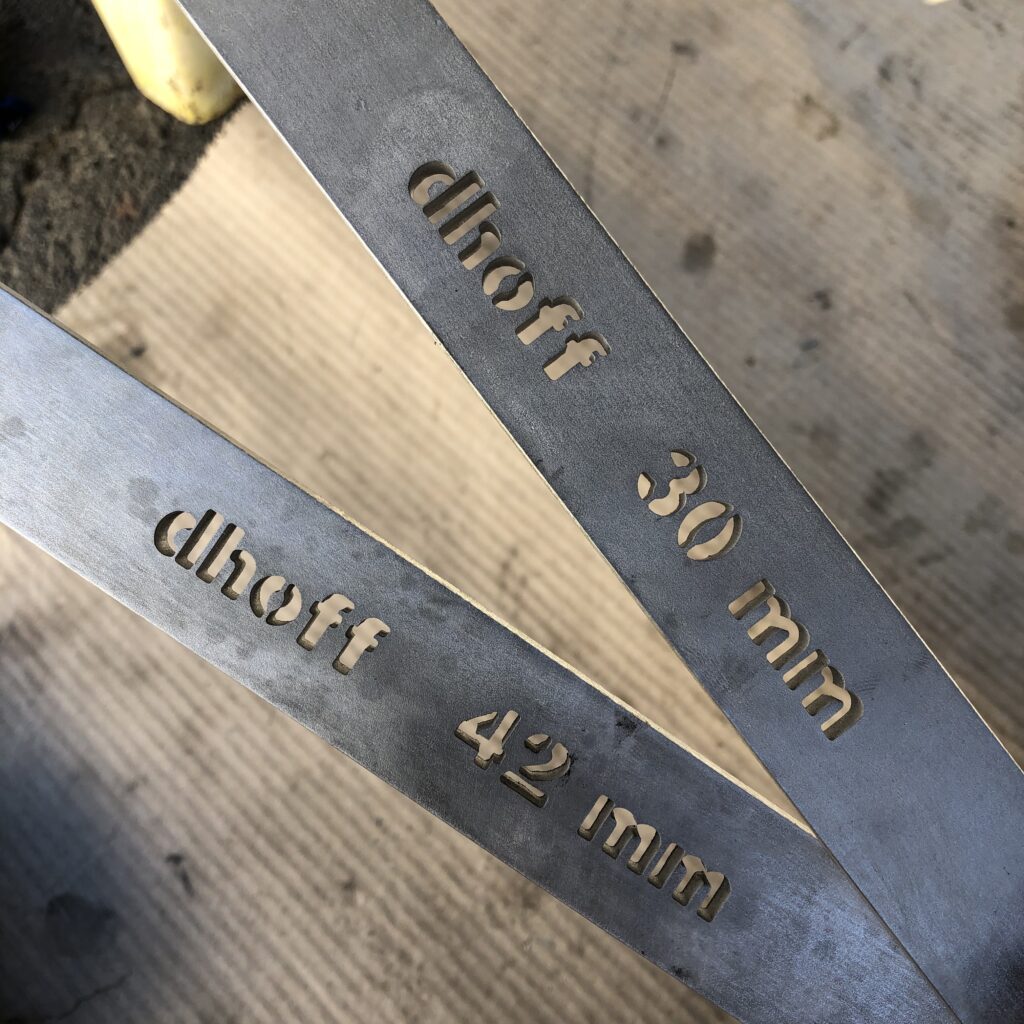
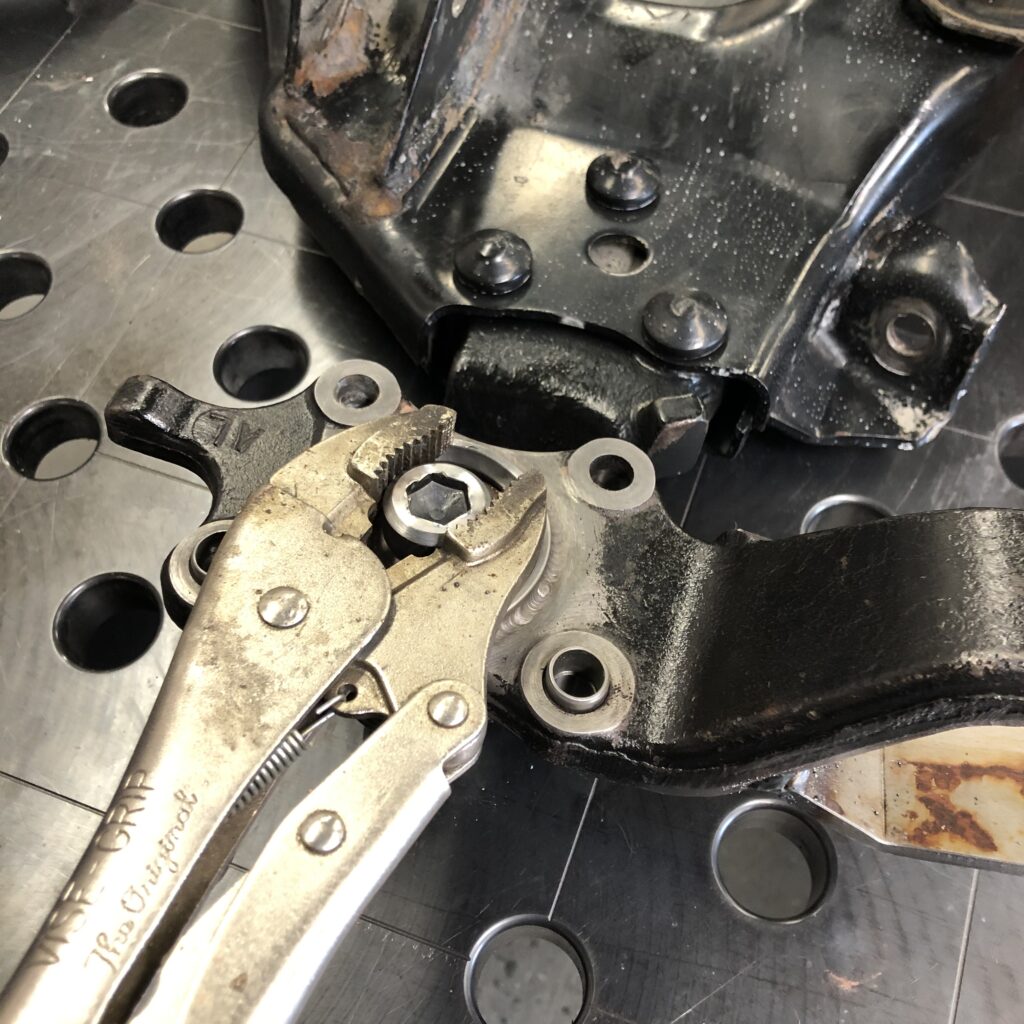
While taking the front end apart, I ran into an issue with the inner tie rod ball joint. I didn’t have slim wrenches to fit onto the narrow flats on the steering rack and ball joint. I ended up cutting my own out of .250″ stainless steel and was able to break them loose.
I spent almost 6 hours trying to pull one side apart between finding/making tools, figuring it out, cussing, etc. The other side, 45 minutes.
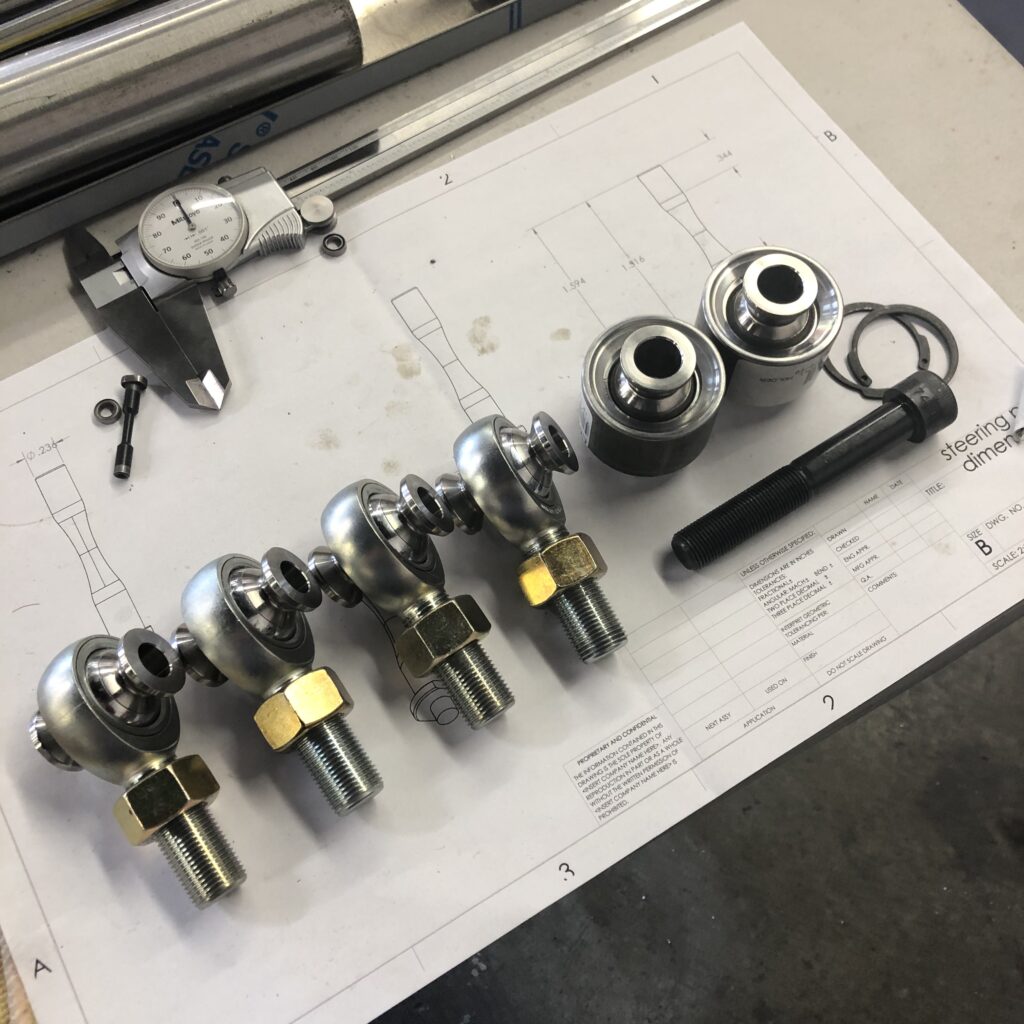
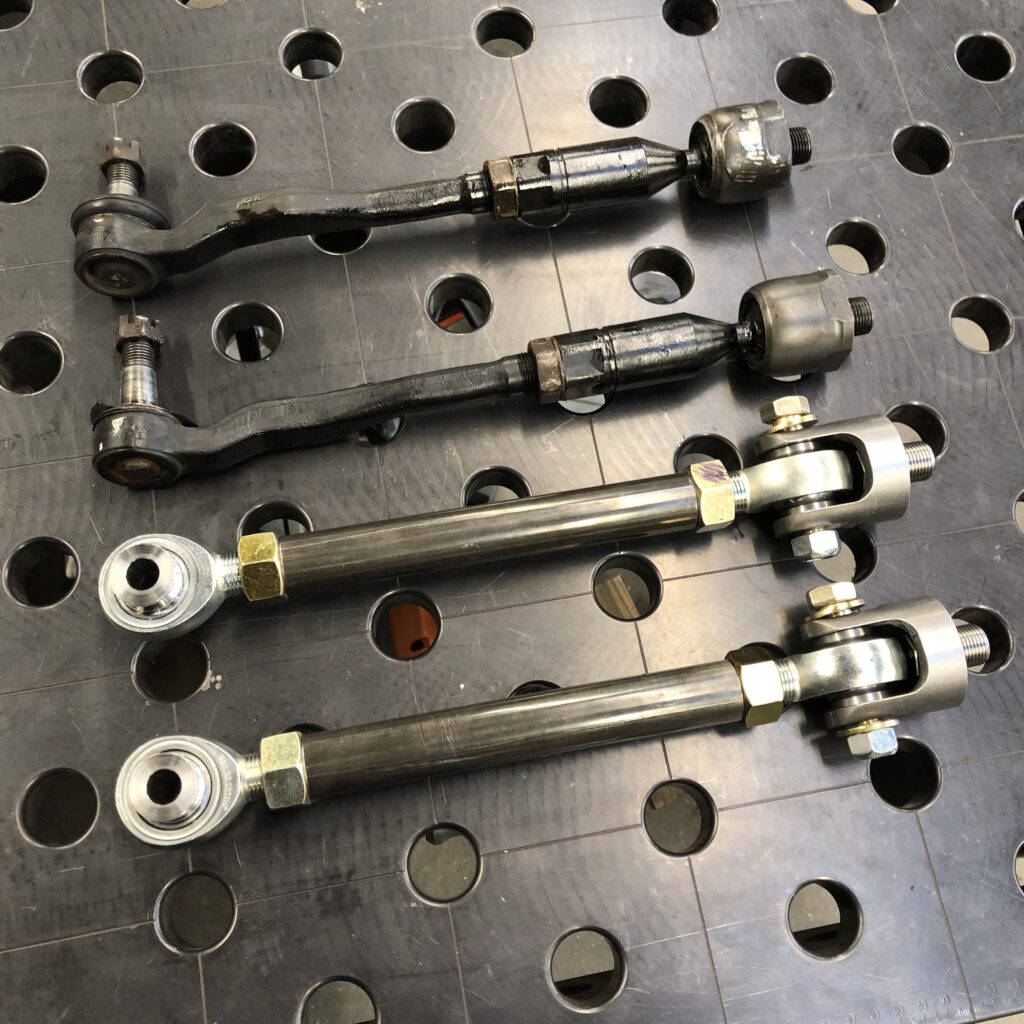
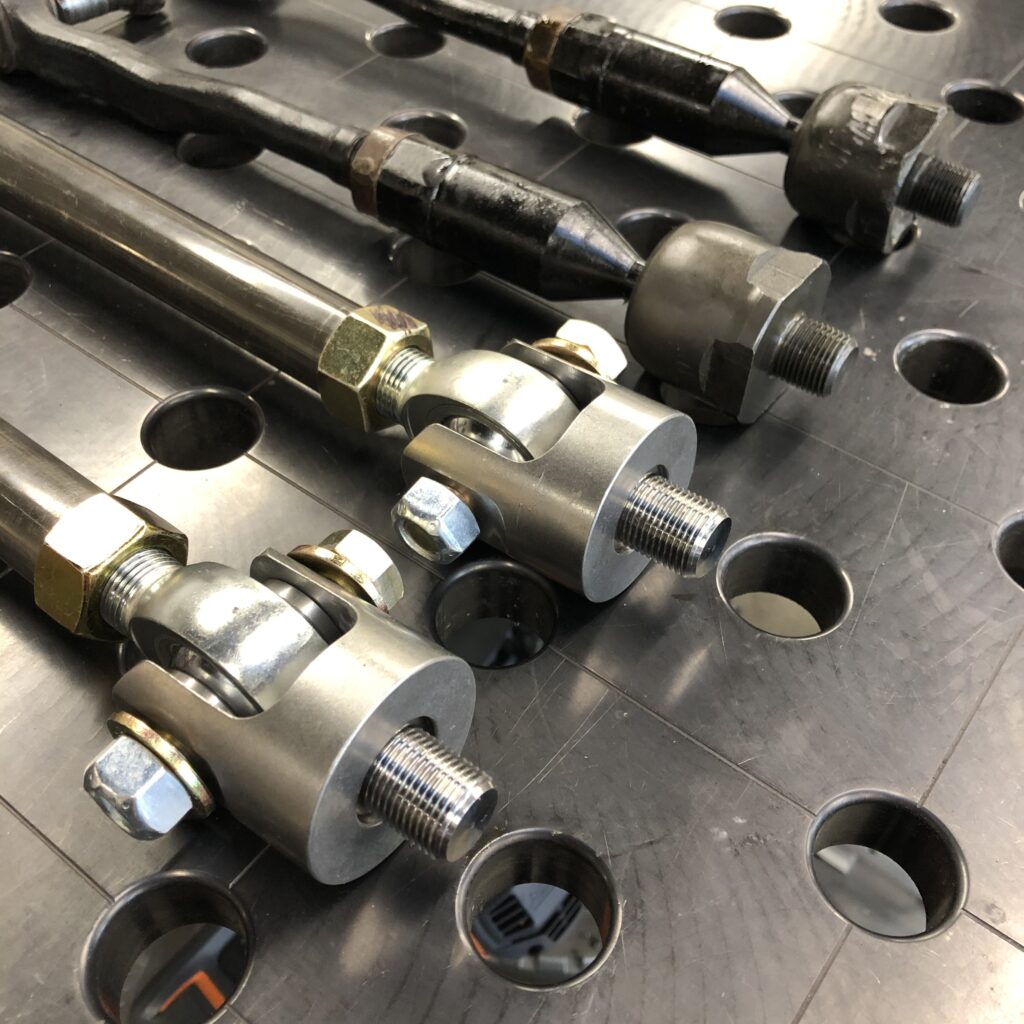
FK Rod Ends 3/4″ heim joints for steering and 7/8′ uniballs to replace the stock LBJ’s.
Stainless steel clevis I got from Camburg. These attach to the end of the steering rack and give a good connection for the heim joint. Very nice parts.
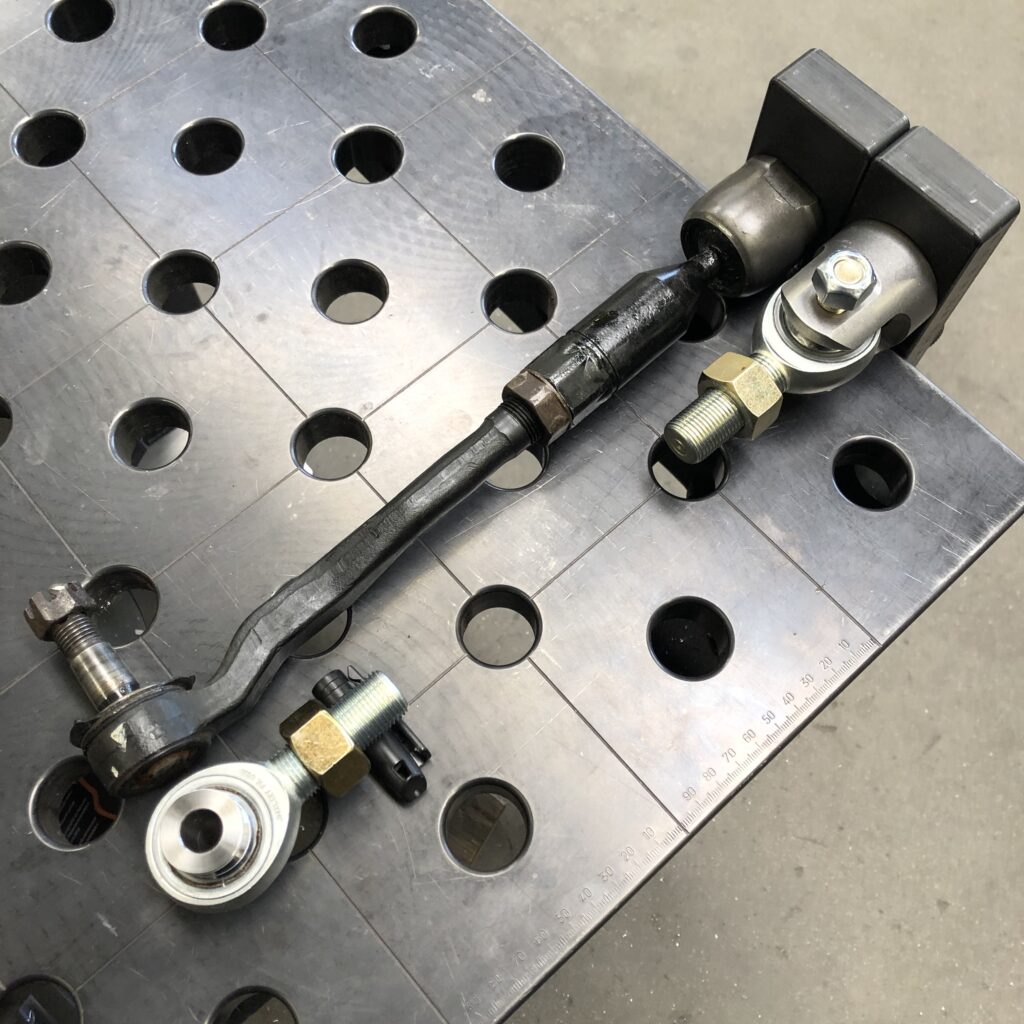
Figuring out the length of the new tie rod.
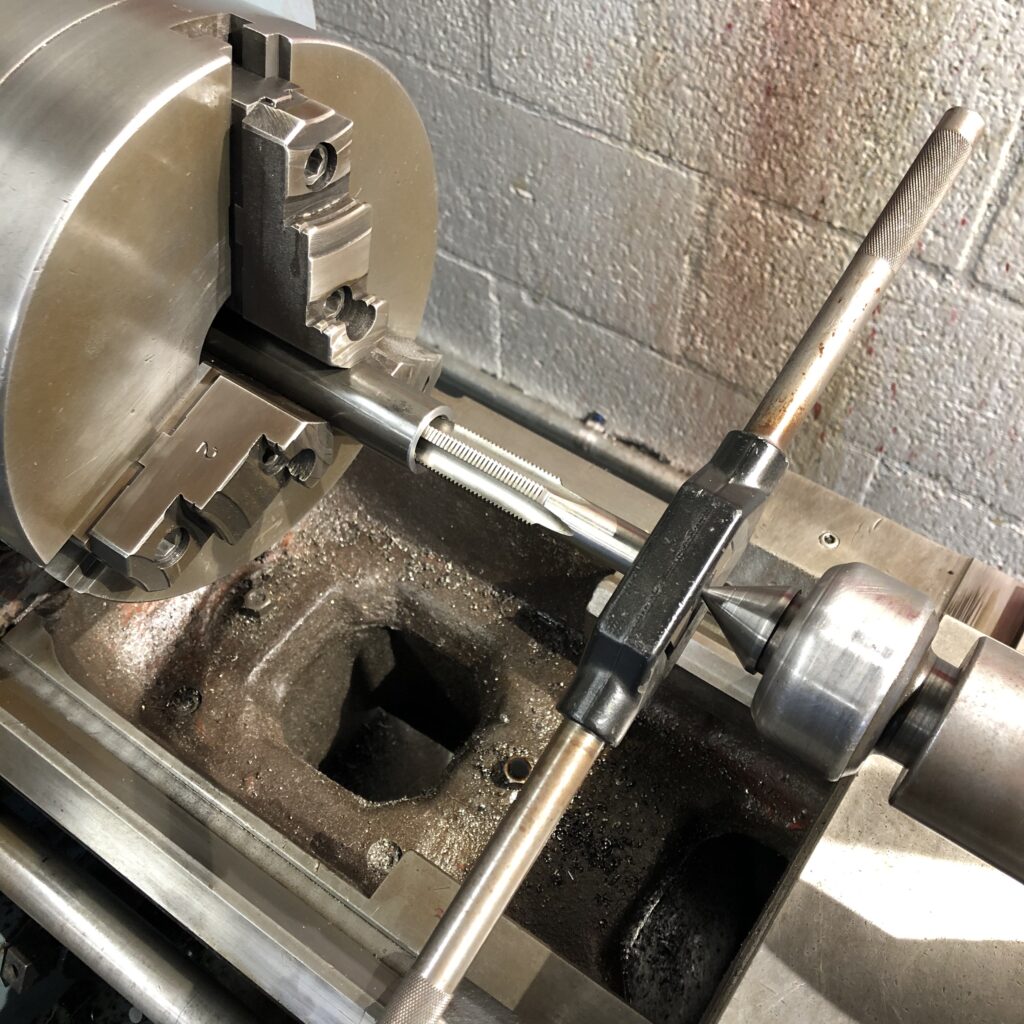
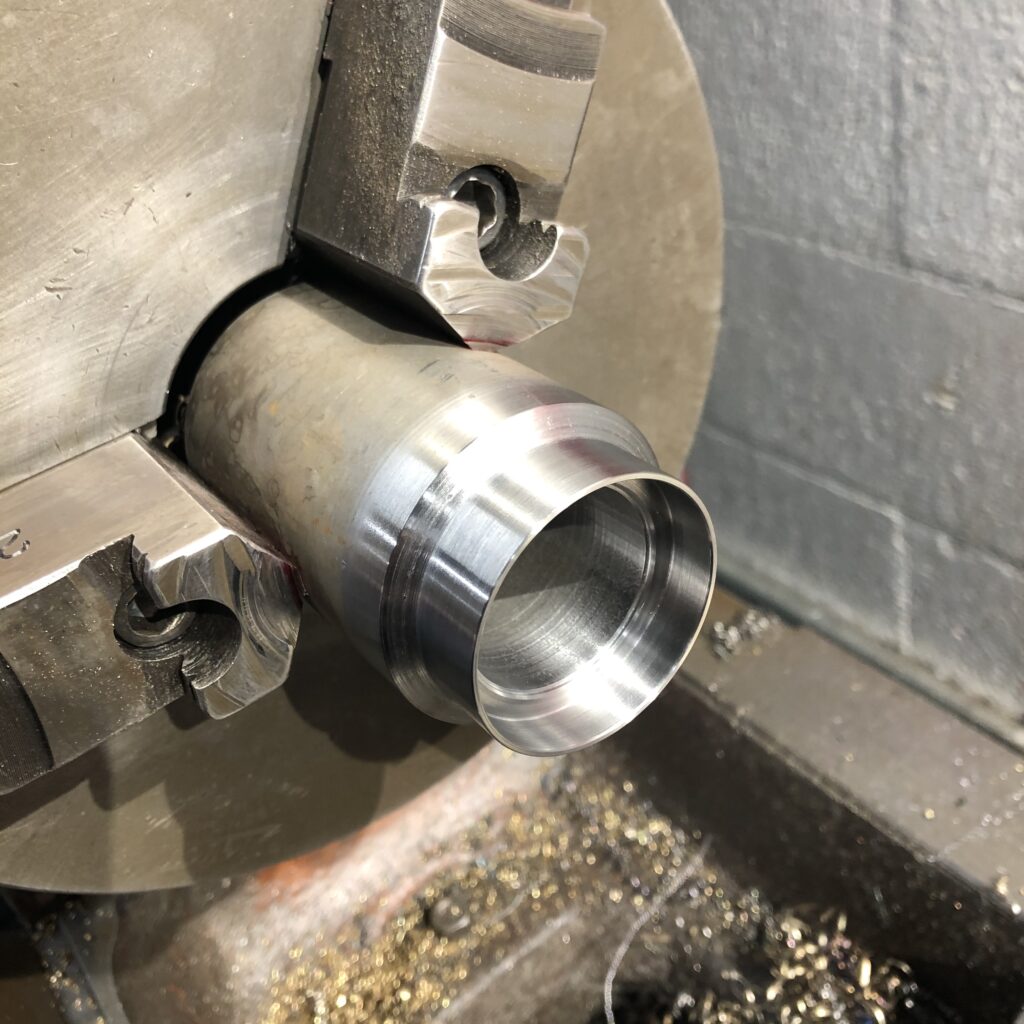
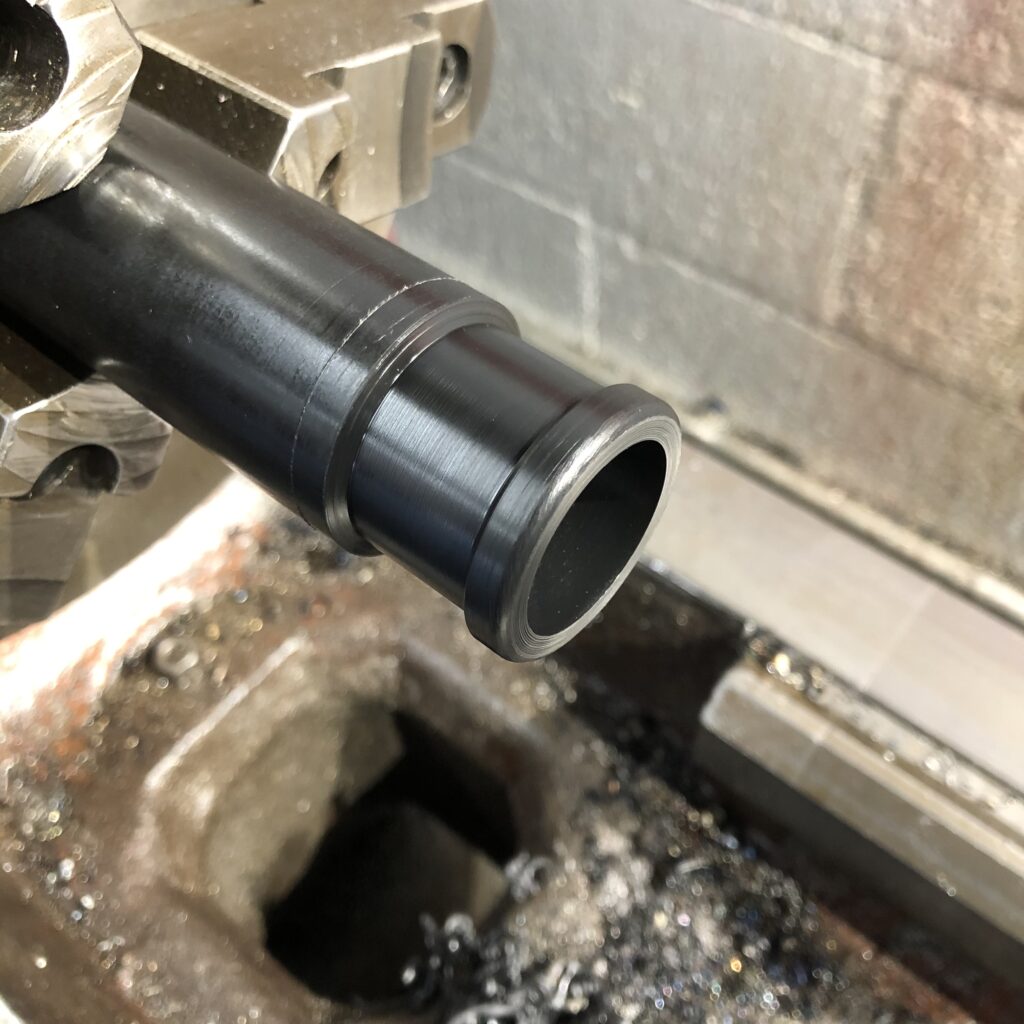
Threading the Chromolly tube in the lathe. One end gets standard threads, the other left hand.
Later on, I added a hex to the OD of the tierod to give an easy hold while tightening the jam nuts. You’ll see.
Onto the lower ball joints.
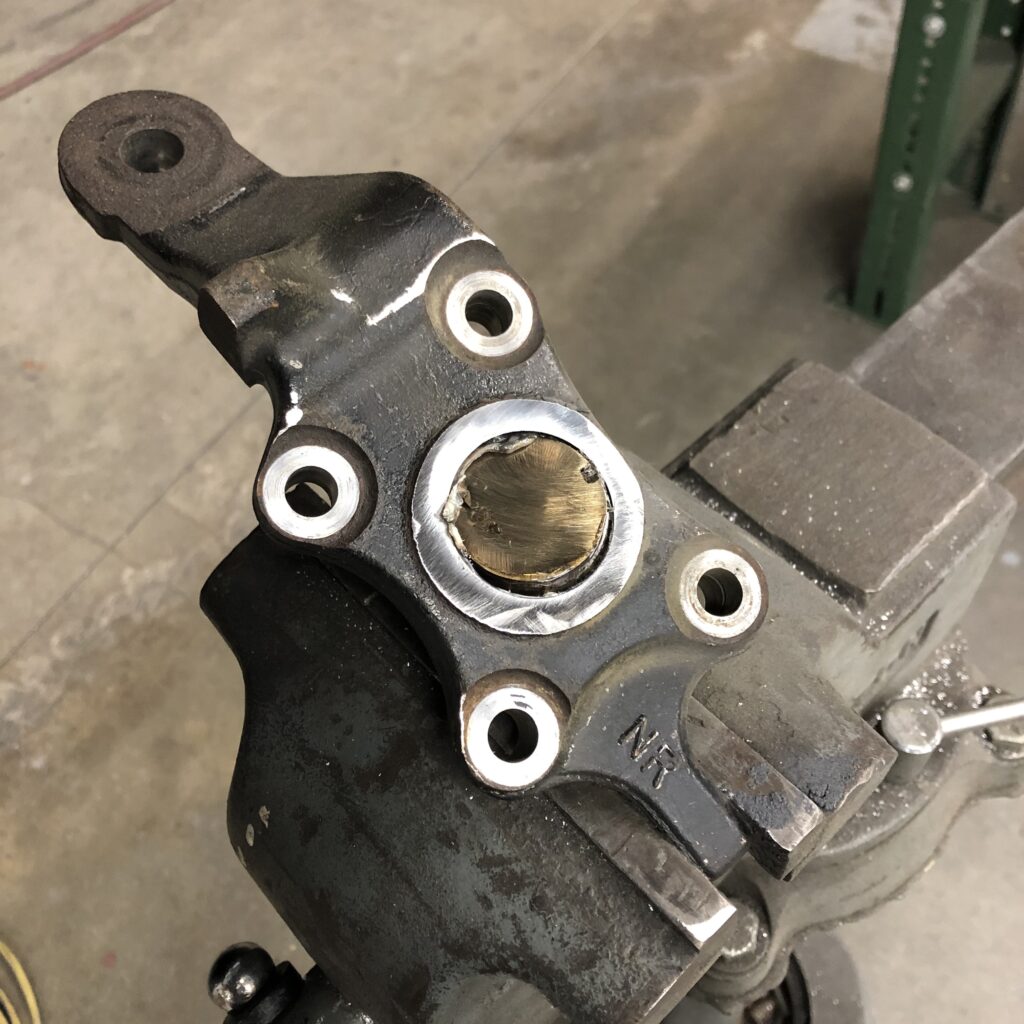
I started with grinding the ball until I could rotate it out of the socket. I’d love to see how these parts are made.
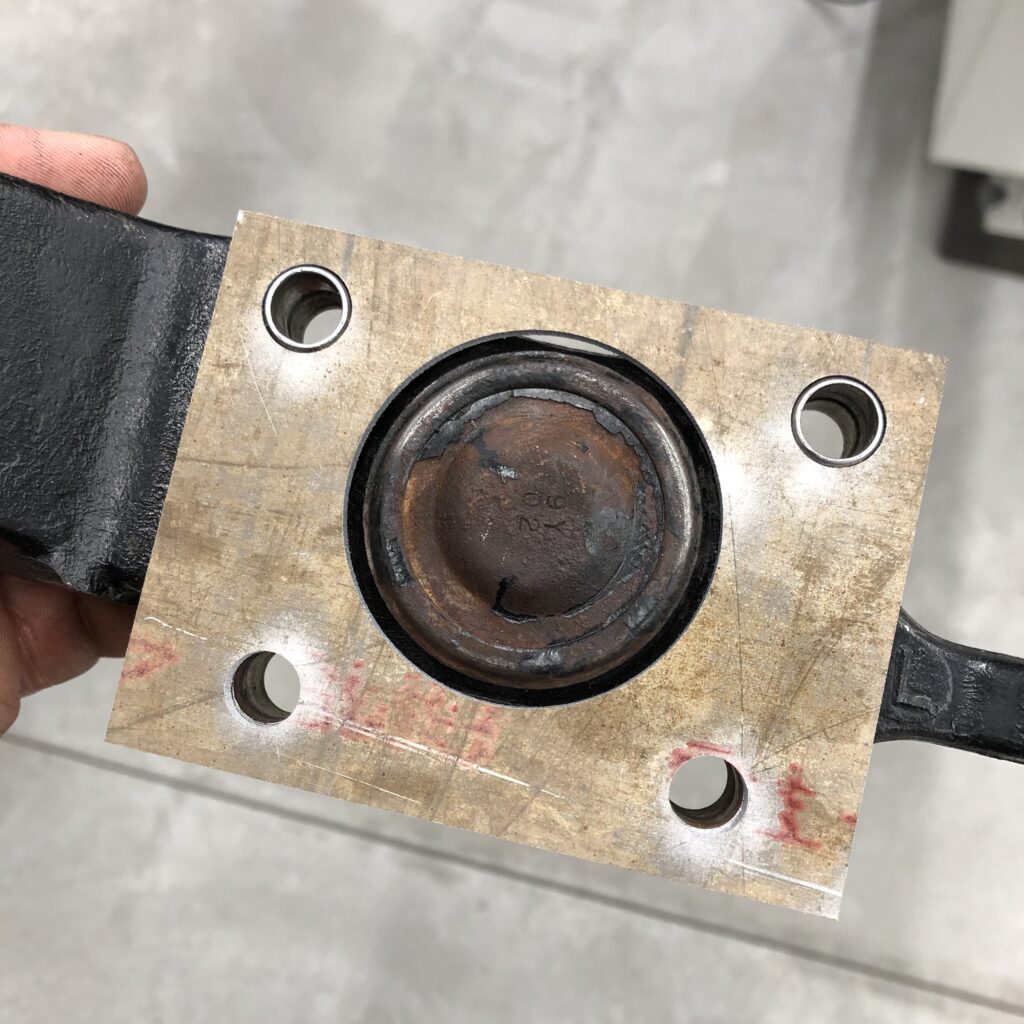
Next, I created this profile of the 10mm mounting holes and the 2″ hole for the uniball cup. I took measurements of the part and then cut it out of thin aluminum just to make make sure it was going to line up. It took several iterations before finding a good fit.
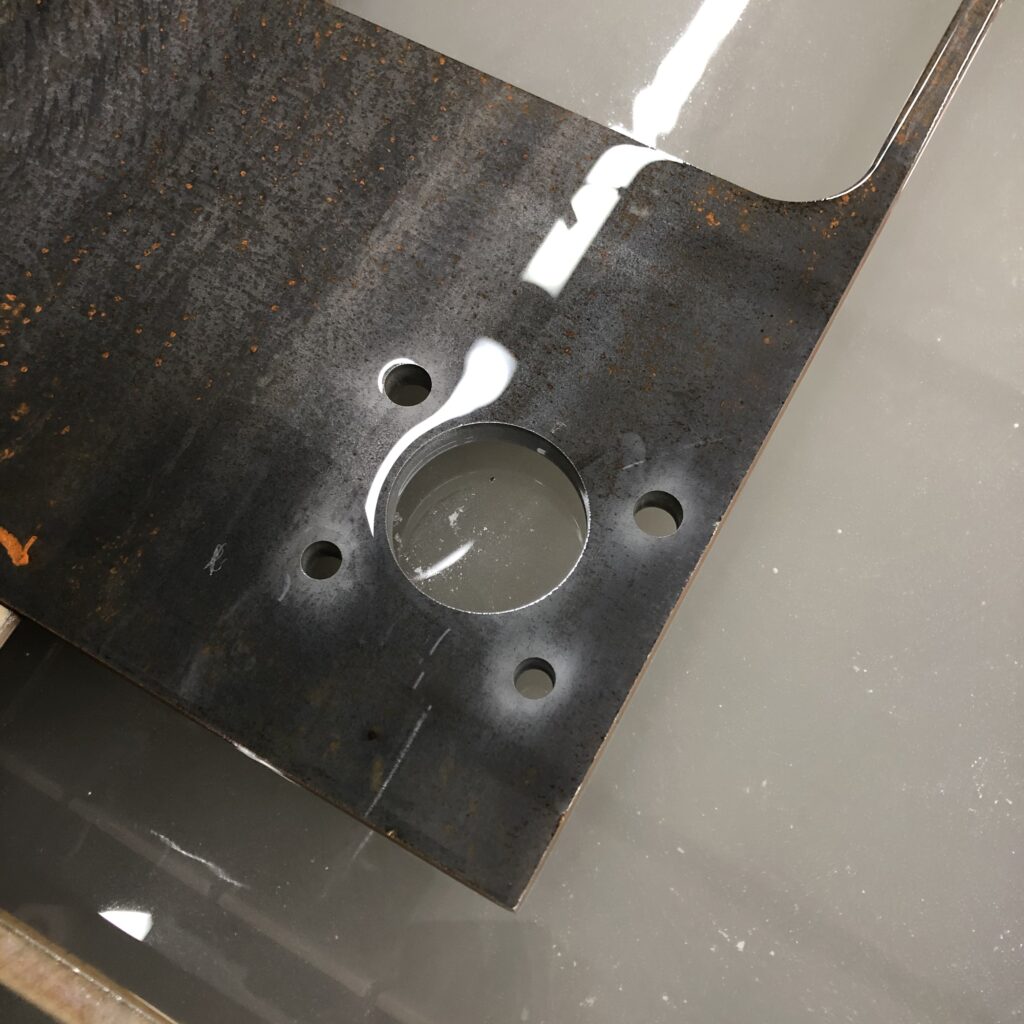
I cut the same profile into a 3/8″ steel plate that I fitted in the water jet. This way I could bolt the ball joint in place and the 2″ circle will be indexed correctly.
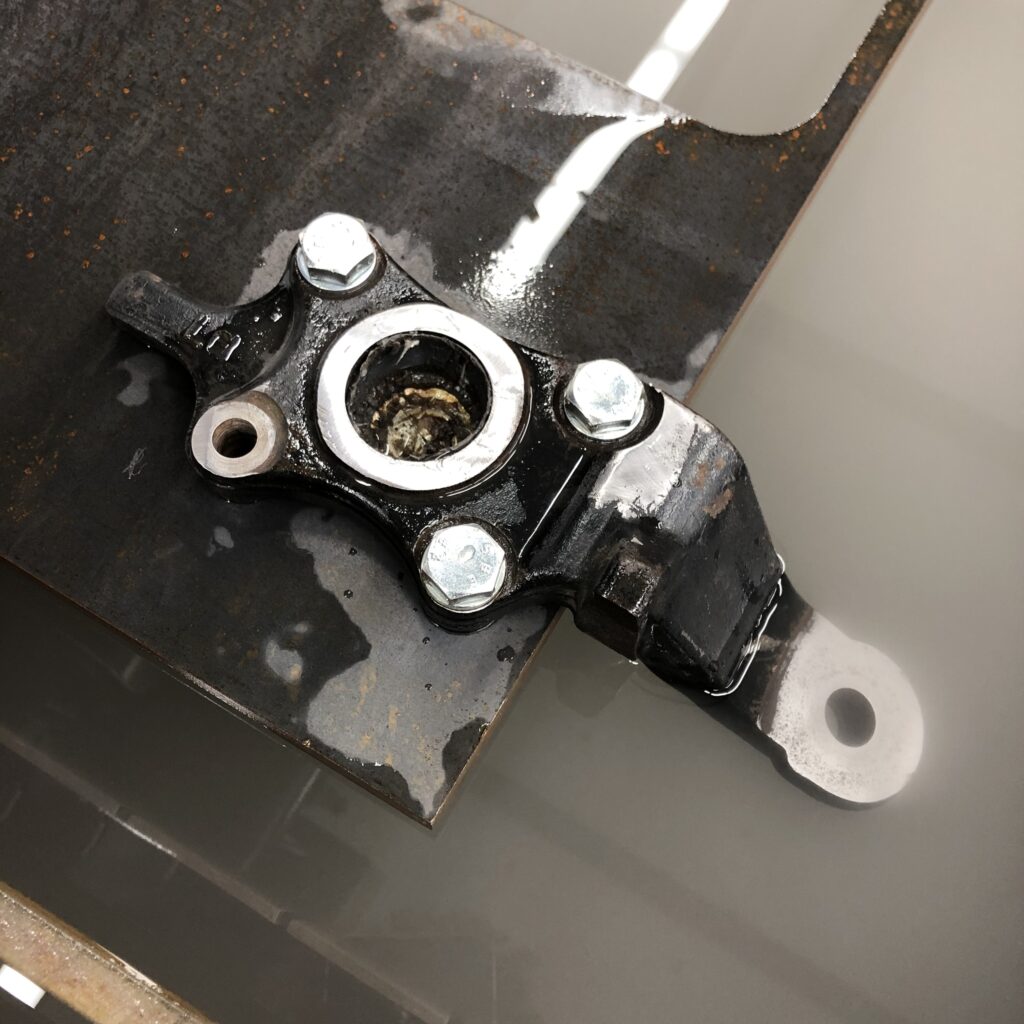
Success! I could have sworn I used all four bolts but I guess not. It was late.
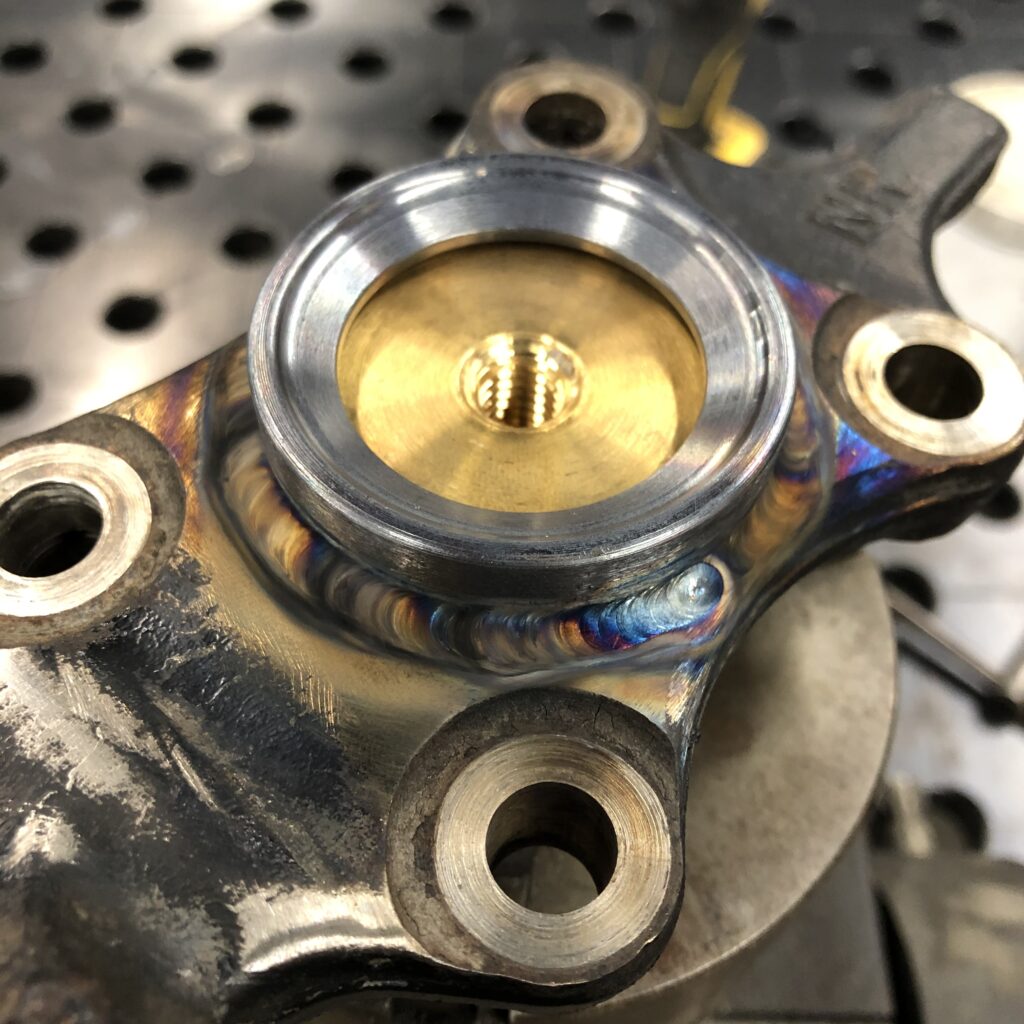

Uniball cup tig welded in place. The brass plug kept the cup from distorting and helps give place for the heat to soak. Quite a bit of soot coming out of the cast steel but no visual porosity and no undercut. I used 80s-6 .045″ steel rod.
I used the lathe to trim down two of the misalignment spacers to make clearance between the head of the bolt and the cv, you’ll see.
I used acid to remove all of the colors from the welds. Easier to inspect this way. notice the low profile spacer.
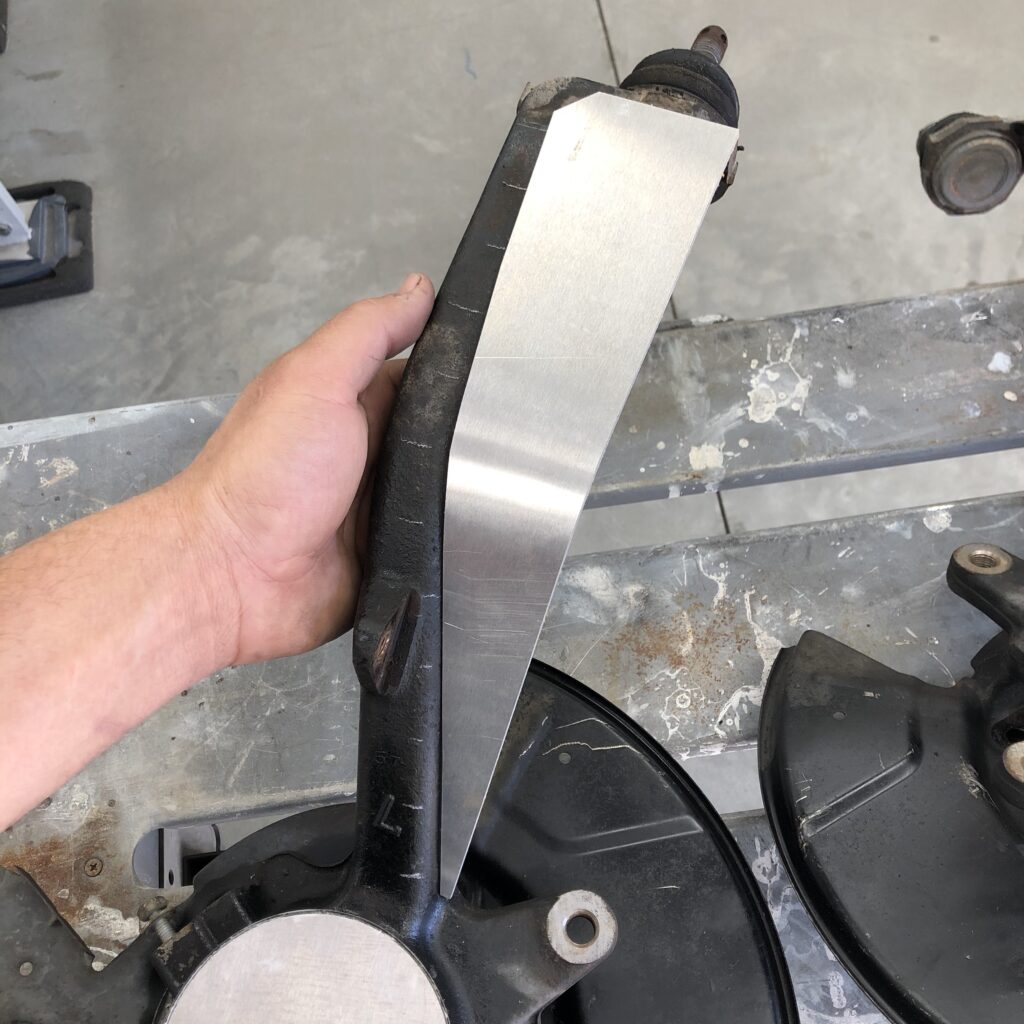
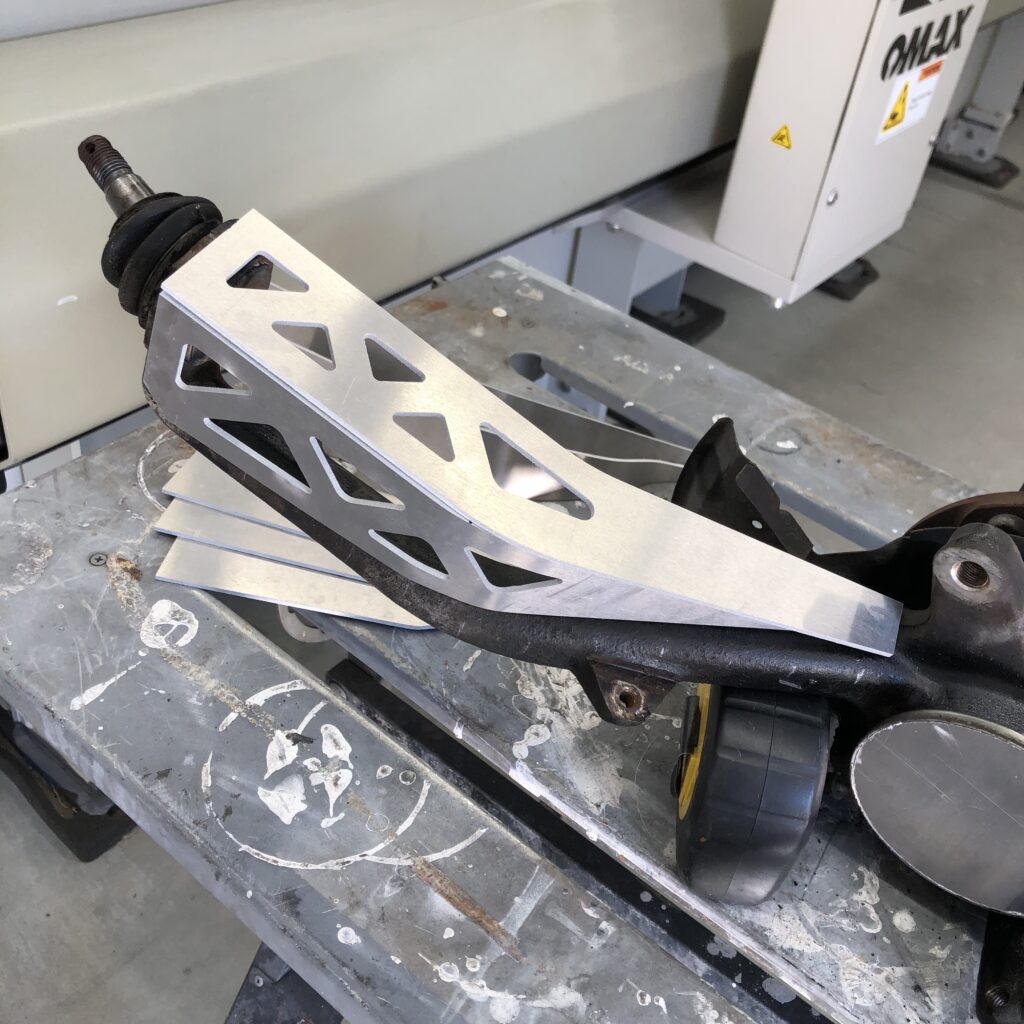
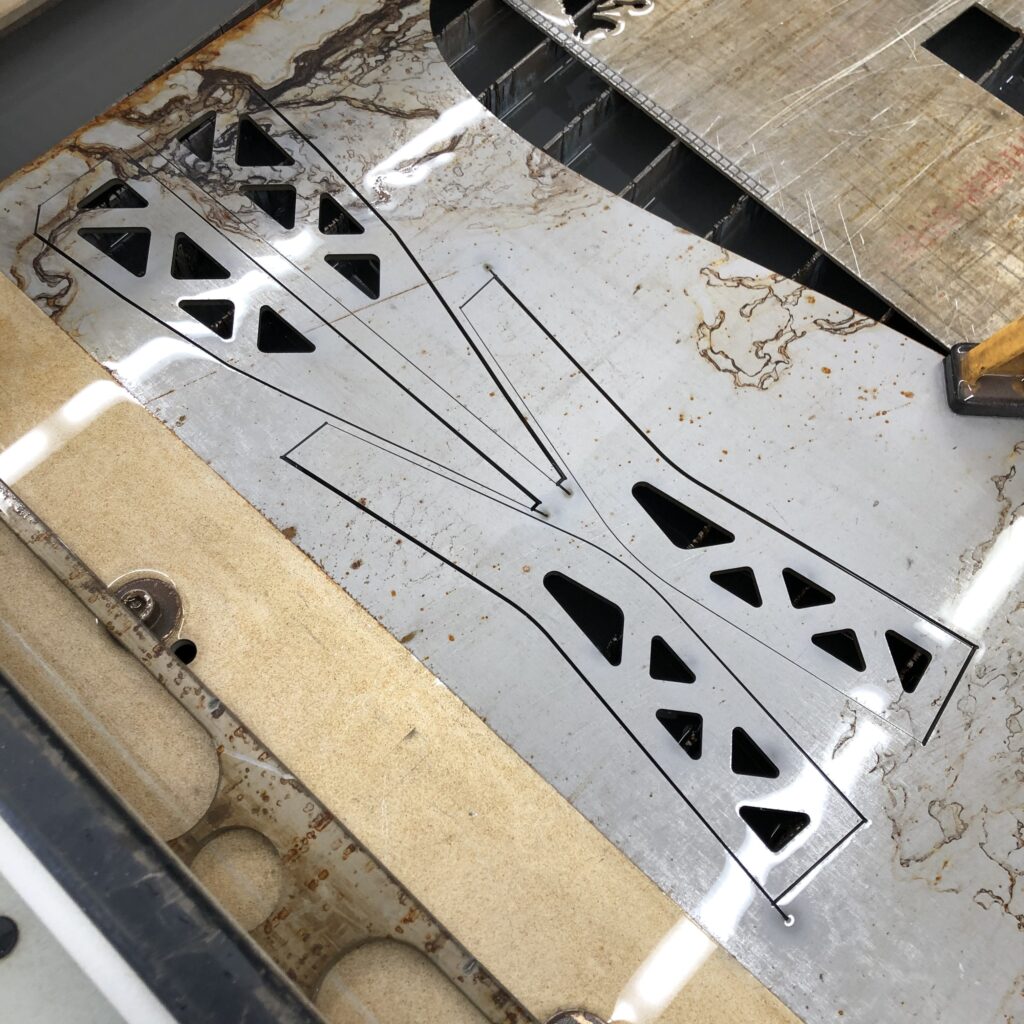
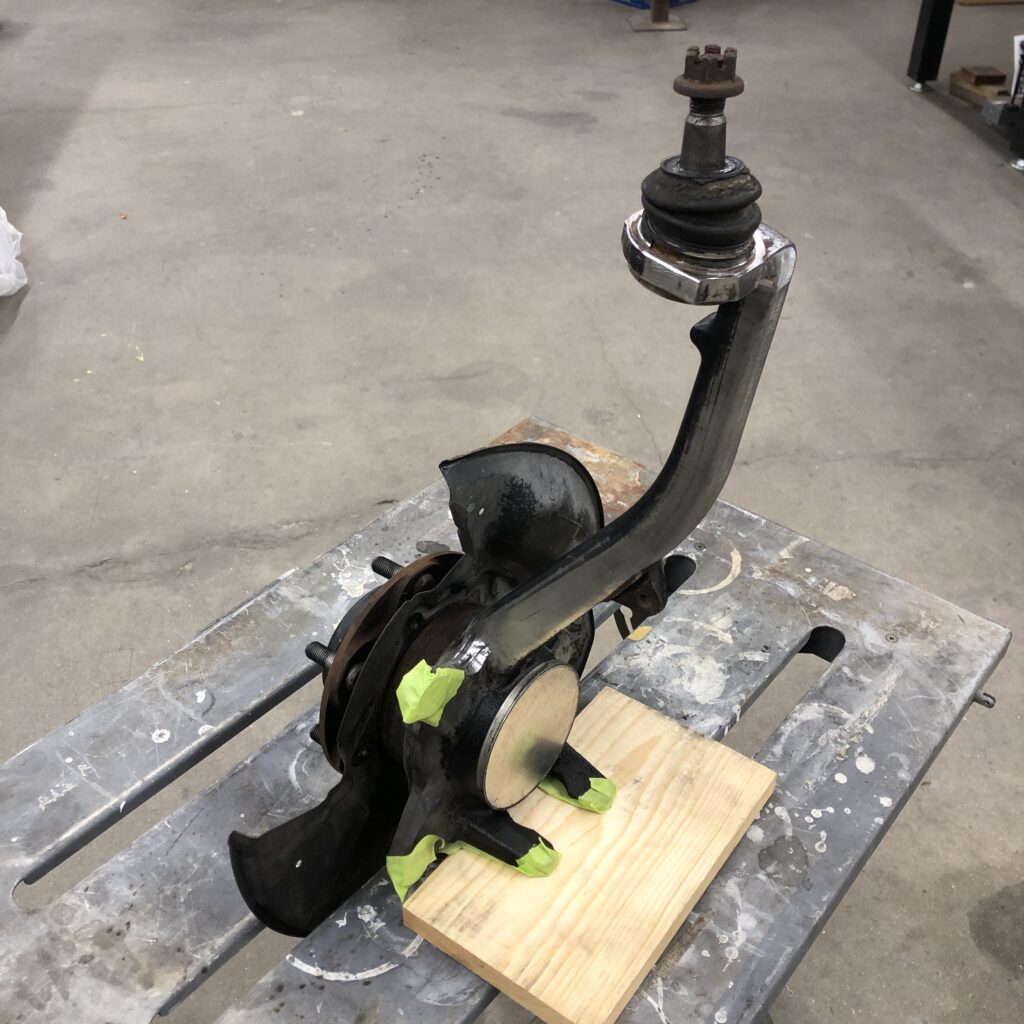
I started on the spindle gussets by measuring the shape of the spindle and then cut thin aluminum samples until I got something that fit. After that, I cut another with the triangle holes to see if I like it.
.185″ cold rolled steel – these are beefy.
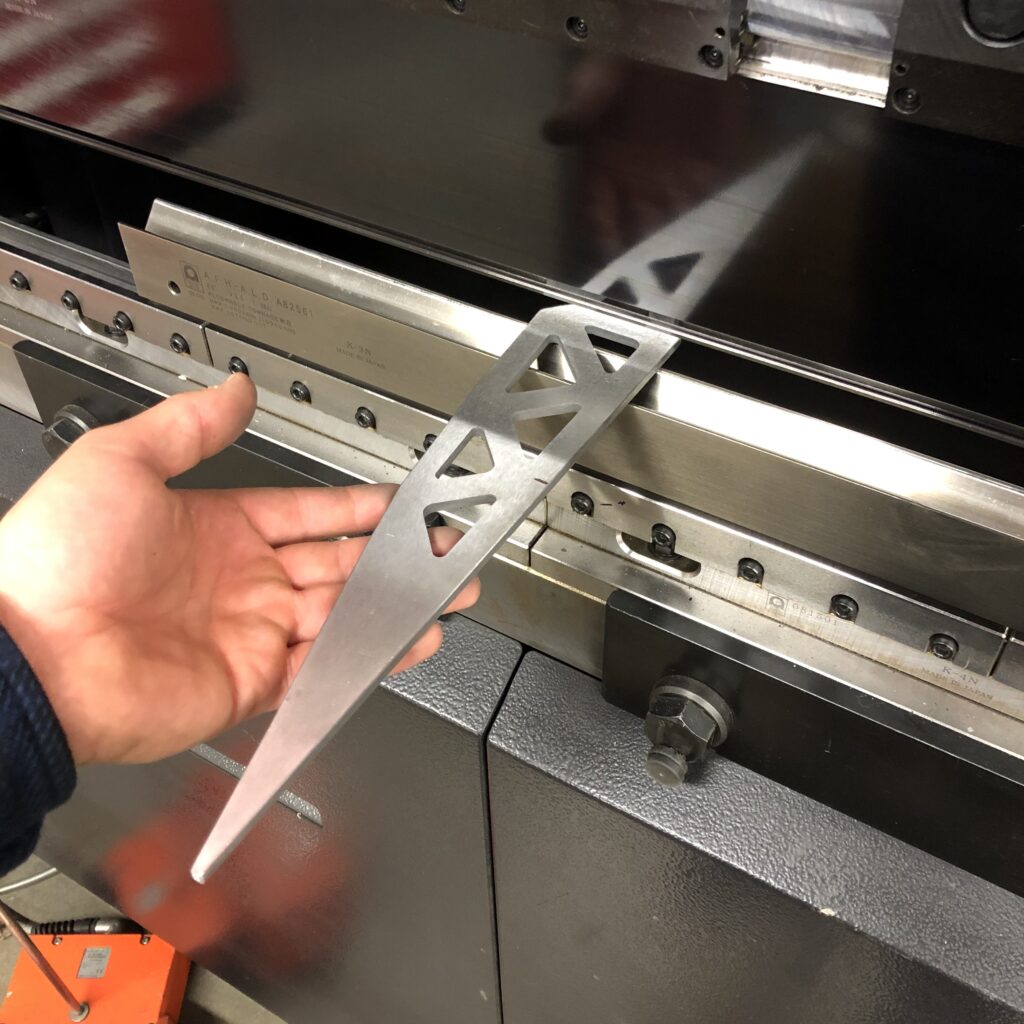

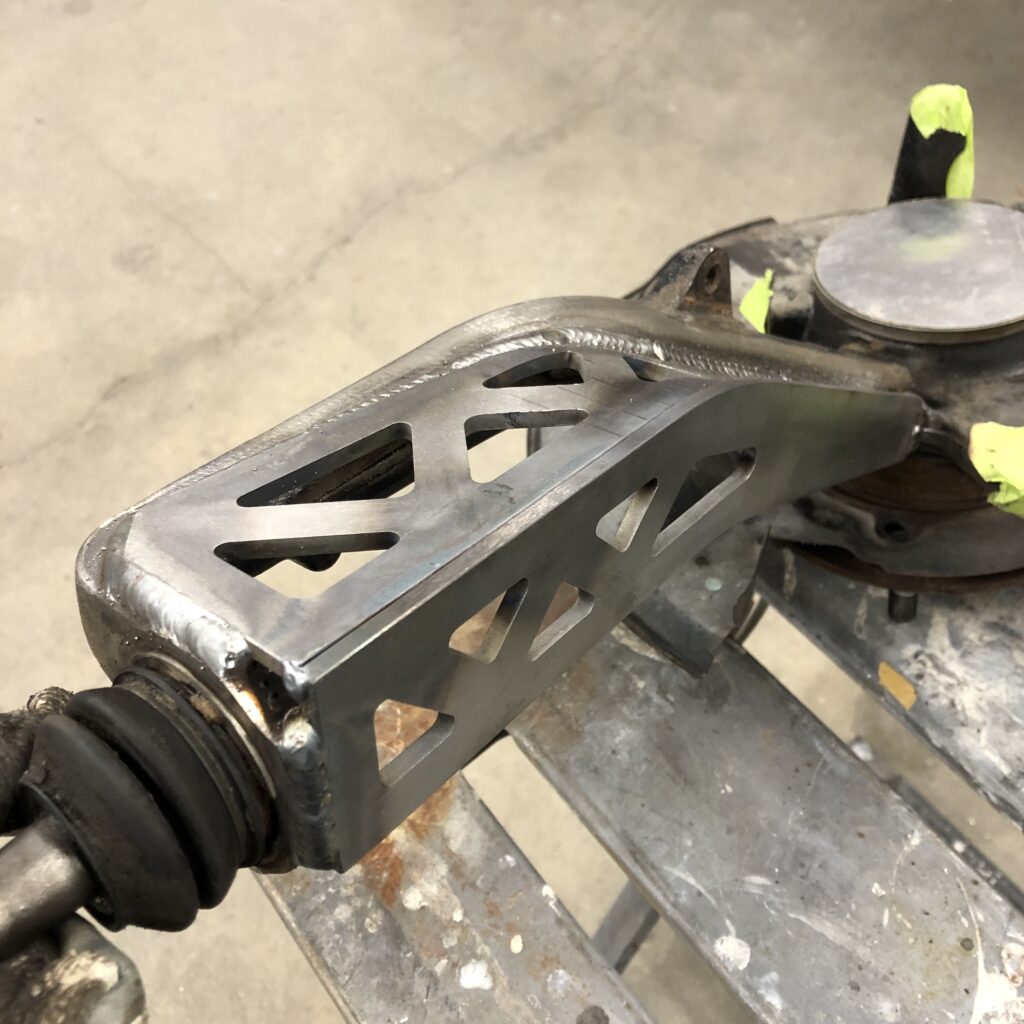
I used a cnc press brake to form the shallow curve. Something close to a 5-degree bend in about half a dozen spots.
Spindle prepped for welding, I cut some circles from the template material to protect the wheel bearings from sparks.
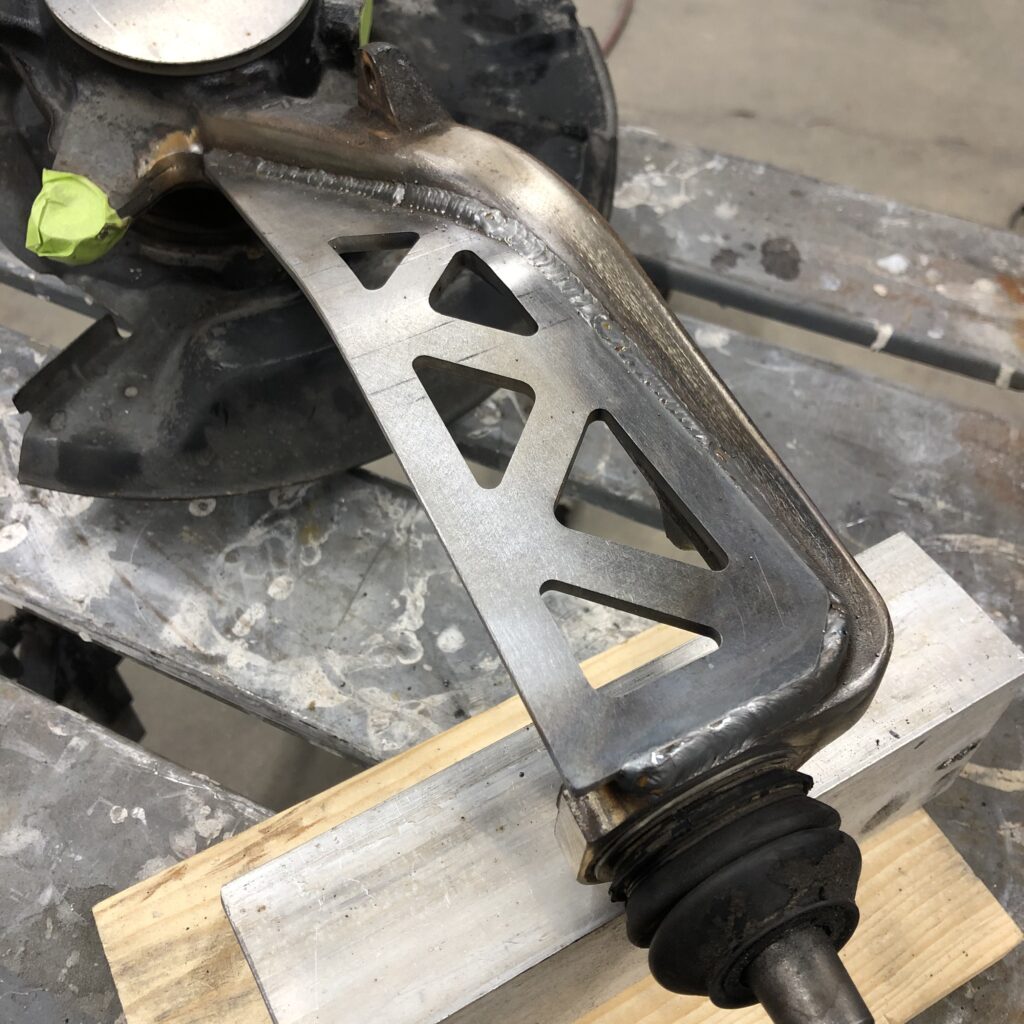
I mig welded these on. I choose to make 2-3″ welds and alternate between spindles to keep the temperature low and constant.
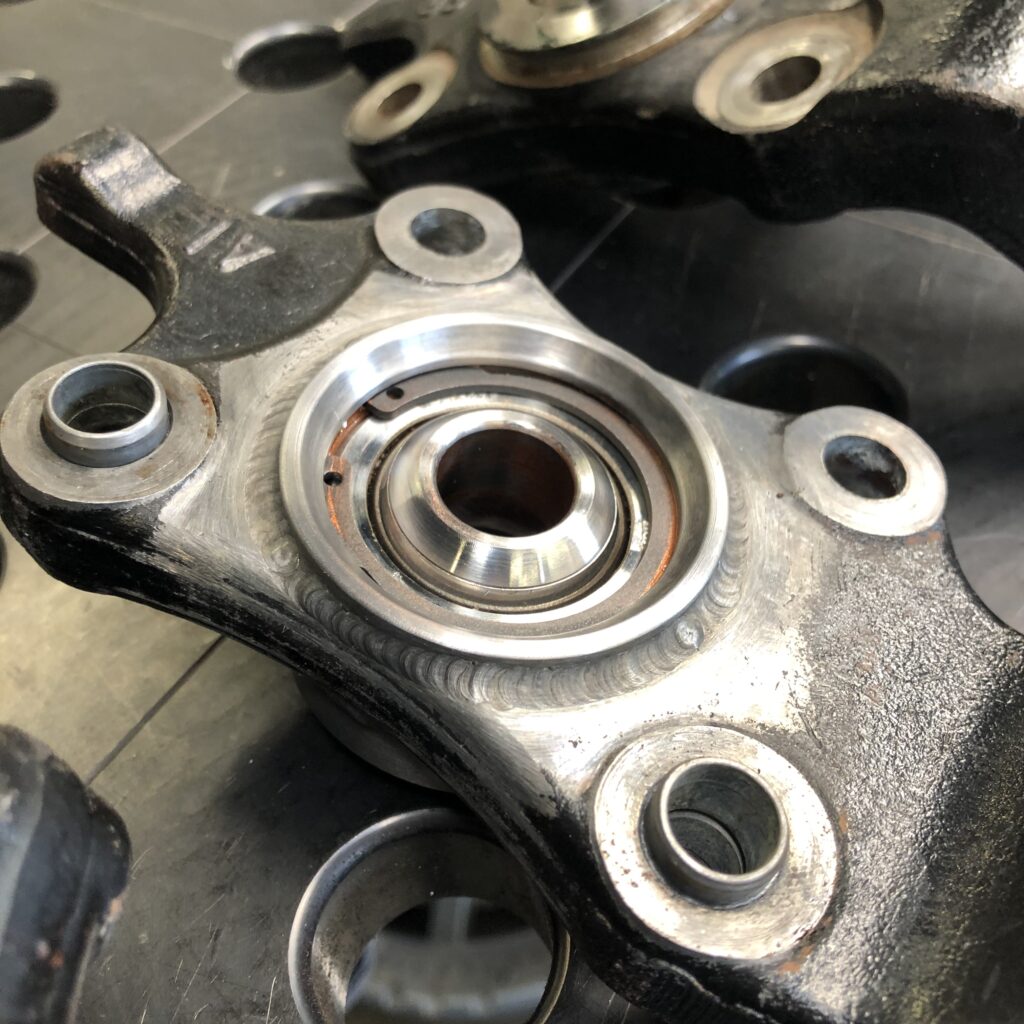
I chose to replace the upper ball joints after welding. I started with machining these cups that I’ll use to press out the old parts.
That was one of the new joints I was using to check dimensions.
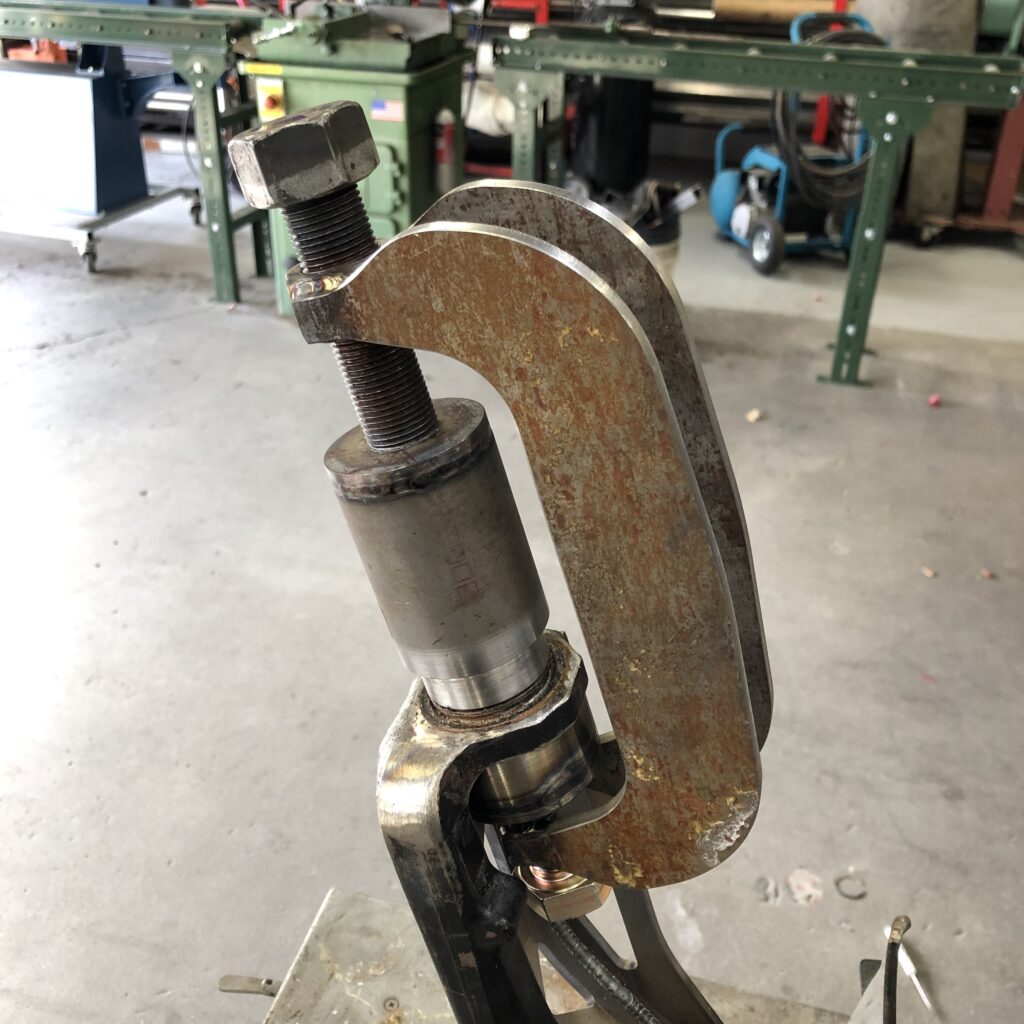
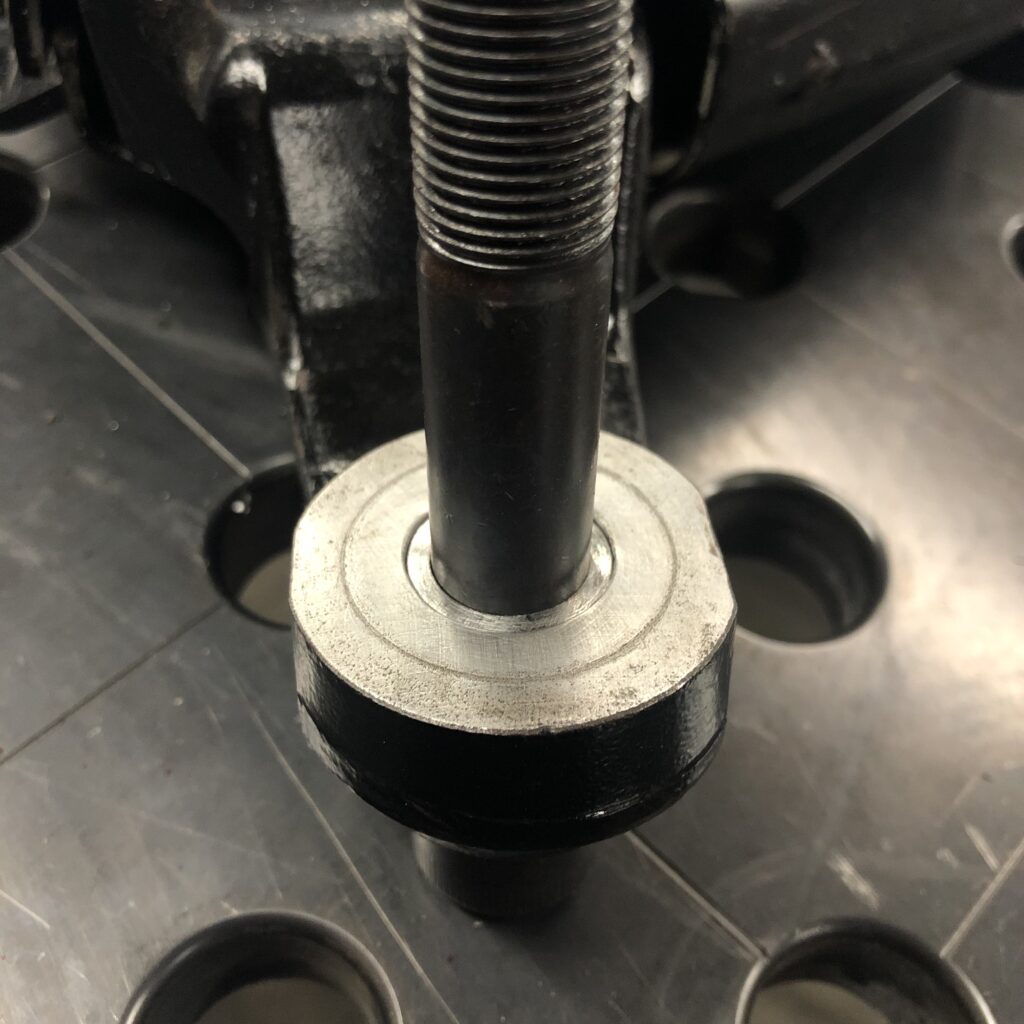
I made this tool to do the pressing. 7/8″ fine thread rod and grade 8 nuts.
Success!
Now, since the new heims and uniballs use bolts, there is no need for the taper that the old ball joints seated into.
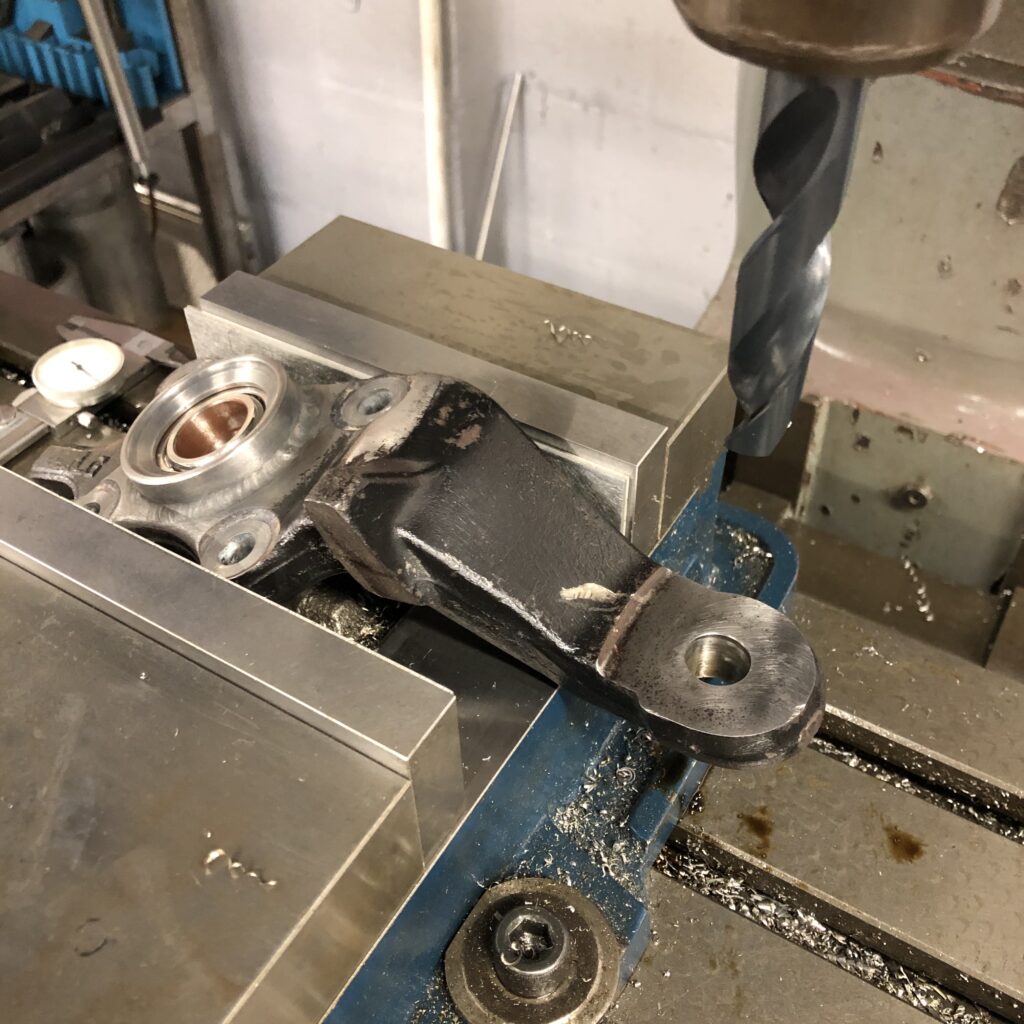
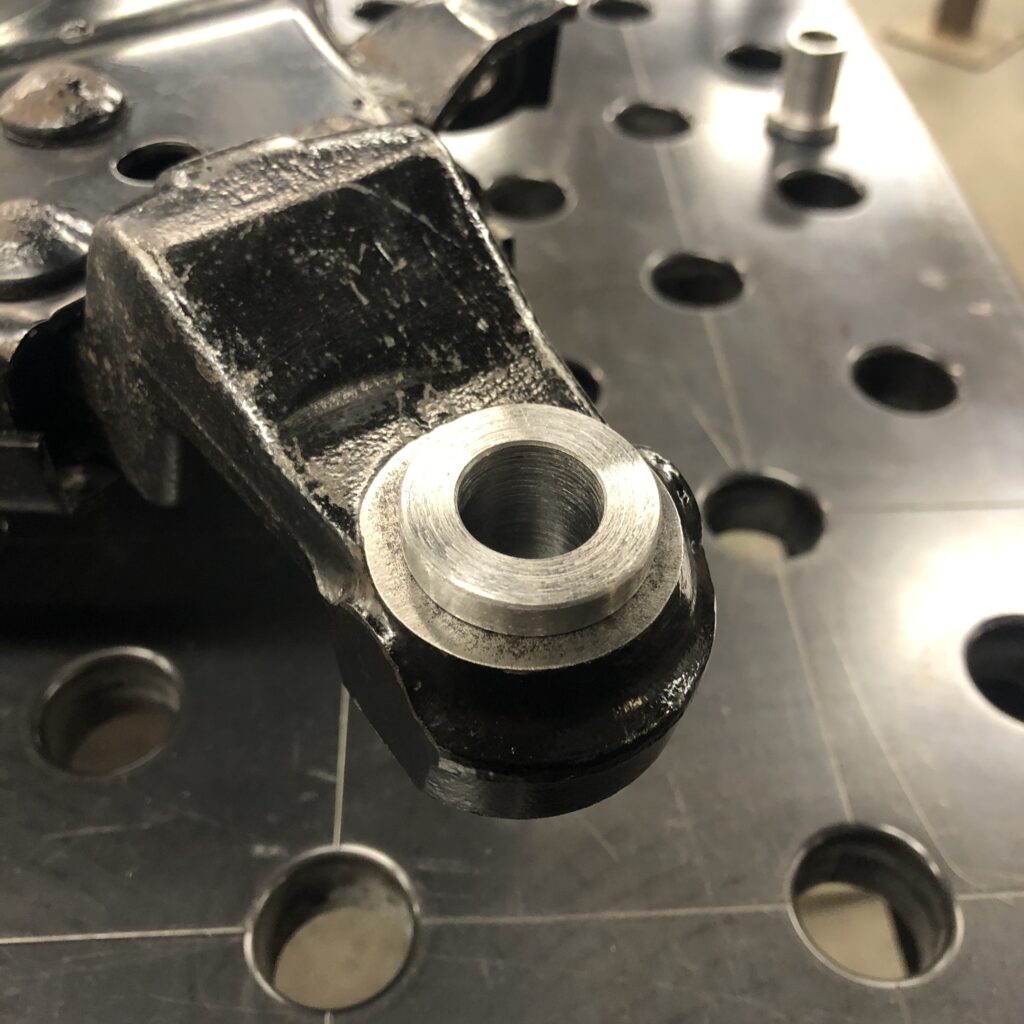
The lower ball joint is set up in the mill, I’m going to drill out the taper hole to 5/8″. I just eyeballed that the flat area around the hole was level – close enough.
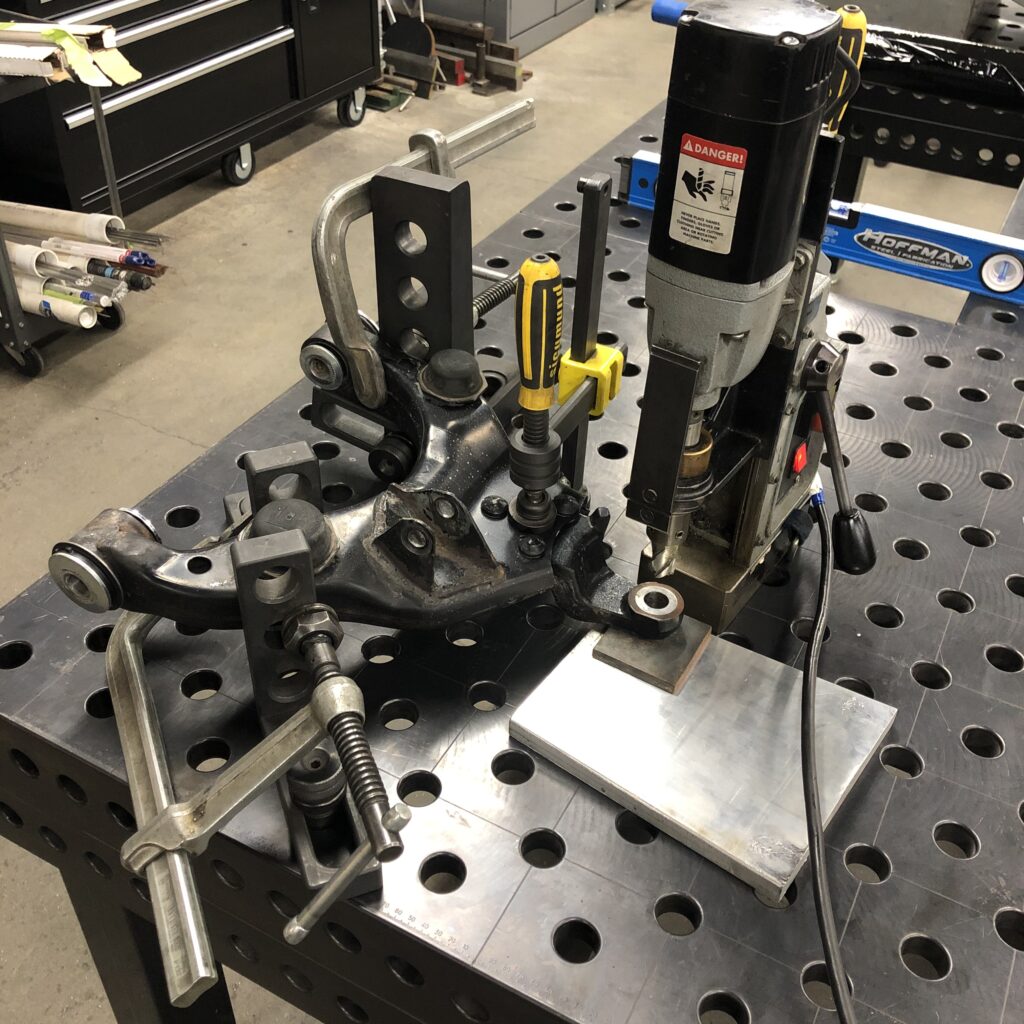
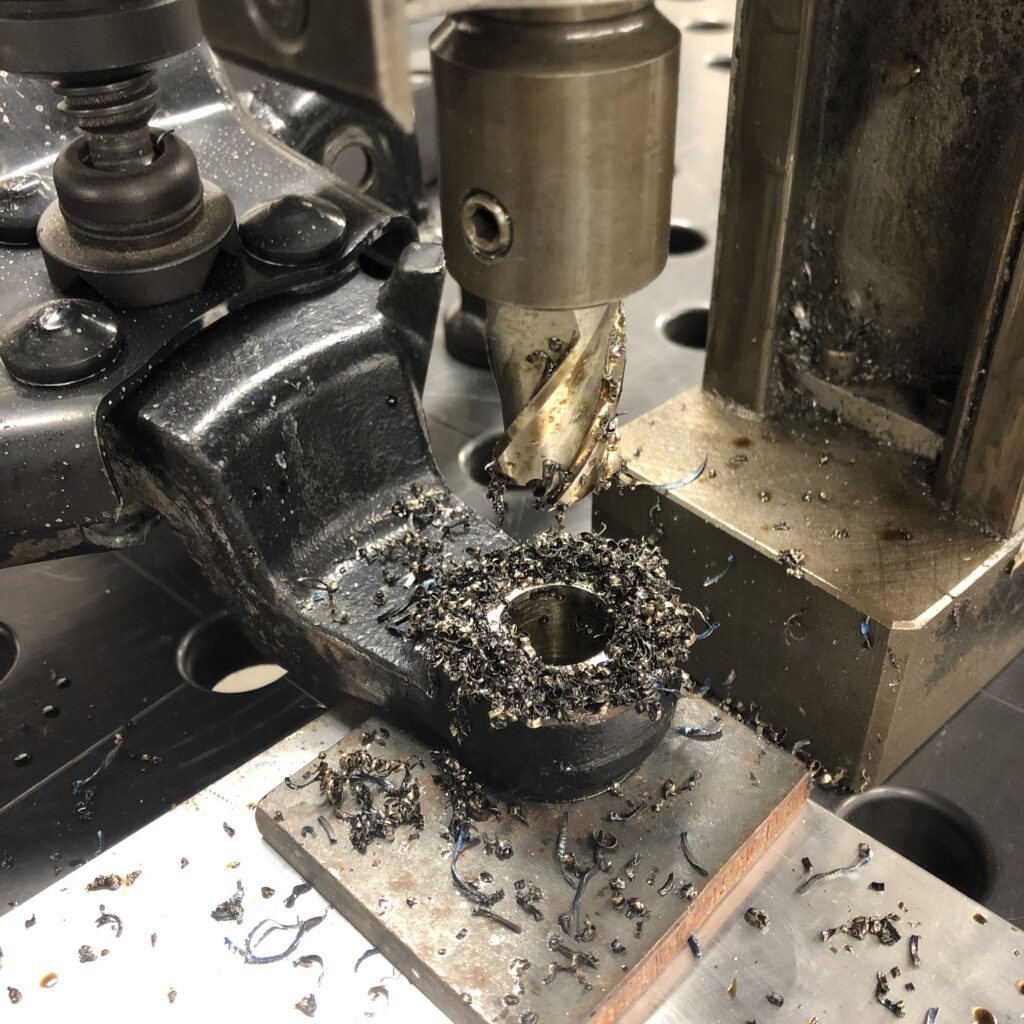
The lower arm was a bit more of a hassle. Here I got it set up on the Siegmund table and I’ll use the mag drill to bore out the taper to 13/16″. That is really close to the larger diameter of the taper that way I leave as much material as possible.
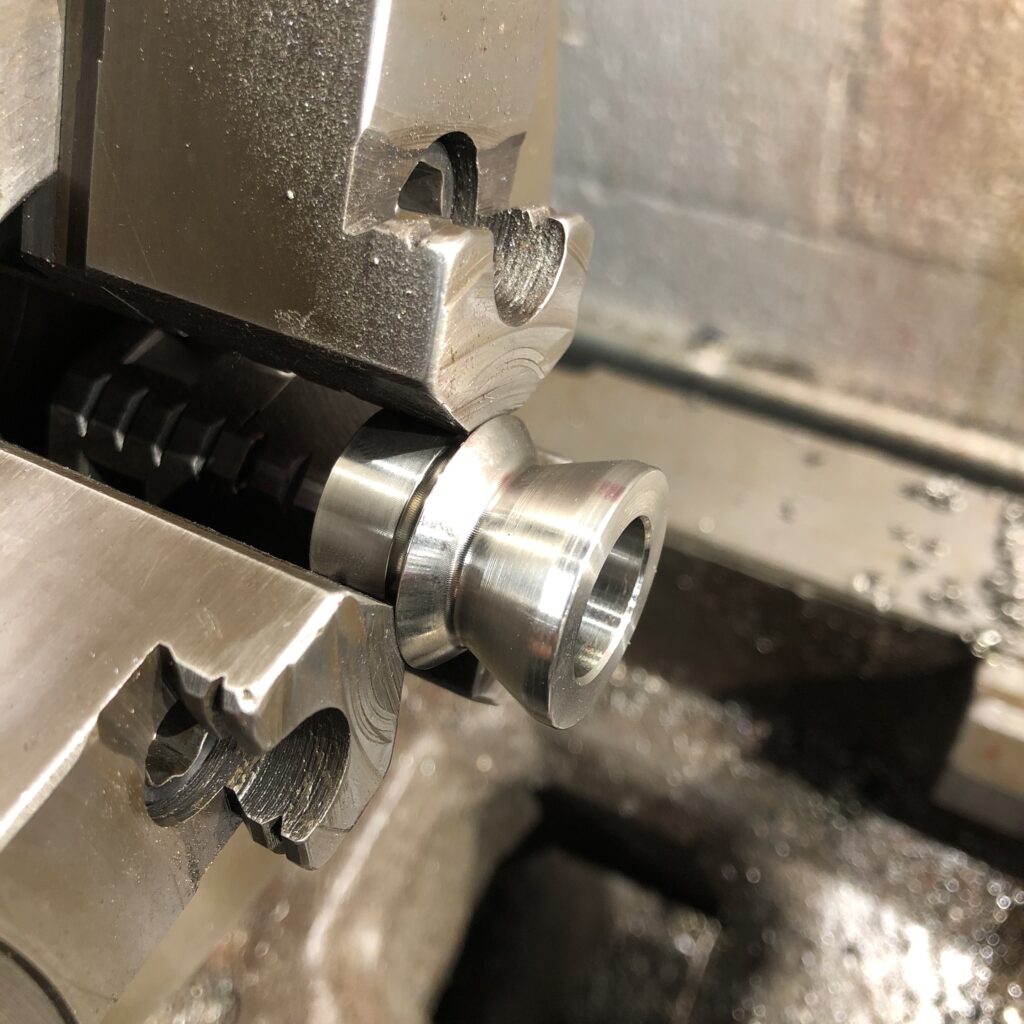
I machined this bushing on the lathe. 13/16″ o.d. x 5/8″ i.d. with a thicc shoulder. I left the top side shallow about .015″ so that when the bolt is tight the bushing is locked in place. Similar situation for the steering.
If the ground clamp on your machine isn’t beat-to-fuck, do you even weld?
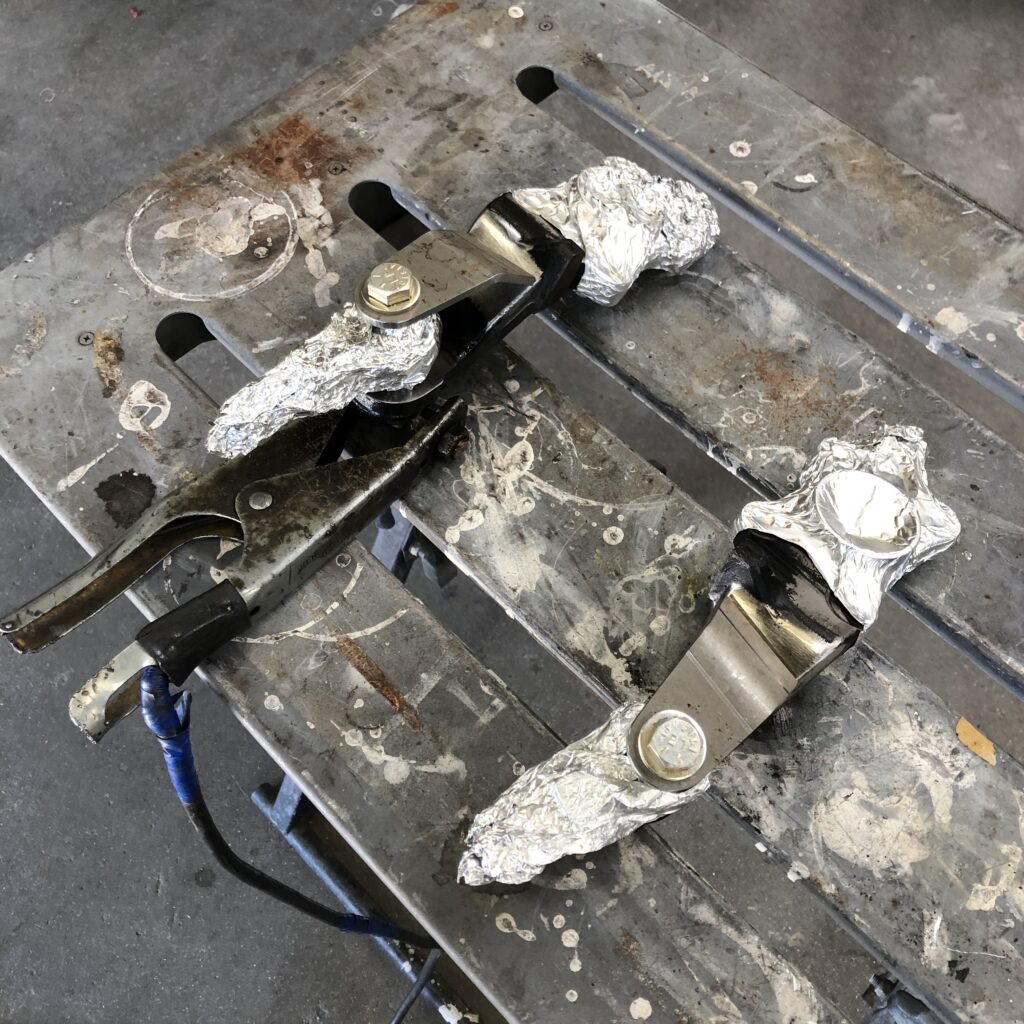
Last welding job was these tabs to brace the bolt for the steering. I wrapped all of the sensitive areas in foil to protect from weld spatter. These are looking beefy.

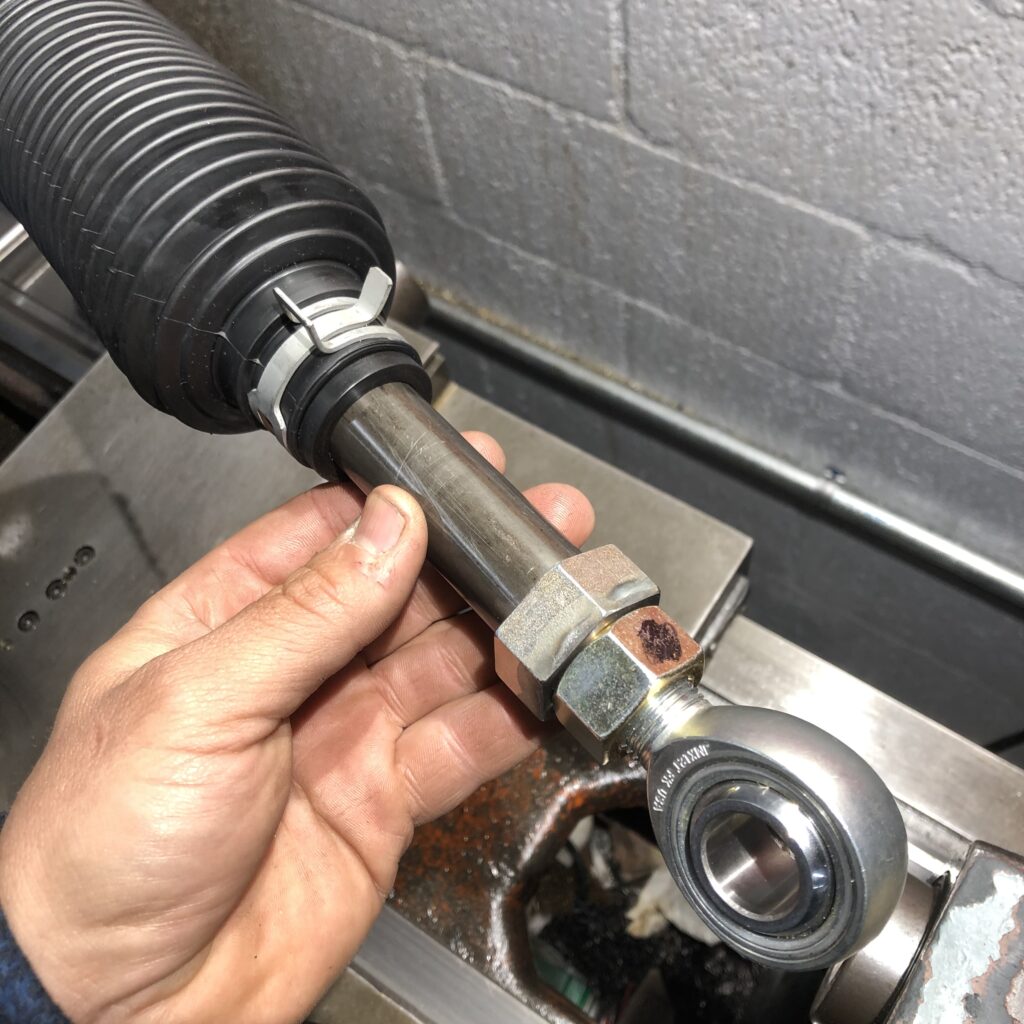
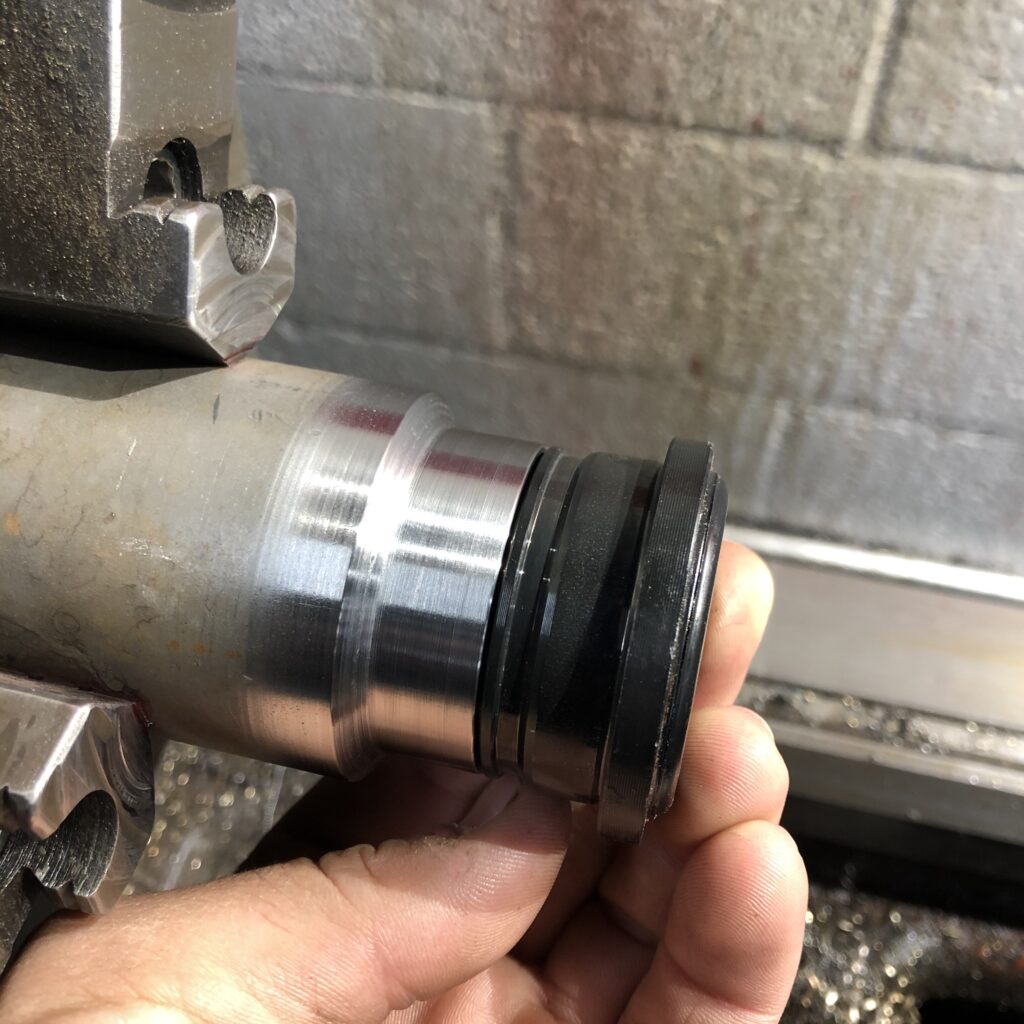
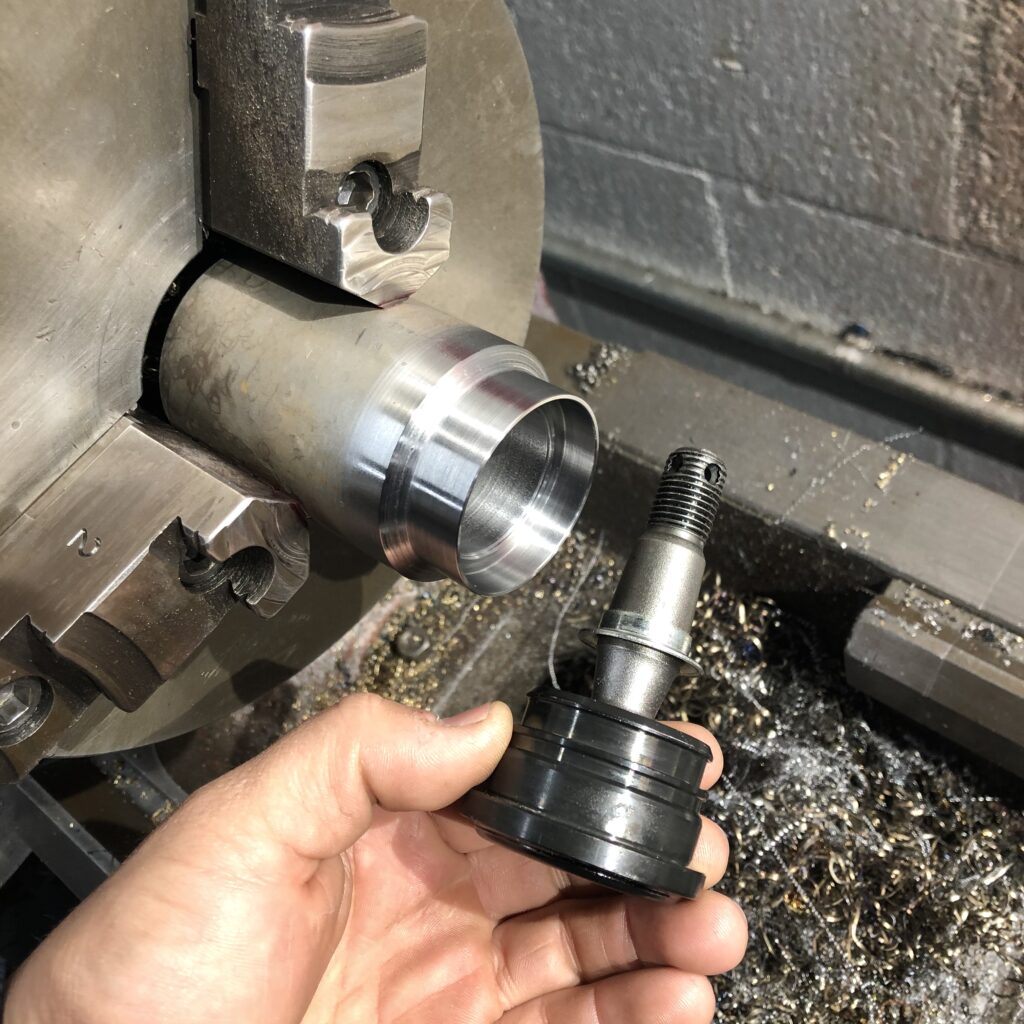
The last machining job (or so I thought) was these delrin bushings to go in between the steering rack dust boot and the chromoly tube. There are the hexes I added to the o.d. of the tube.
I didn’t have the correct allen wrench I was beginning to lose my patience with this project.
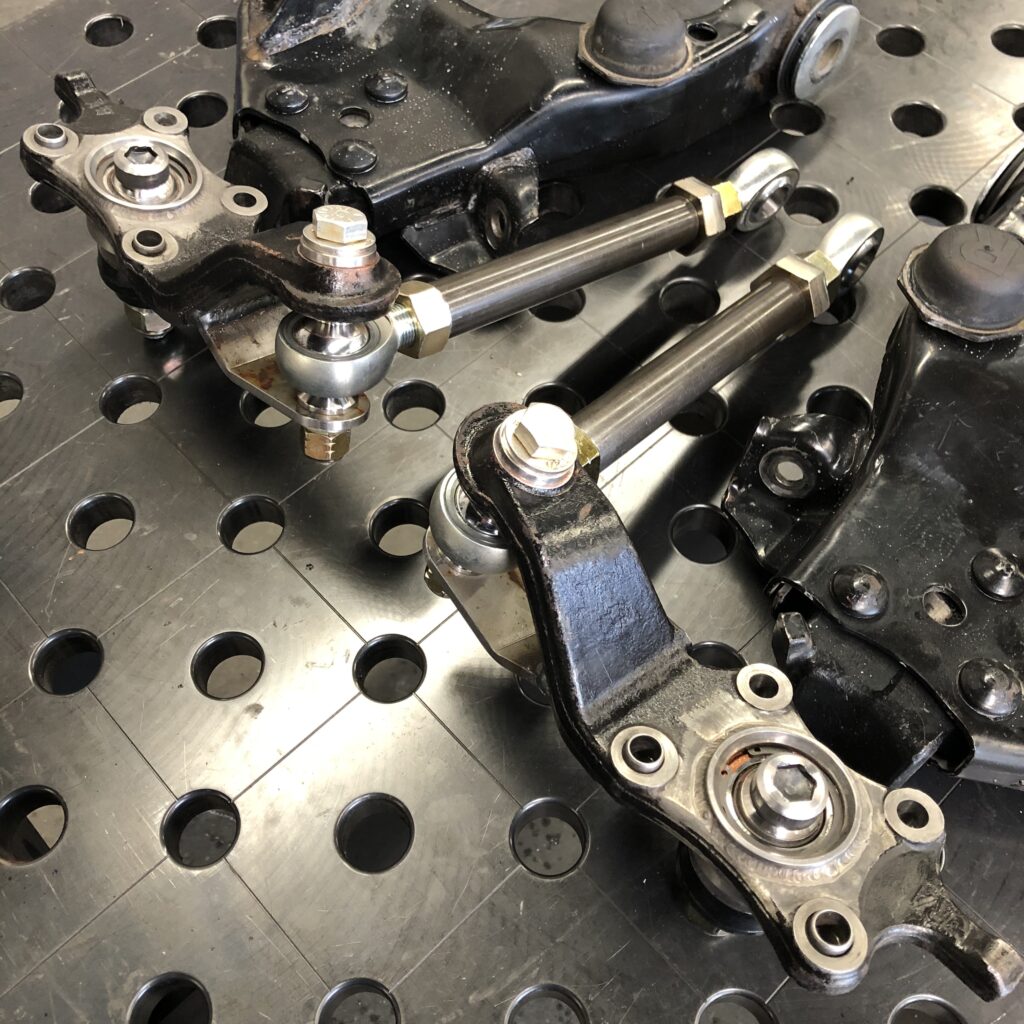
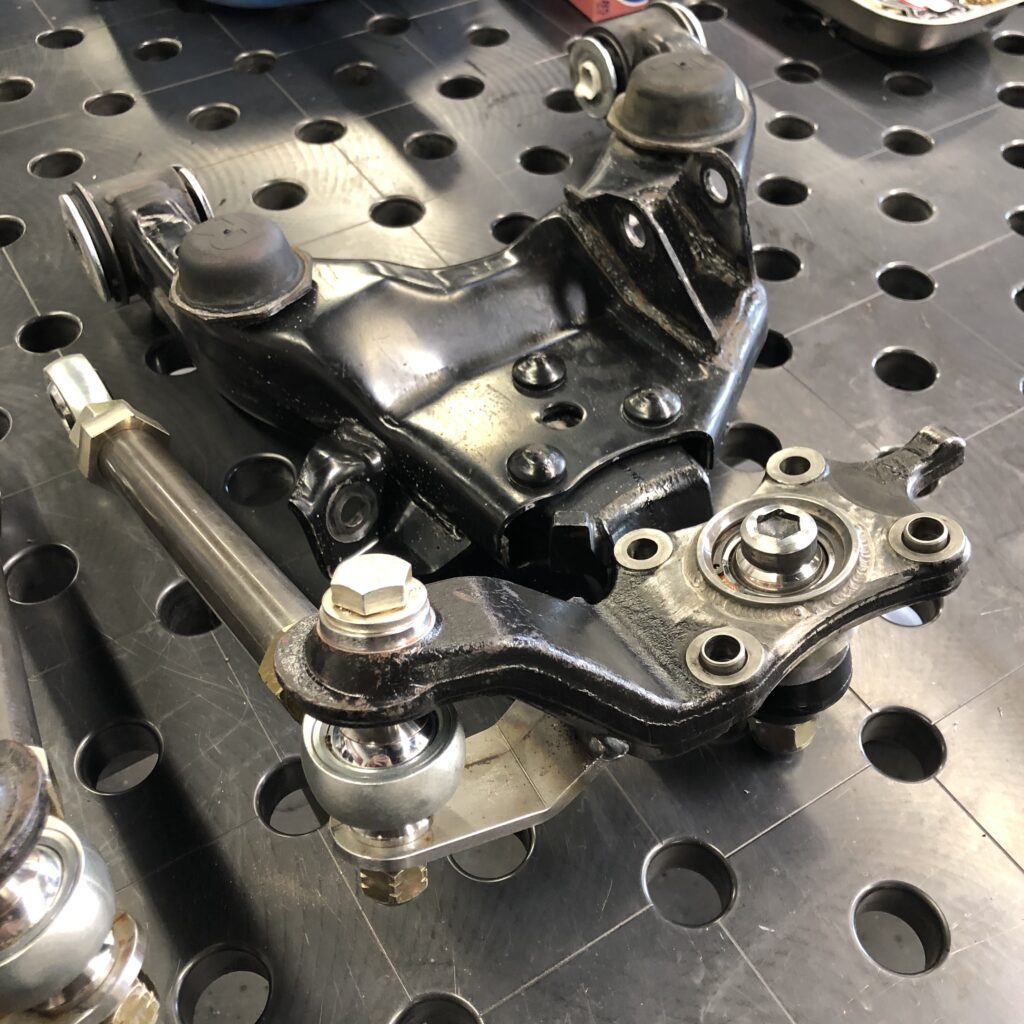
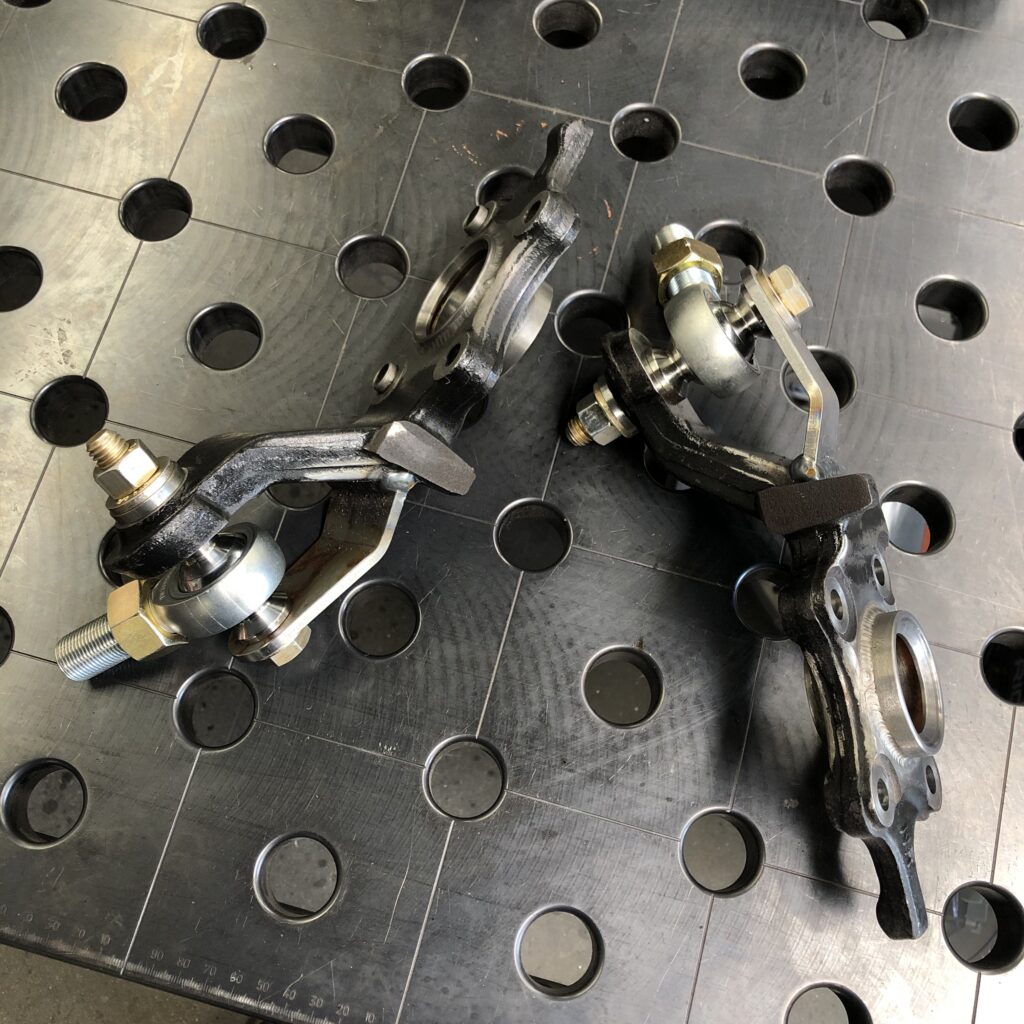
Ready to install!
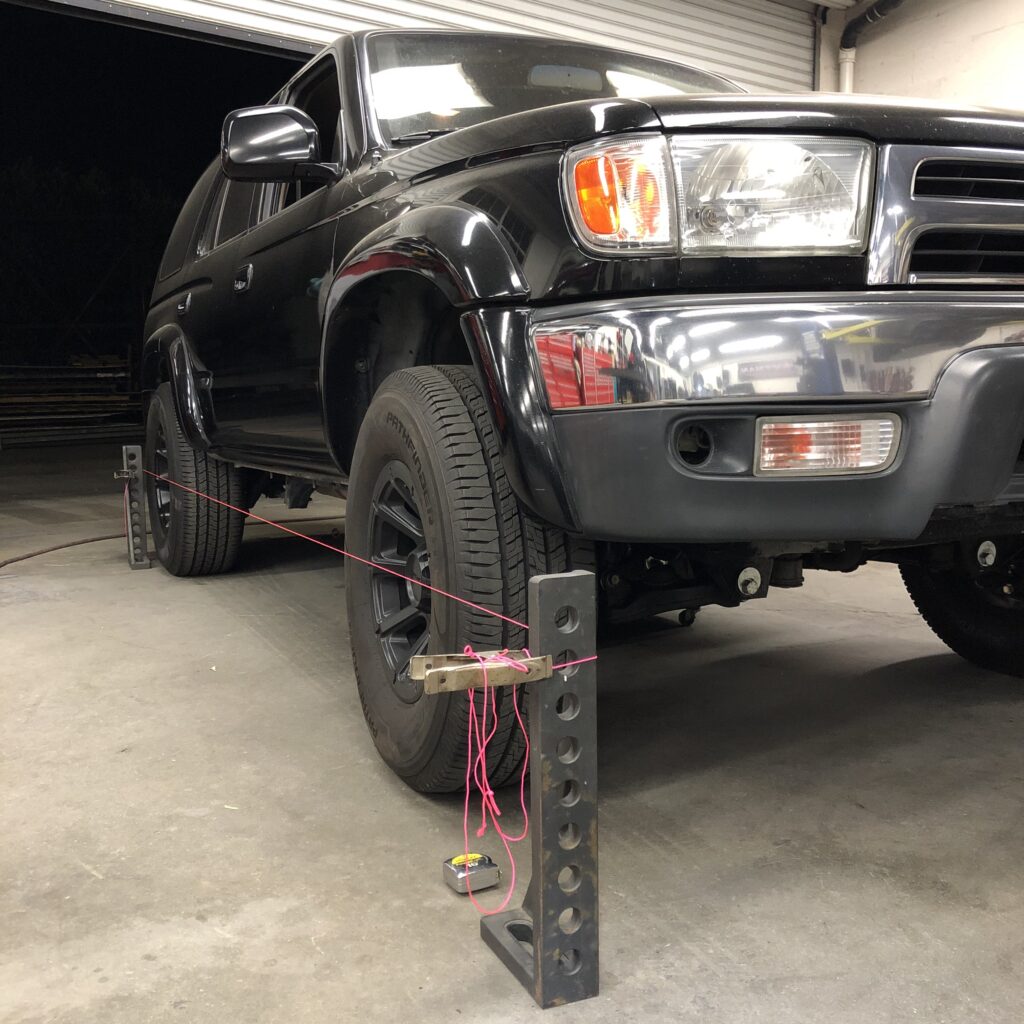
Getting the toe somewhat close before I drive it to the alignment shop.
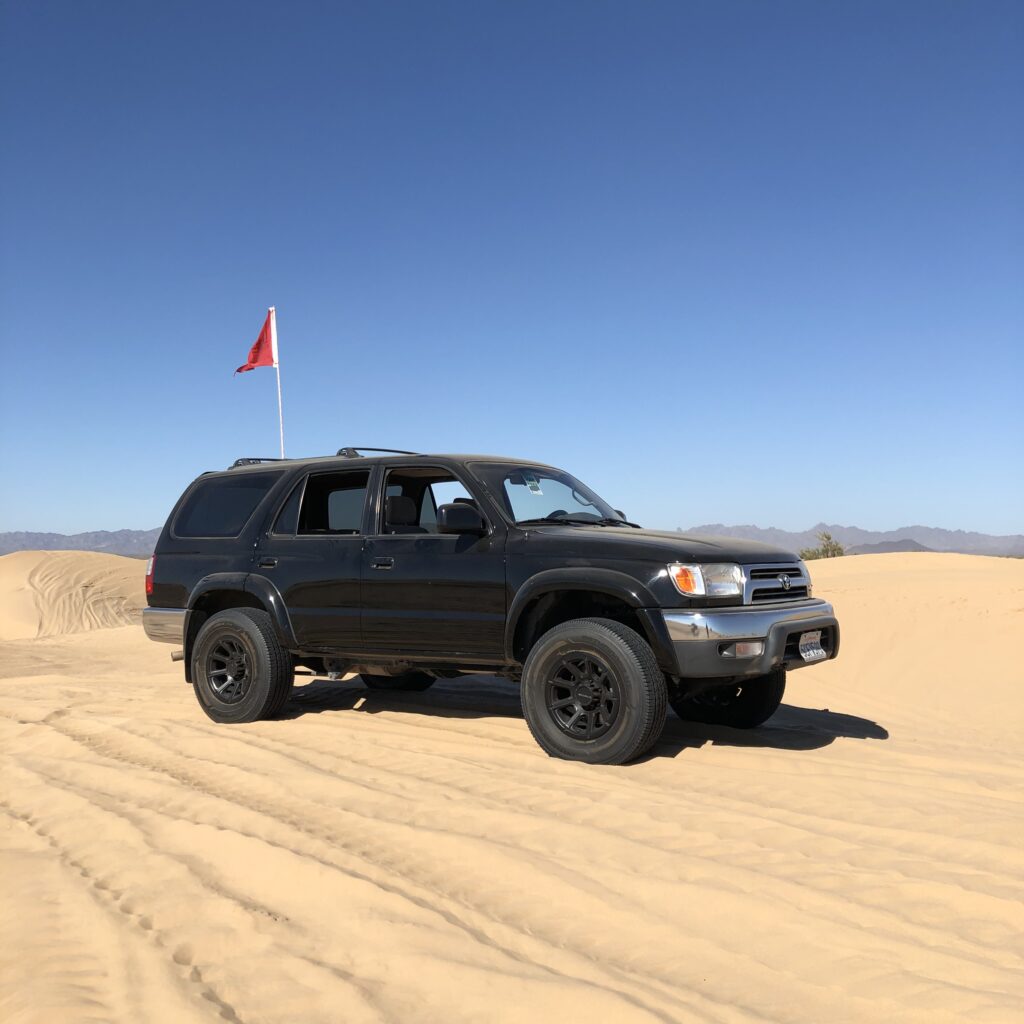
Back at Glamis! Handling wise, the same. Maybe a bit more solid but that was more noticeable on the street. Now I feel more confident with my truck and I don’t have to worry about breaking something and running over one of my front wheels!
Glamis sand likes to stick to any leftover anti-seize.

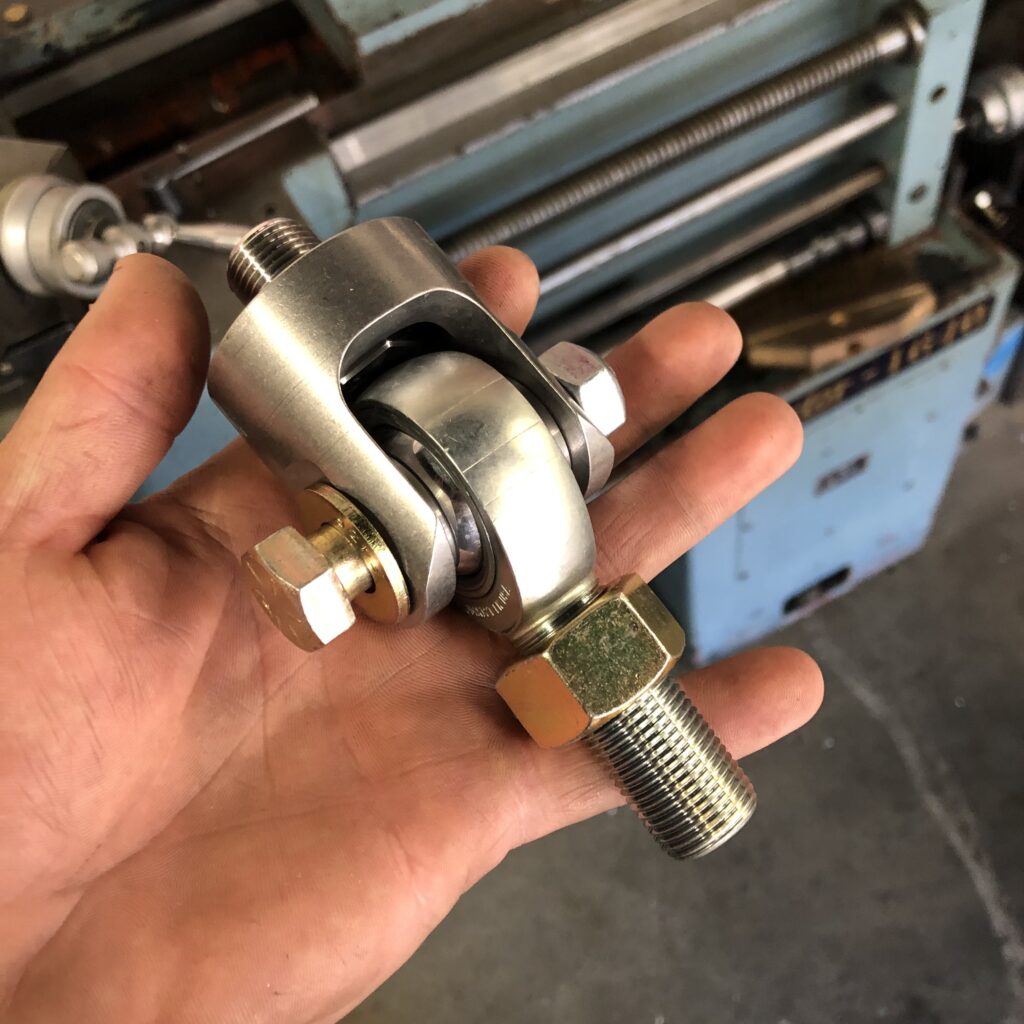
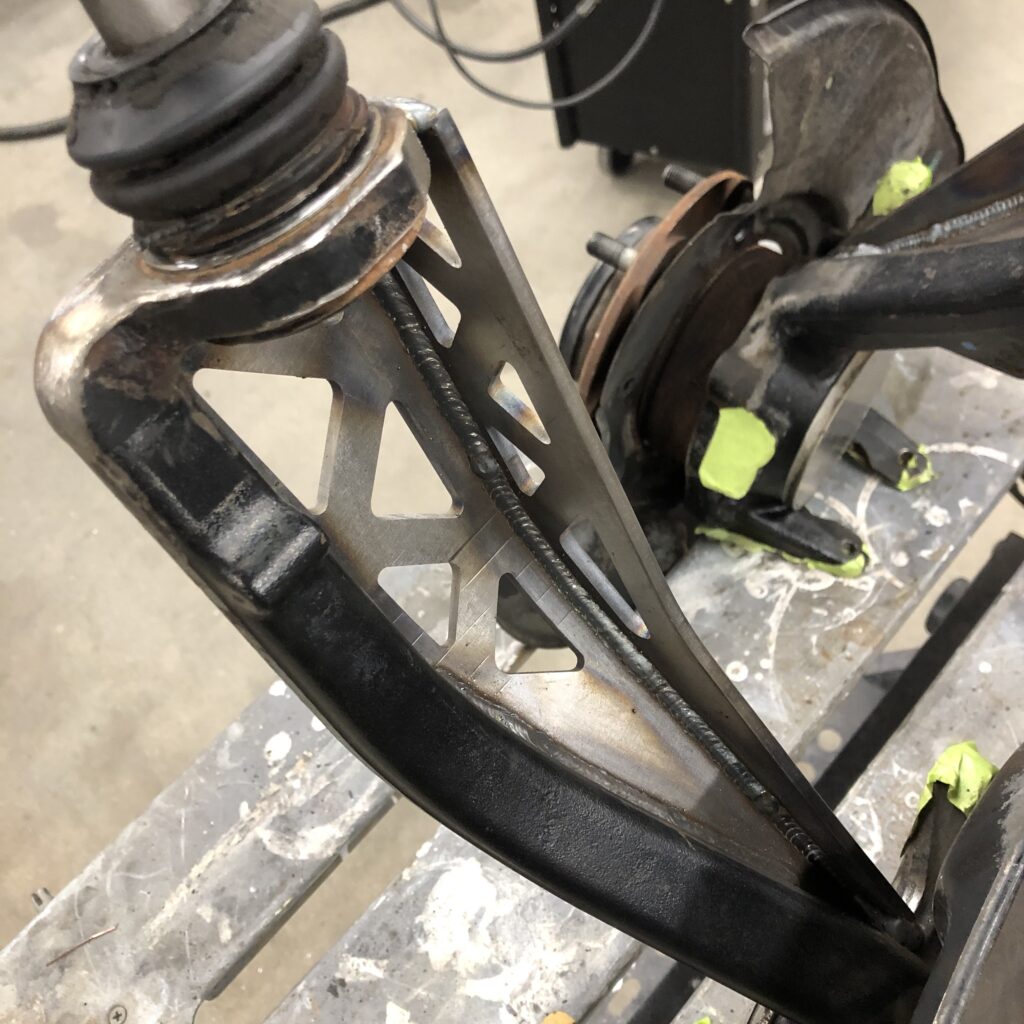
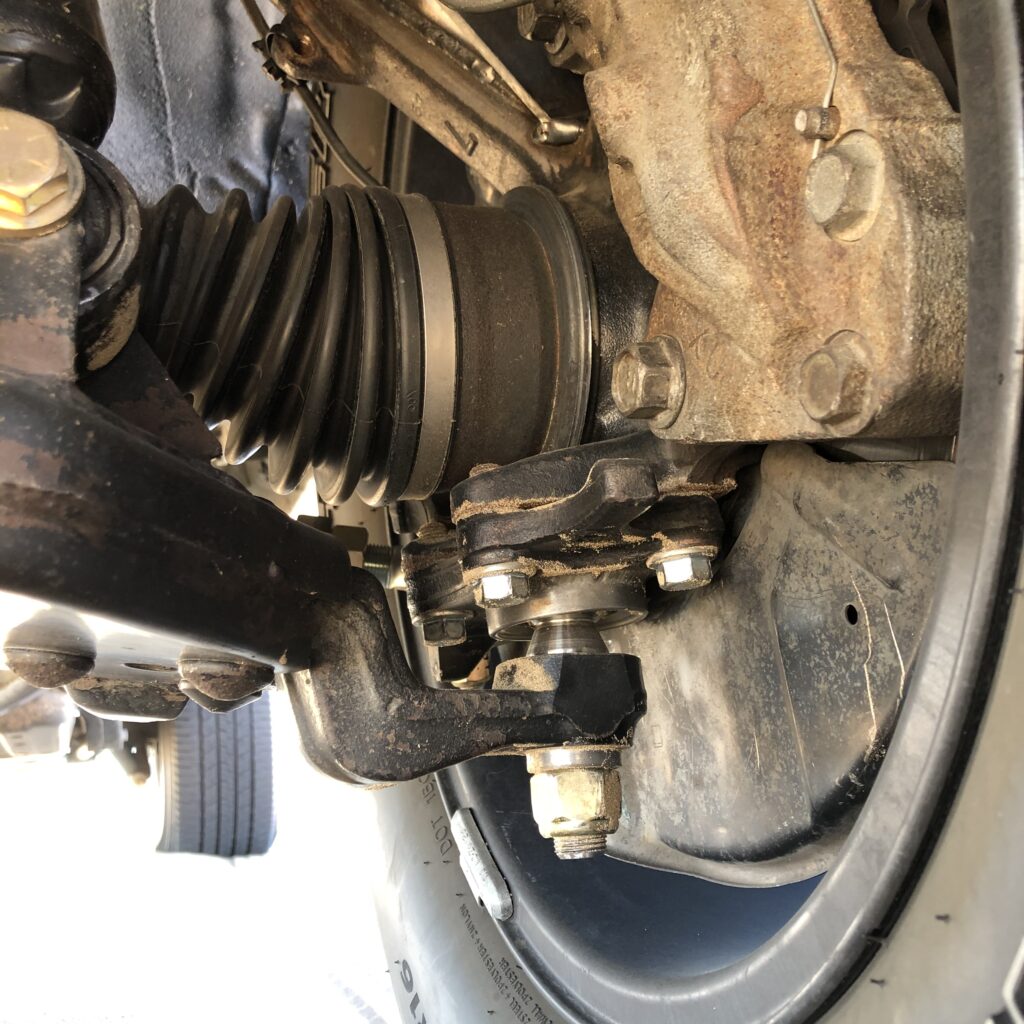
The steering is a full lock here – straight ahead has less angle on the outboard heim joint.
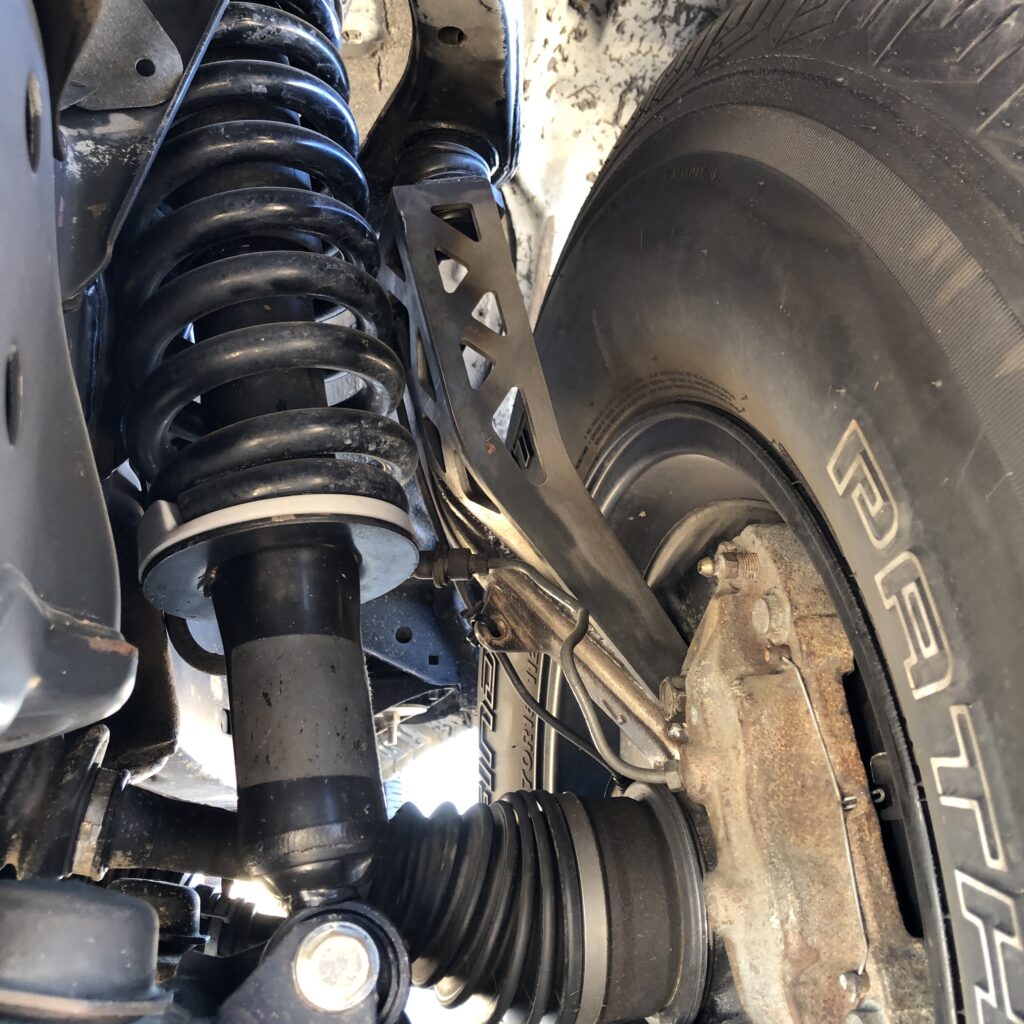
You can see some contact between the coil spring and the top of the spindle gusset – must be too beefy! That will be addressed in part 2.
If you made it here, amazing. I owe you a beer, cheers!