This post highlights the steps in making a set of shock towers for my nitro buggy. I have been making parts for my cars since the very beginning. Back in the day used to make little bits and pieces completely by hand but now with the luxury of CNC equipment making parts like this is much easier and the final product is dimensionally perfect.
Design – The first step is drawing the parts in the computer. I like to use AutoCAD to make a basic line drawing. I start with measurements of the stock parts that I use as a baseline. From there I’ll make adjustments to geometry, change the aesthetics, or remake the same part in a different material.

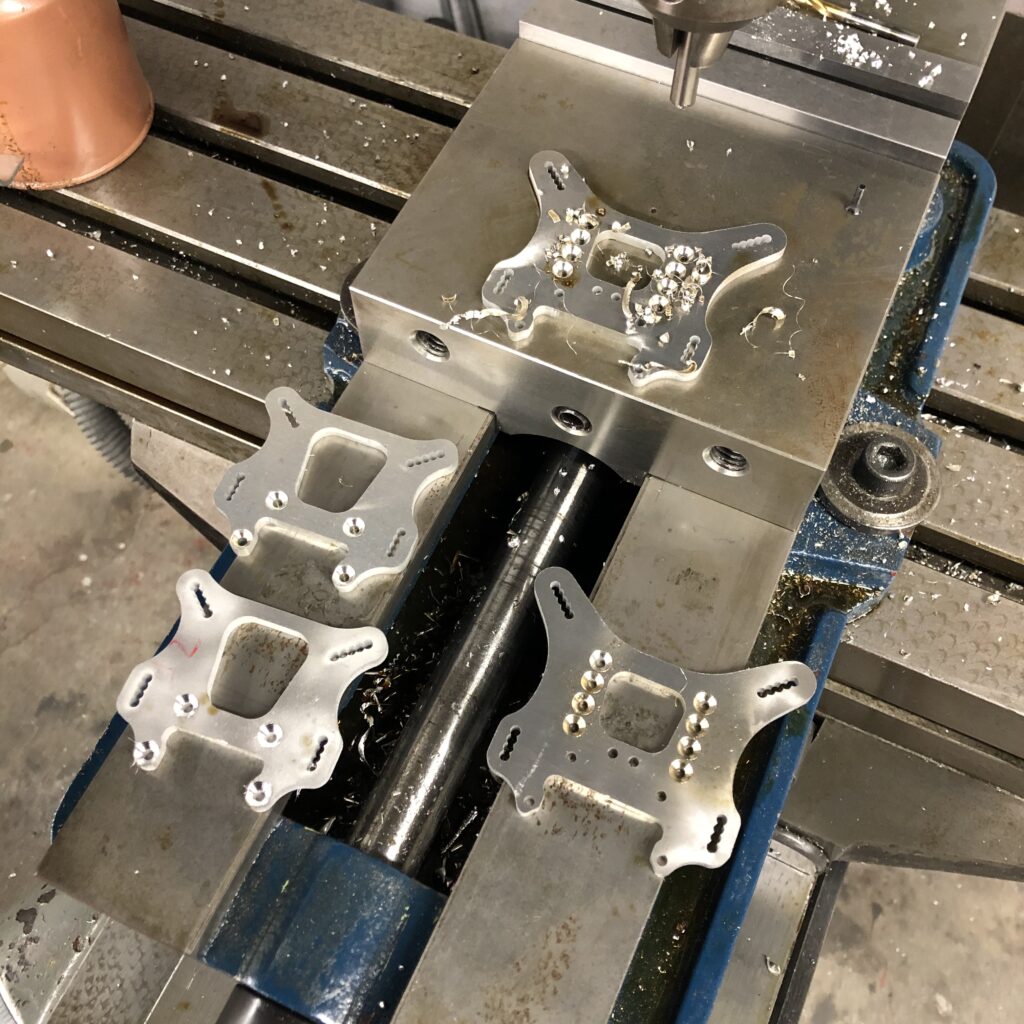
Setup – In the layout program of the water jet machine the line drawings are converted into the tool path. This is what directs the cutting head of the machine. Seven and a half minute cut time. This is the easiest seven minutes of the job.
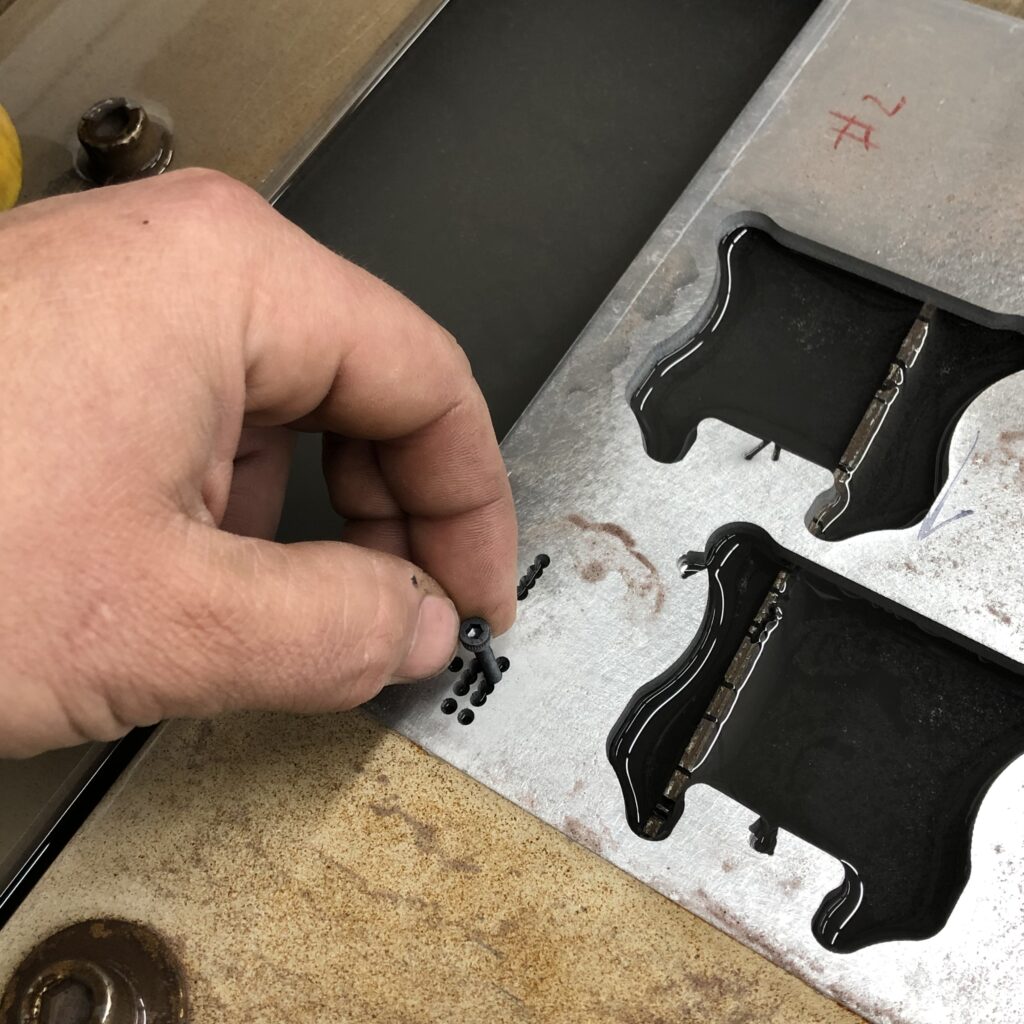
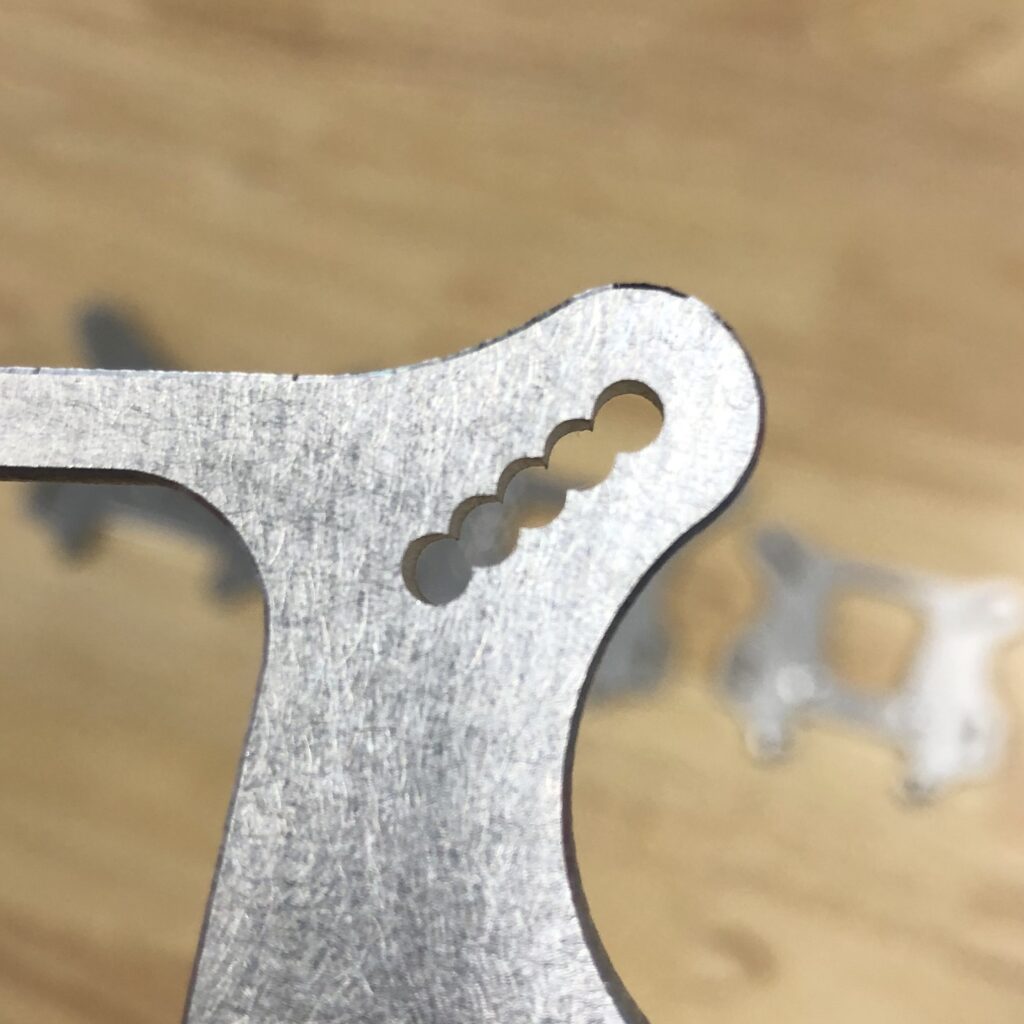
Cutting – BUT First, Dialing in the machine to get the perfect fit for 3mm screws. You can see the normal holes and the group of overlapping holes. The correction value is different for both. Corrections are made in .0005″ increments – Amazing!
This is a bit of trial and error – do a test, adjust, test, adjust. It’s a hassle. My original designs didn’t use the overlapping holes, so I just cut the holes small and then drilled them to size. These overlapping holes don’t like to be drilled out. Eventually, I got the fit to where the screws slid into the holes with little effort but no slop – well worth the effort!
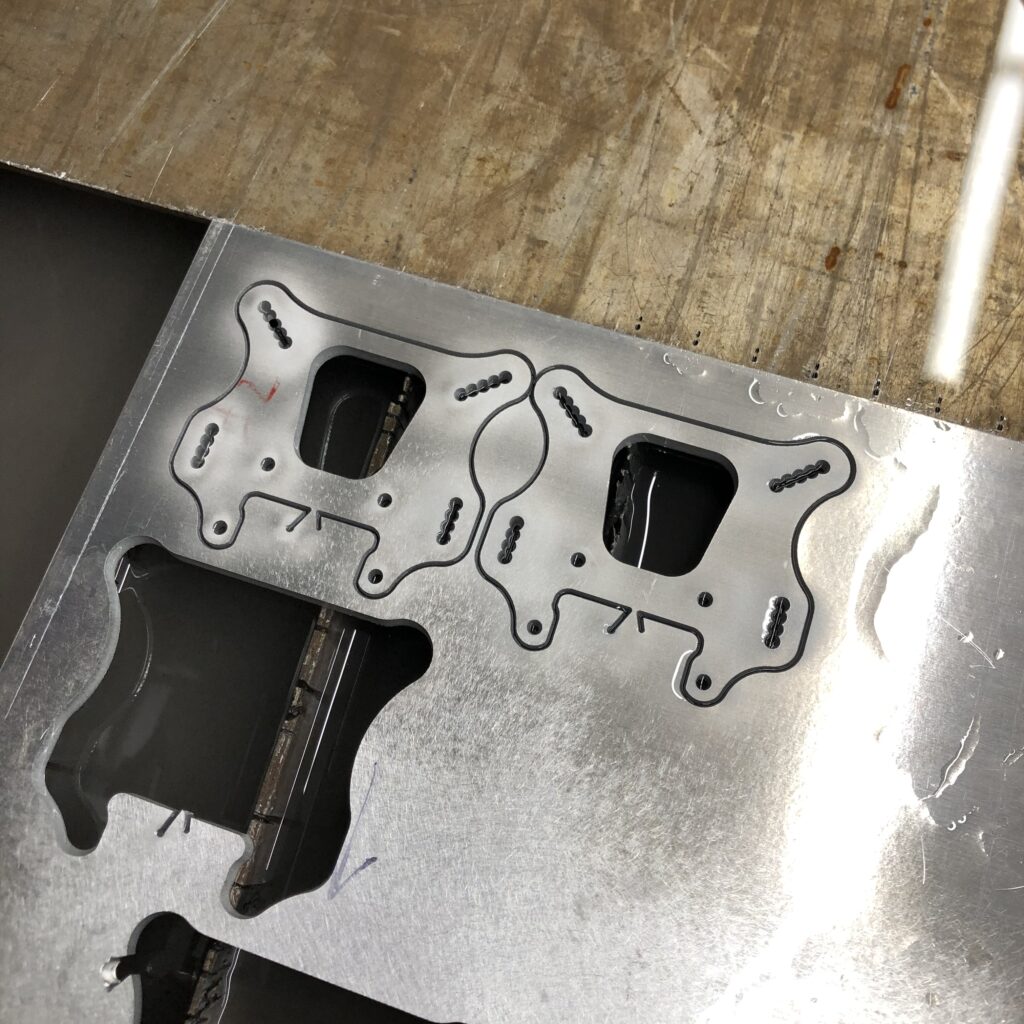
Front towers made of .185″ 7075 Aluminum, Notice the little tabs to hold the parts. It is nearly impossible to retrieve from the bottom of the tank should they fall – been there, done that.
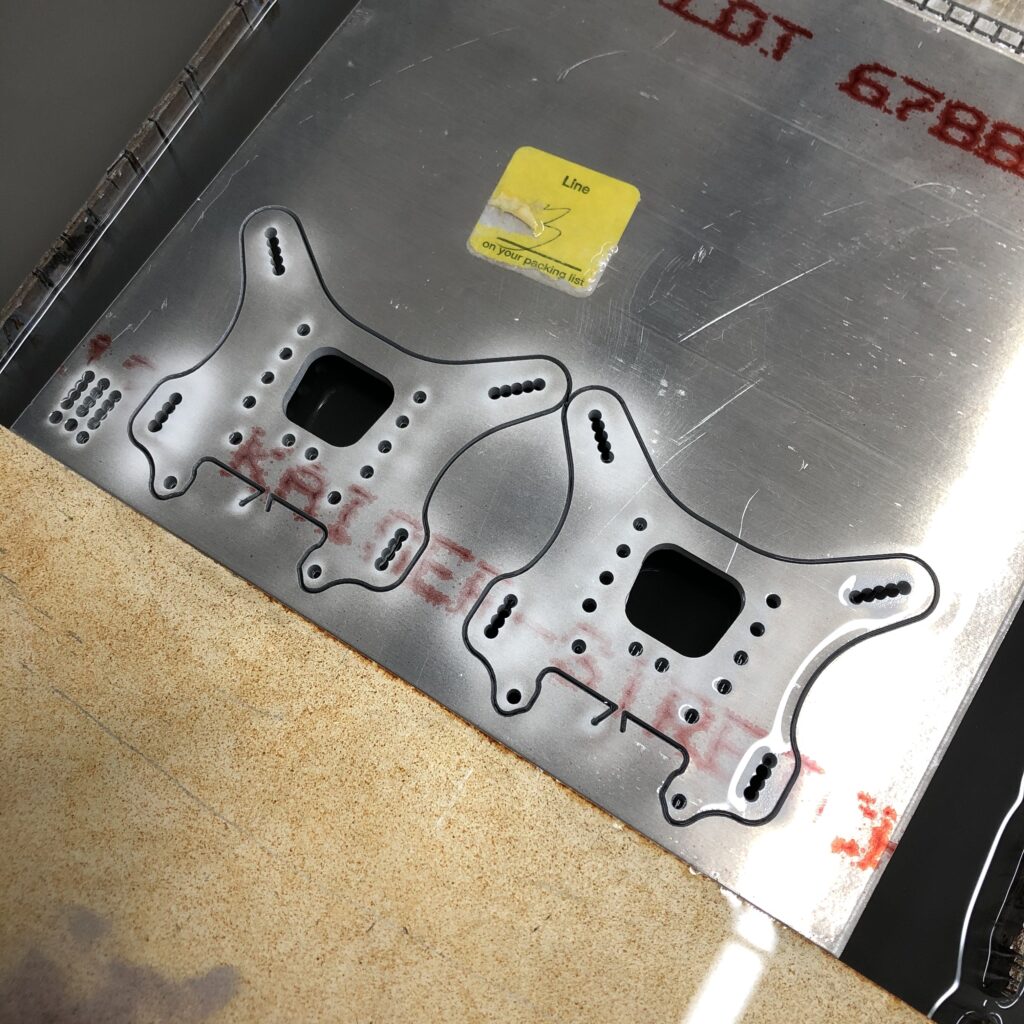
Rear towers made of .160″ 7075 Aluminum, notice more test holes on this plate. Correction values change with material thickness.
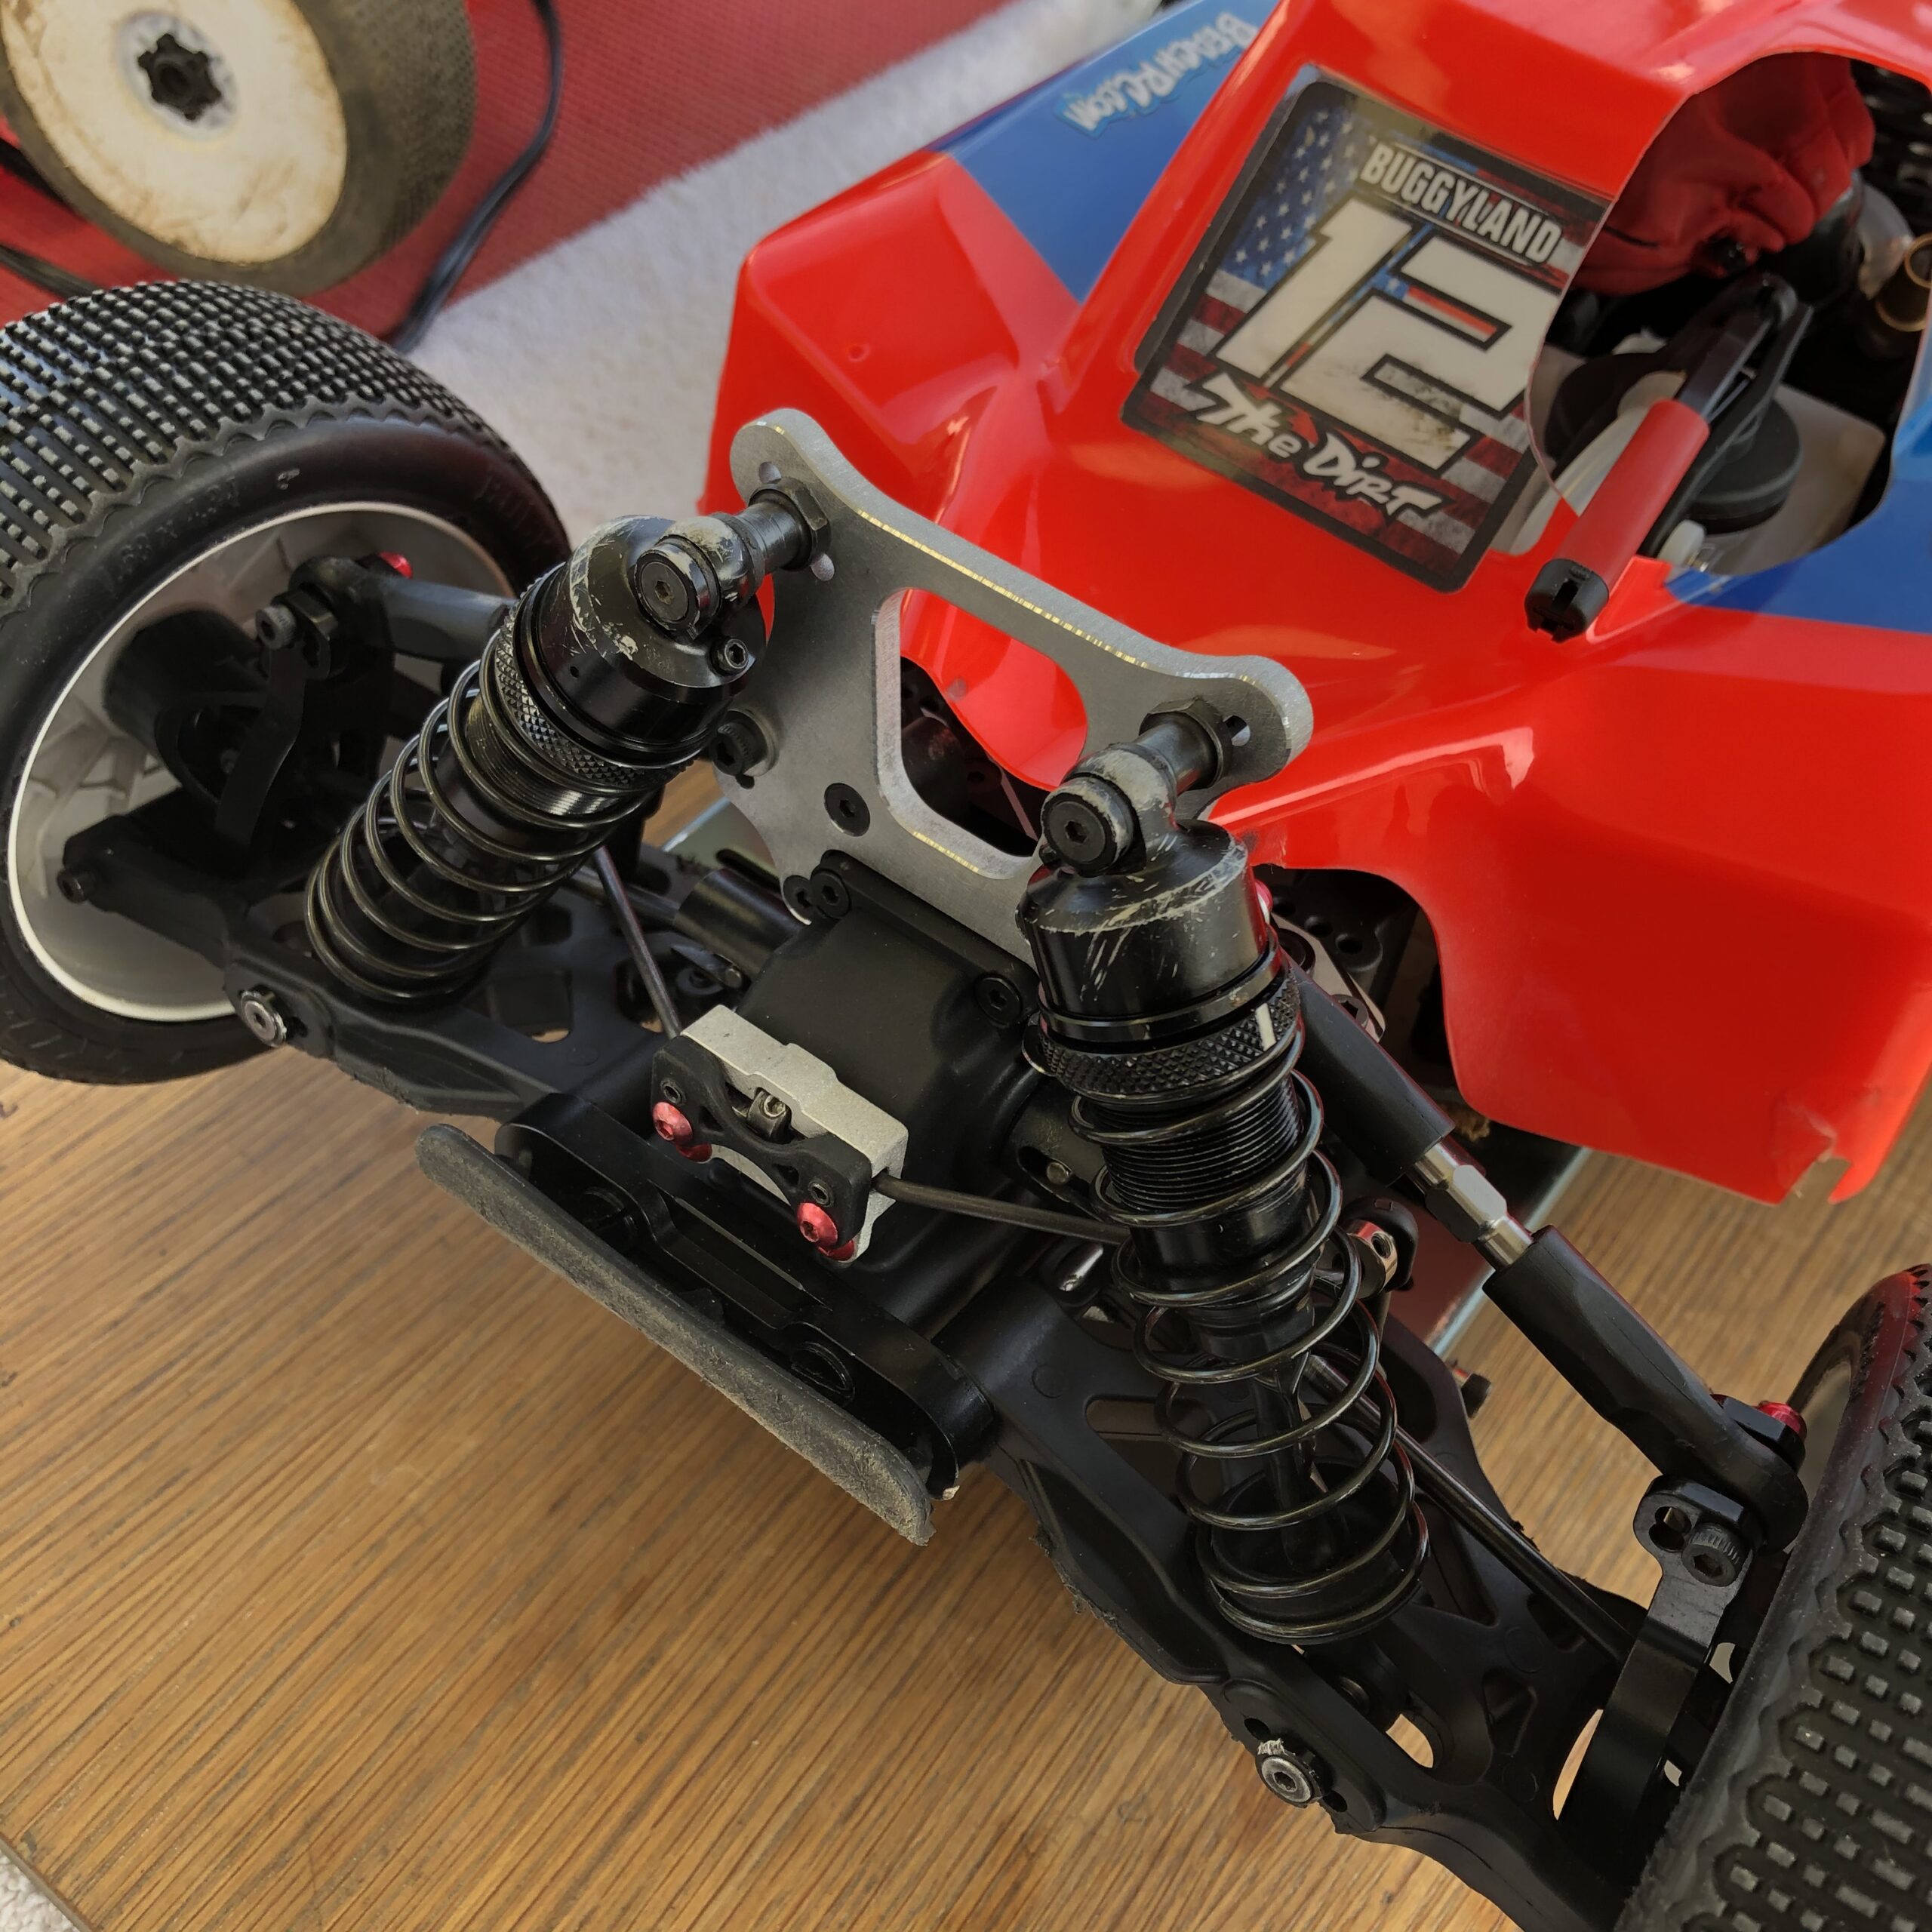
I like to use the AE wing mount as it is one piece and lighter than the stock parts. I have added options to adjust the height of the wing mount. I think it is stronger to use the shorter wing mount mounted higher on the tower as there is less leverage at the connection.
Countersinking – On the Bridgeport, this machine is overkill for this sort of job but I like the ability to tune the rpm for the cutting bit and also the down stop is accurate so I can easily set the depth of cut the same for all of the holes.
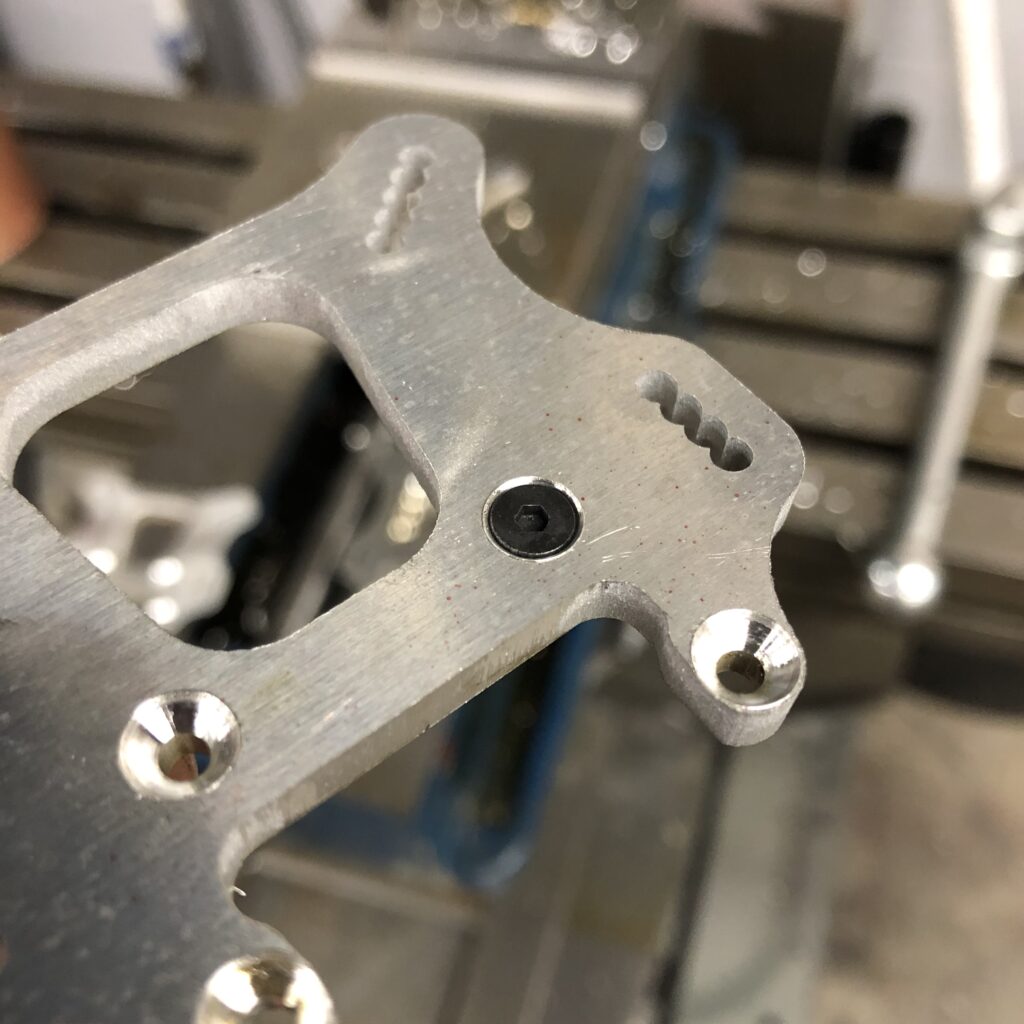
I like to set the screw heads slightly below flush.

Deburring – I made this plate out of a plastic sheet that mounts to the base of a router. I’ve seen plenty of tools like this for woodworking. With a chamfering bit, I can quickly ease all of the edges the same
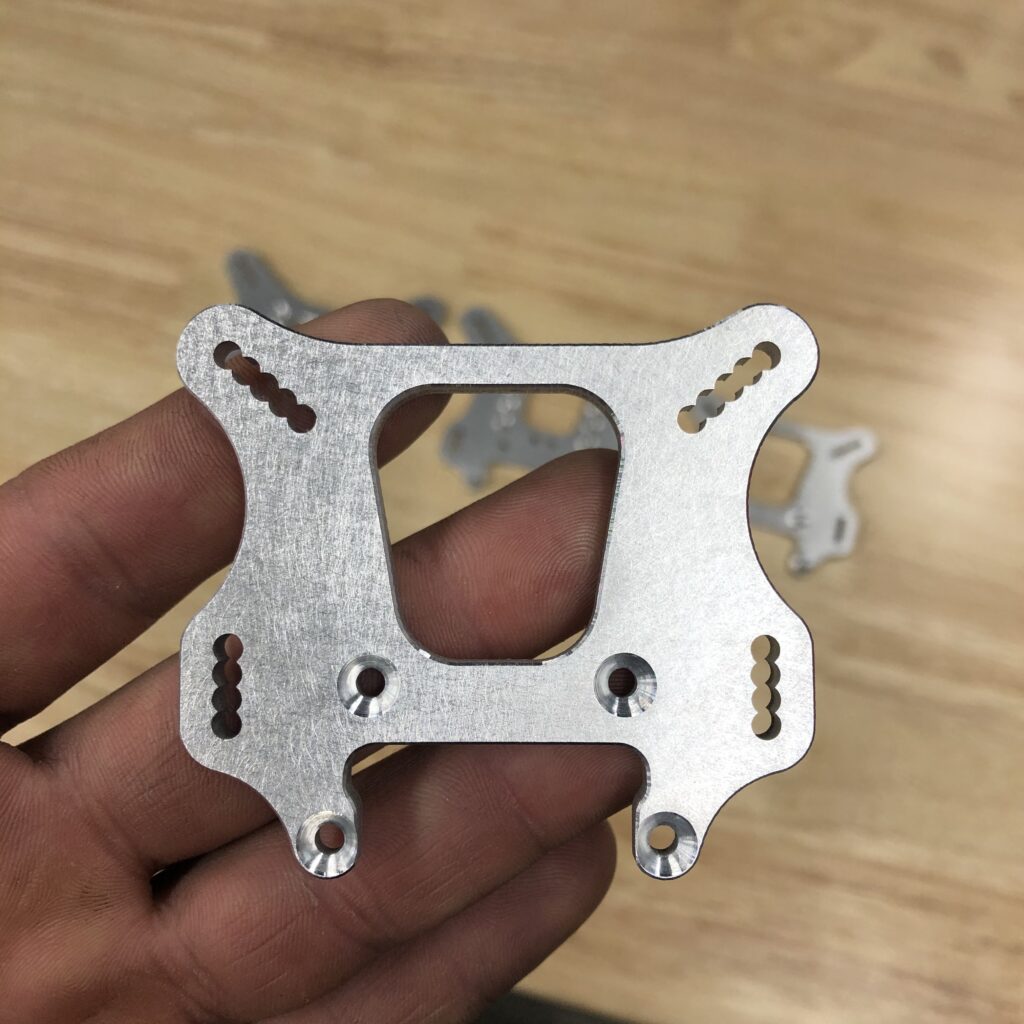
Details – Front shock tower finished with 180 grit on an air-sander. I like this finish for homemade parts and it is easy to keep a consistent look.
Check out the resolution. The same machine setup (nozzle, garnet, psi) cuts 2″ thick stainless steel at its day job. Amazing versatility!
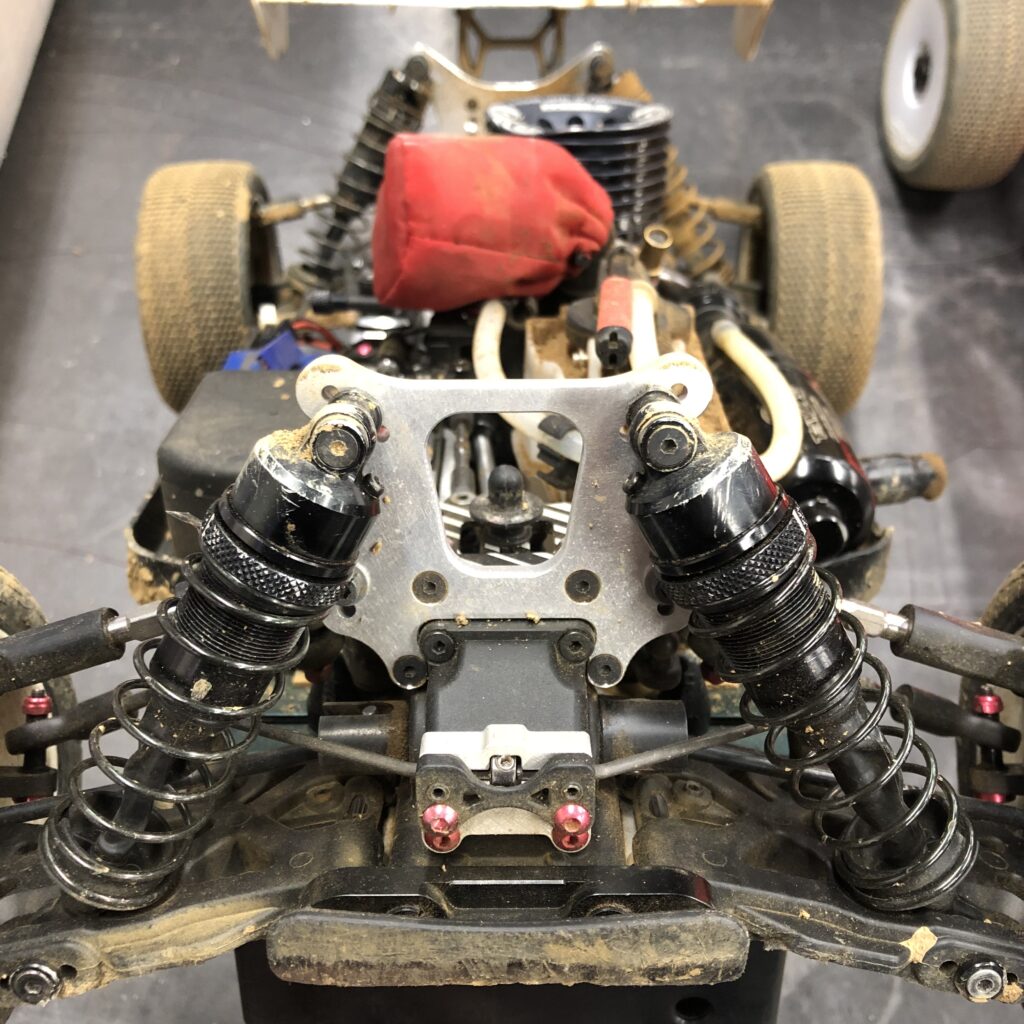
Front Installed.
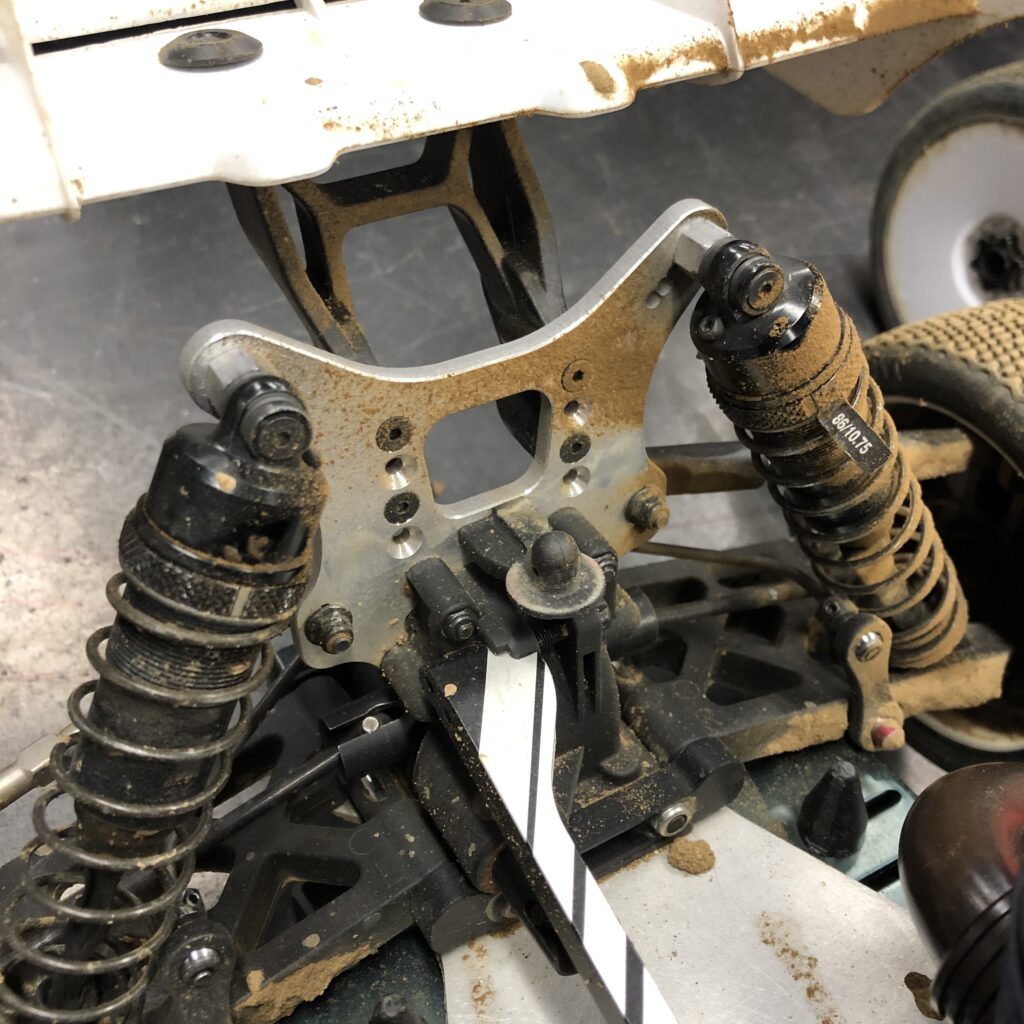
Rear installed.
Performance – 9/10.