This section will be a collection of little bits of info, none of which deserve a post independently, but, a compilation could be of interest.
tinker
| \ ˈtiŋ-kər \tinkered; tinkering\ ˈtiŋ-k(ə-)riŋ \
Definition of tinker
(Entry 1 of 2)
intransitive verb: to work in the manner of a tinker
especially: to repair, adjust, or work with something in an unskilled or experimental manner: FIDDLE
// always tinkering with his car
transitive verb: to repair, adjust, or experiment with
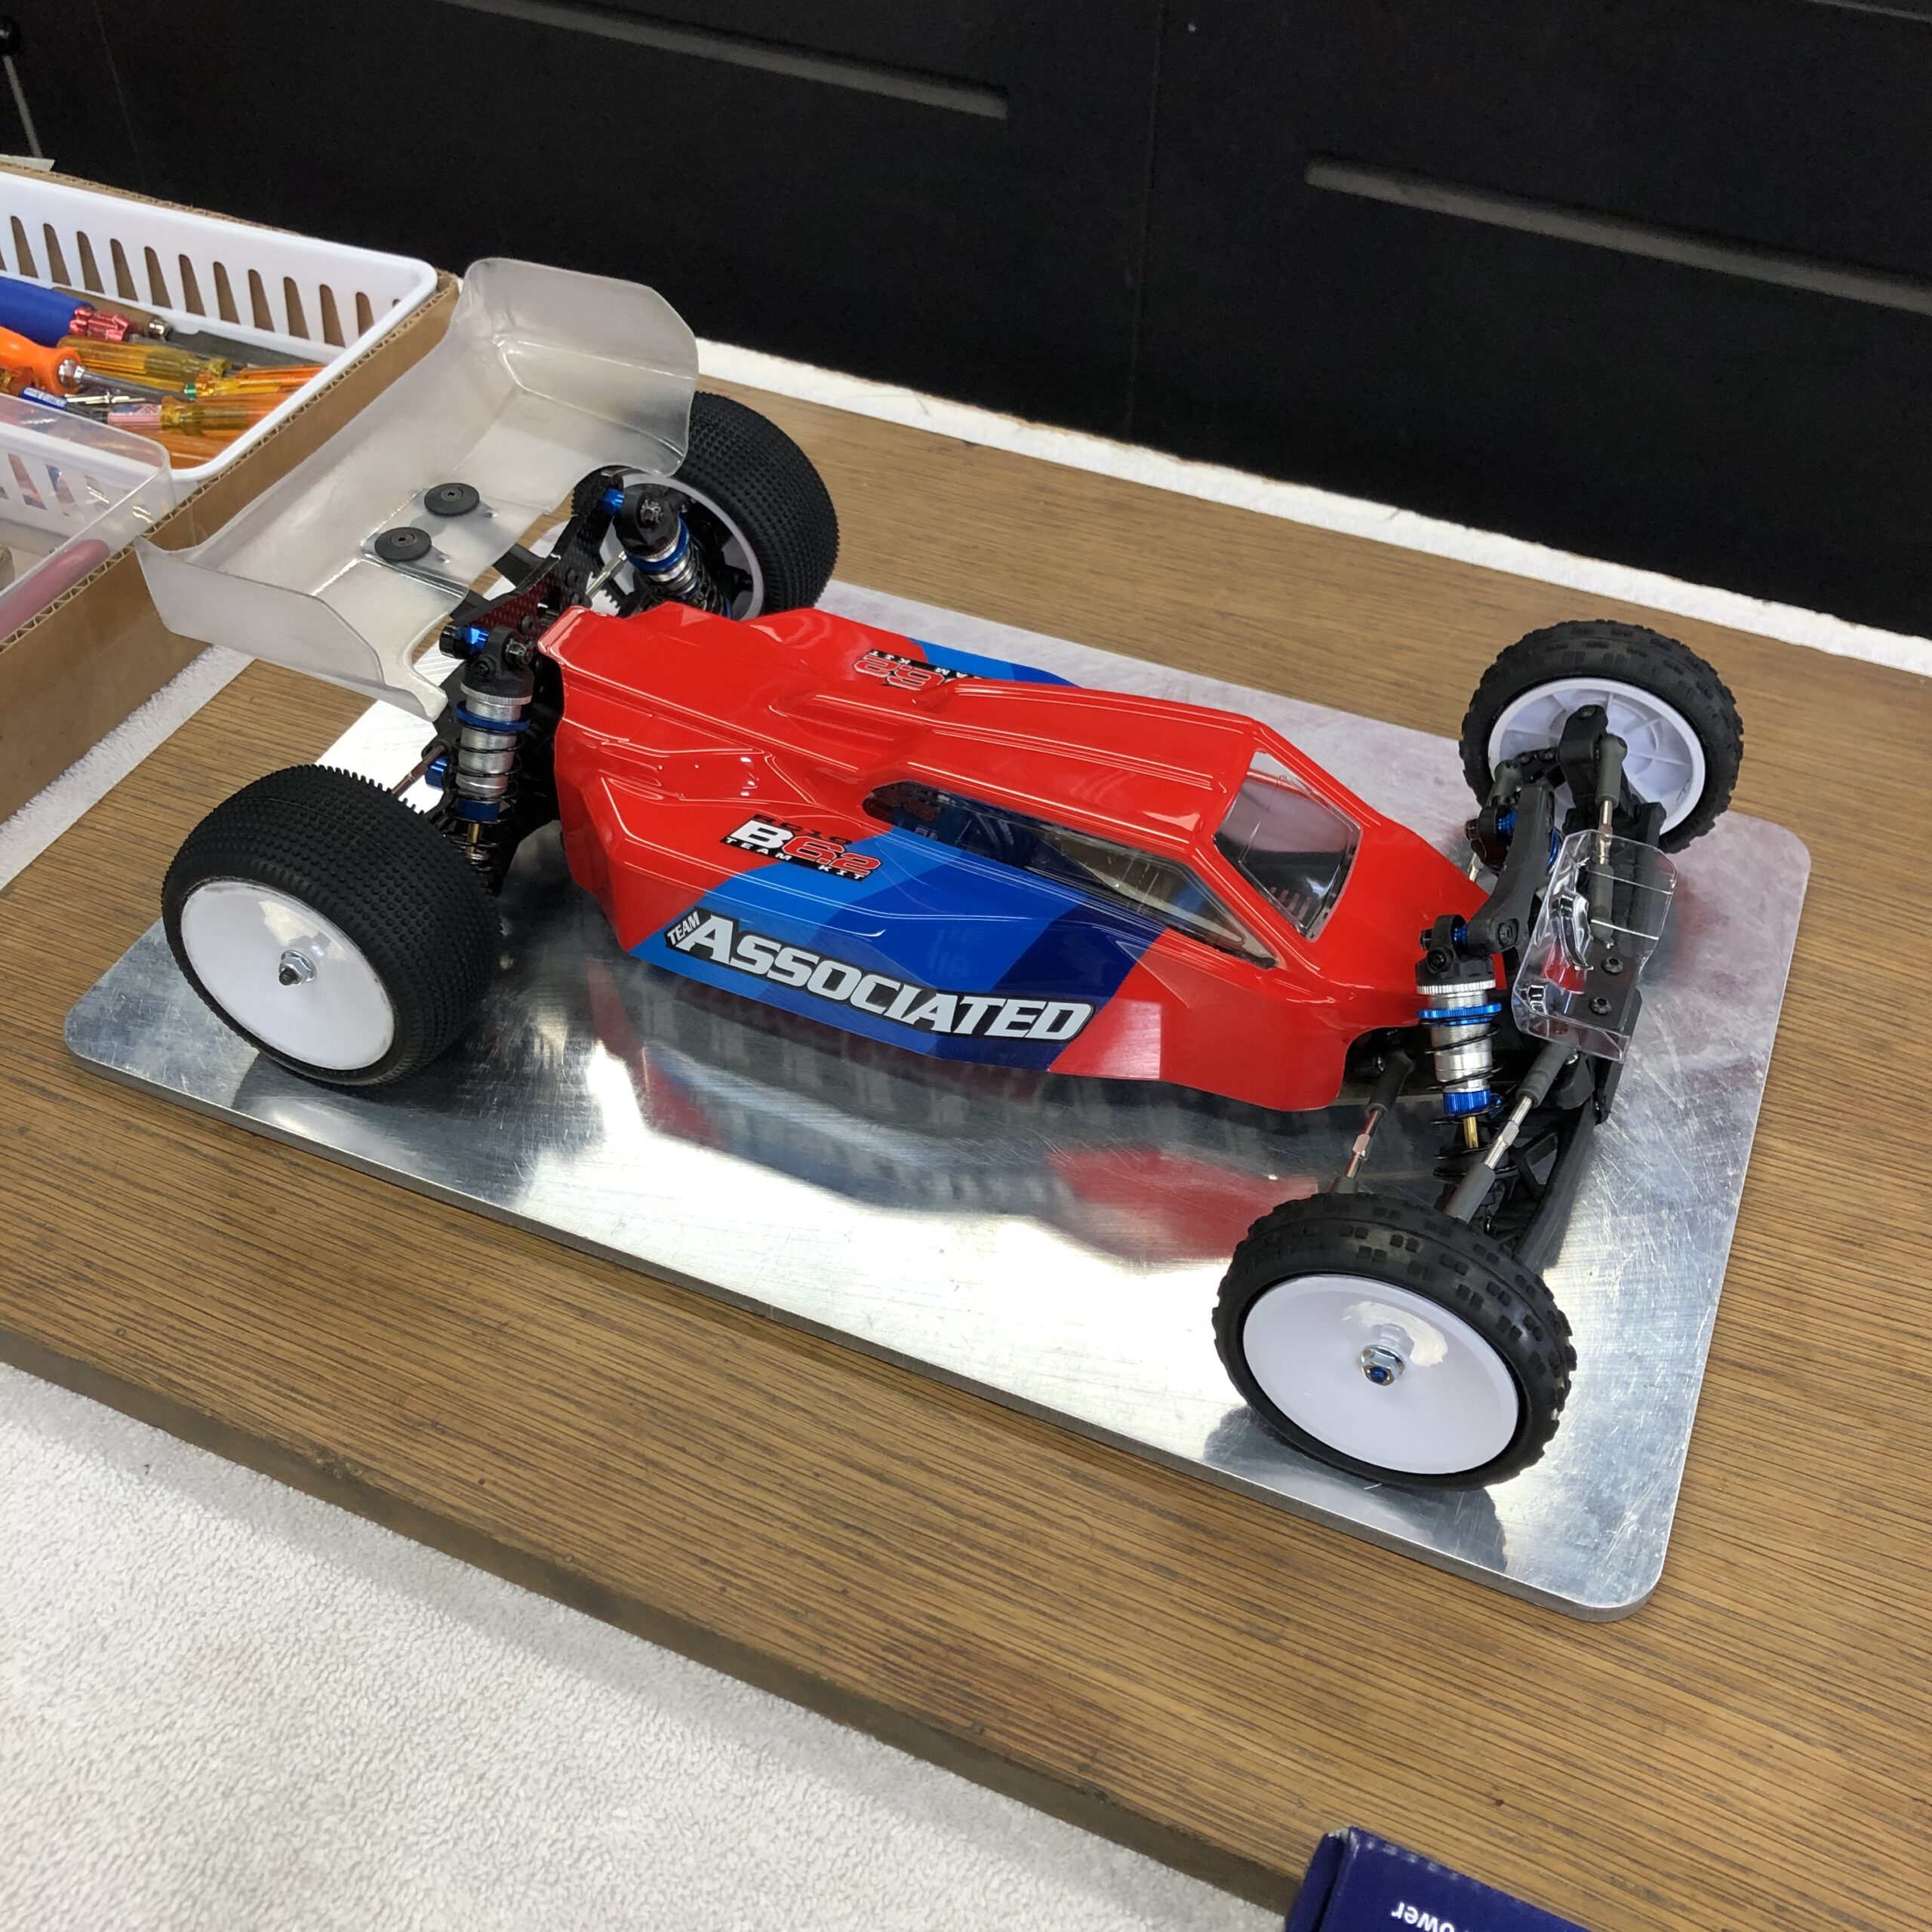
Ignore the unskilled part. Such an adjective would only be an insult. I do like the transitive verb definition, so I’ll go with that. I’m repairing, adjusting, or experimenting with my buggy. Seems acuate. As much fun as racing is I also enjoy the tinkering between the races – trying to improve either performance, reliability, or ease of maintenance. Here is a brief review of my buggy and what I’ve been up to lately.
I’ve raced my B6.2 a handful of times at my local track Rise Up Hobbies. These are modest club races on Wednesday nights that draw about 30 entries, 6-10 of which are in the expert stock buggy class. At my first outing, my fastest lap time was a 13.83 while the race winner would turn a 12.89. That’s bad. About one second off per lap and if we compare averages it’s only worse. In my defense, the first laps I got with my car were in the warm-up of the first qualifier so I had a lot to learn.
At the second race, I was able to improve to a 13.35 to the winners 12.87. Not as bad. I was starting to get a feel for my car and figure out the track layout. In the 3rd race, I turned a 13.20 to the winners 12.93. Now that I was feeling comfortable with my car and ready to really push for fast laps – that’s when the car started to push.
Up until then, I had been driving “below the limit” of the car so I didn’t notice understeer. With the stock set up, the car is extremely stable and while the initial steering response is good, the corner speed seems slow. The rear of the car generates a lot of grip – some of which seems like weight distribution (too heavy on the rear) and some like suspension geometry (weight transfer in corners). I needed to get more steering and “rotation” – (in air quotes because when I think rotation, I think slip angle, and I don’t see these cars sliding on carpet) in order to improve lap times.
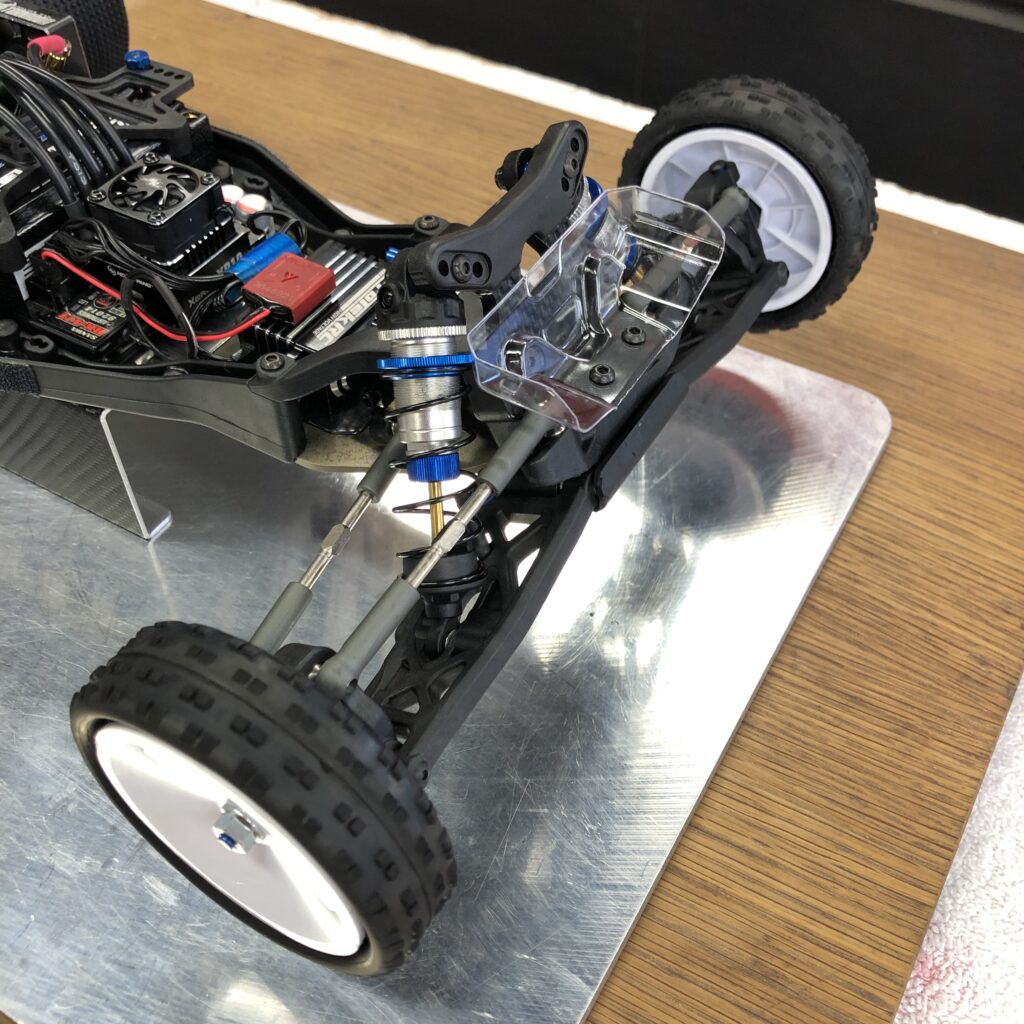
Some small setup changes I’ve made were moving the rear hubs and arms back. I feel like the longer wheelbase won’t help but less weight on the rear can’t hurt. Front hubs back, same thing – a little more weight on the front. I took 1 mm out of the front and rear inner ballstud spacing to raise the roll center and keep the car flatter while cornering. Lowered the front axle 1mm to try to get the front tires to bite more. Battery all the way forward. Lastly, I increased the anti-squat from 1 to 2 degrees to prevent weight transfer to the rear while on-power.
I know that most people use the brass front bulkhead (30g) but I’m going to try to keep my car as light as possible as I think this will make landing jumps easier and also the car will change direction quicker, but, I have one in my parts box just in case I get desperate.
Finally, in the fourth race, I was able to get sub-13 with a 12.96 to the race winners 12.51. In the main, I was able to “race” with the leader when he came around to lap me and I was able to follow his lines around the track. That helped me out a bit as he’s really good at connecting sections of the track in one constant state of “flow”. Also, my consistency improved from 86.85% in the first race to 90.33% in the fourth. The best drivers have 93-96% consistency, so still a ways to go.
For tires, I’ve been using the same set of Schumacher cut stagger fronts and cactus rears. These tires are now about 30-40% worn and still have plenty of traction. I noticed at one of the races where the guy who won stock buggy had very worn front tires – maybe only 20% tread left. I have tried tire sauce a couple of times and I didn’t like it. The car was only more twitchy and hard to drive but not faster. Now that I’m feeling comfortable with my car and have a decent baseline setup, I want to try other types of tires.
I installed the front wing for the main at the 4th race. This came with the kit but I waited to put it on as I felt like I didn’t need extra steering while I was trying to learn the car. It was amazing how much this improved the handling, especially in the higher speed turns. The car didn’t seem twitchy, just more steering at full lock. This was the last setup change I made that got me from a 13.2 lap to a 12.9.
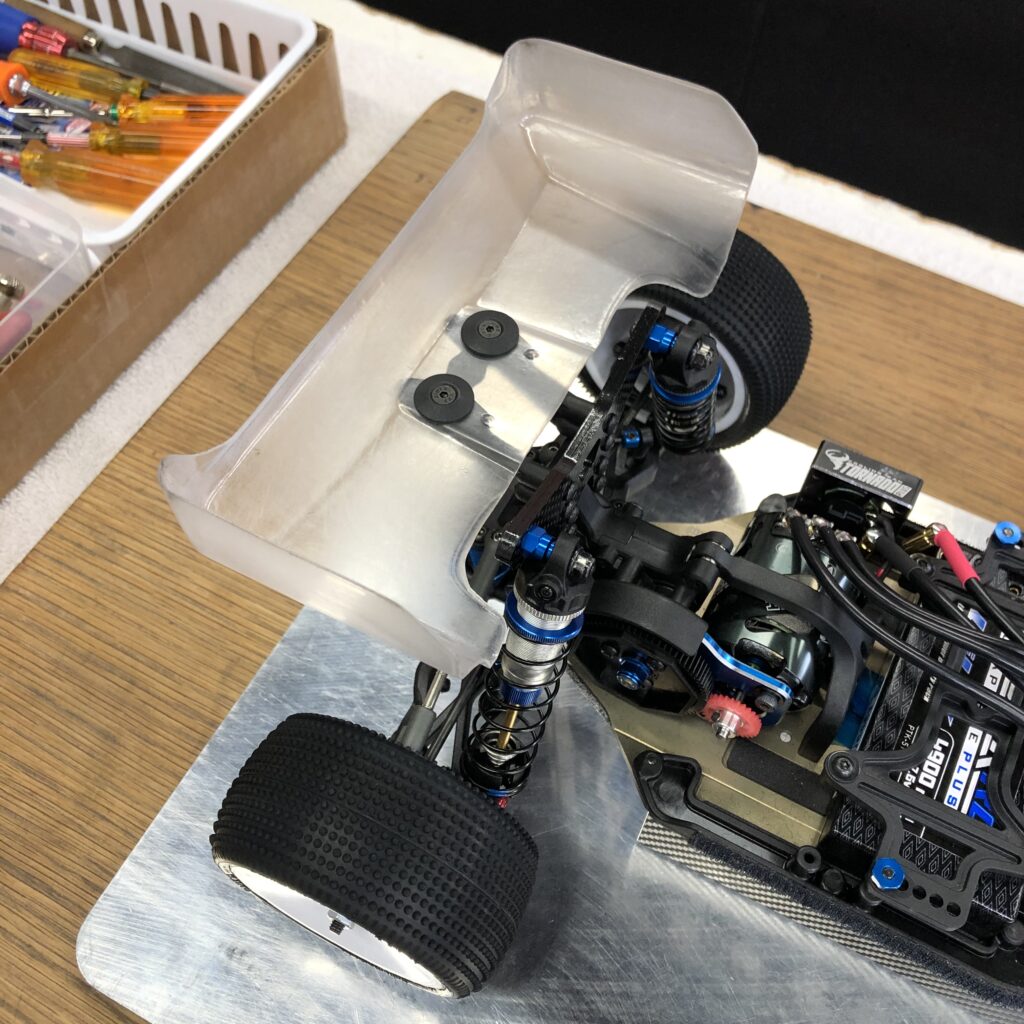
I switched to the Jconcepts wing in the rear and mounted it as far forward as possible. I don’t like the idea of weight or downforce behind the rear axle. This gave the car more steering with quicker response and a feeling in the car that I was more comfortable with. In one of the practice sessions, Chris ran his car without the wing and while it cornered better, it jumped horribly.
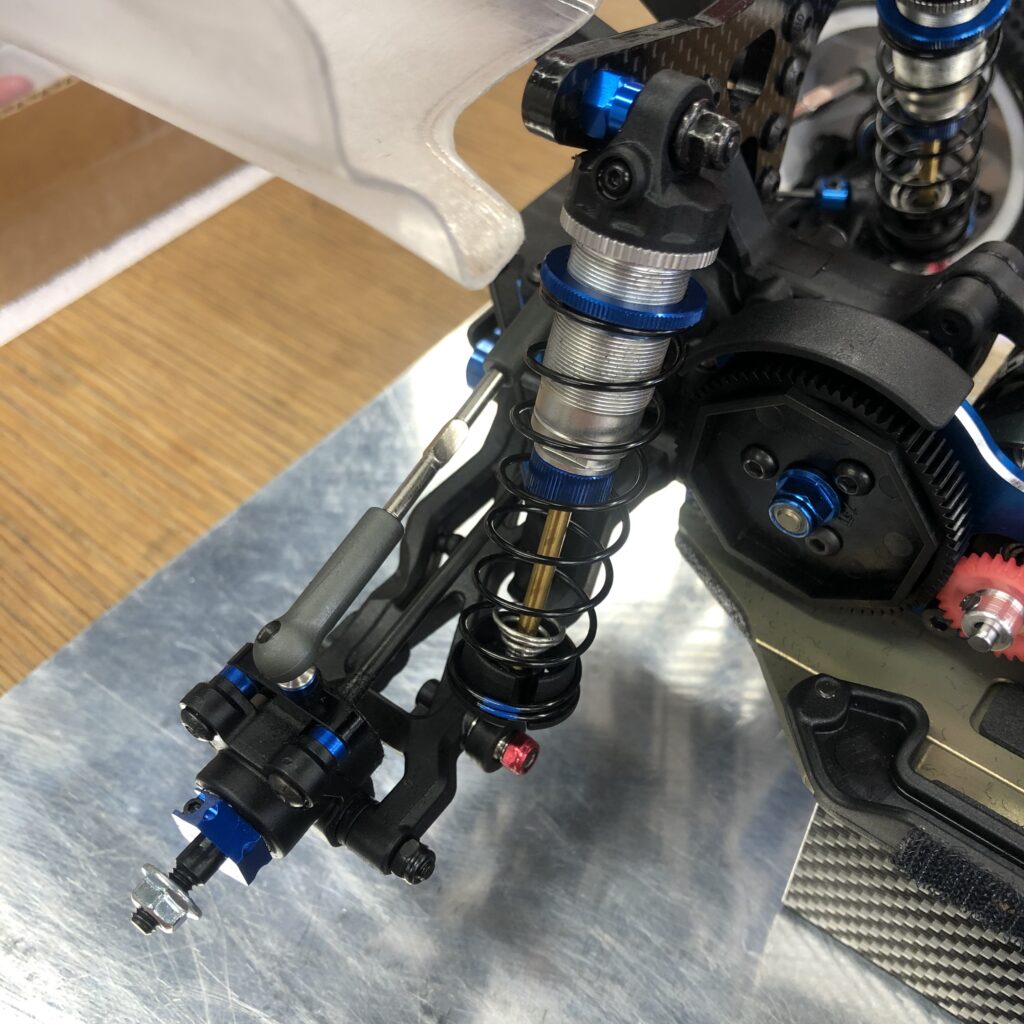
On the rear shocks, I replaced the lower m3x14 button head screws with m3x16 set screws and secure the shock end with a lock nut. This way I can use the associated wrench for the upper and lower fasteners and it is much easier to remove the rear shocks compared to before with a hex driver. Also, I replaced the .030″ external spacer on the rear shocks with these little conical springs. When fully compressed they are very close to .030″, so the up-travel is the same but they prevent the car from rolling too far in the corners. The jury is still out on those.
I opted for the aluminum slipper eliminator from Associated as I figured the stock clutch completely tightened down was just dead weight. At the same time, I changed from 28/72 pinion-spur gear to a 29/75. The ratios are really close (from 2.57 to 2.58) but now with the larger gears, the motor is a bit further forward in the chassis.
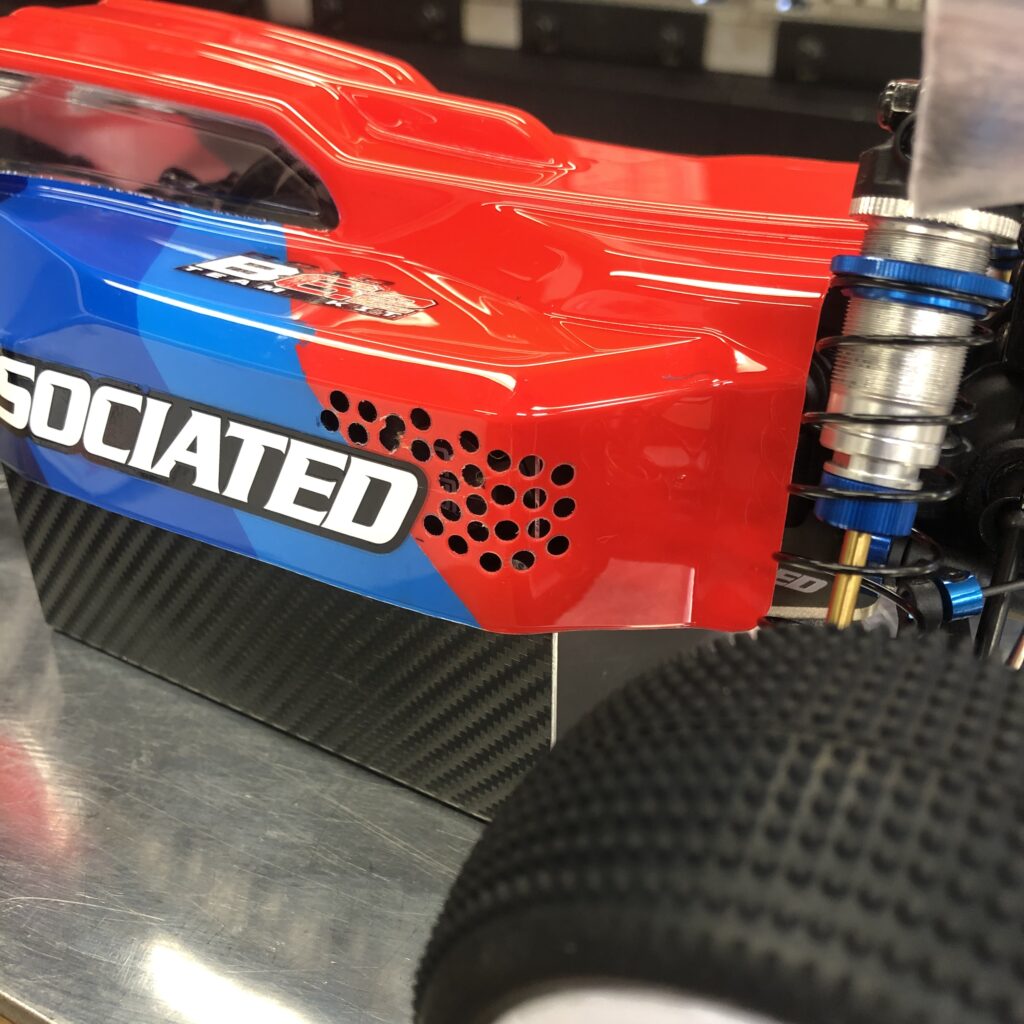
It gets pretty warm in the warehouse the track is located in. Imagine summertime in the desert – a couple of swampers can only do so much. I had slight issues with cooling. My motor was coming off a little too hot for my liking, around 160 degrees. First, I added holes in the body to give the fan a way to draw air in. That helped a bit maybe 5 degrees or so.
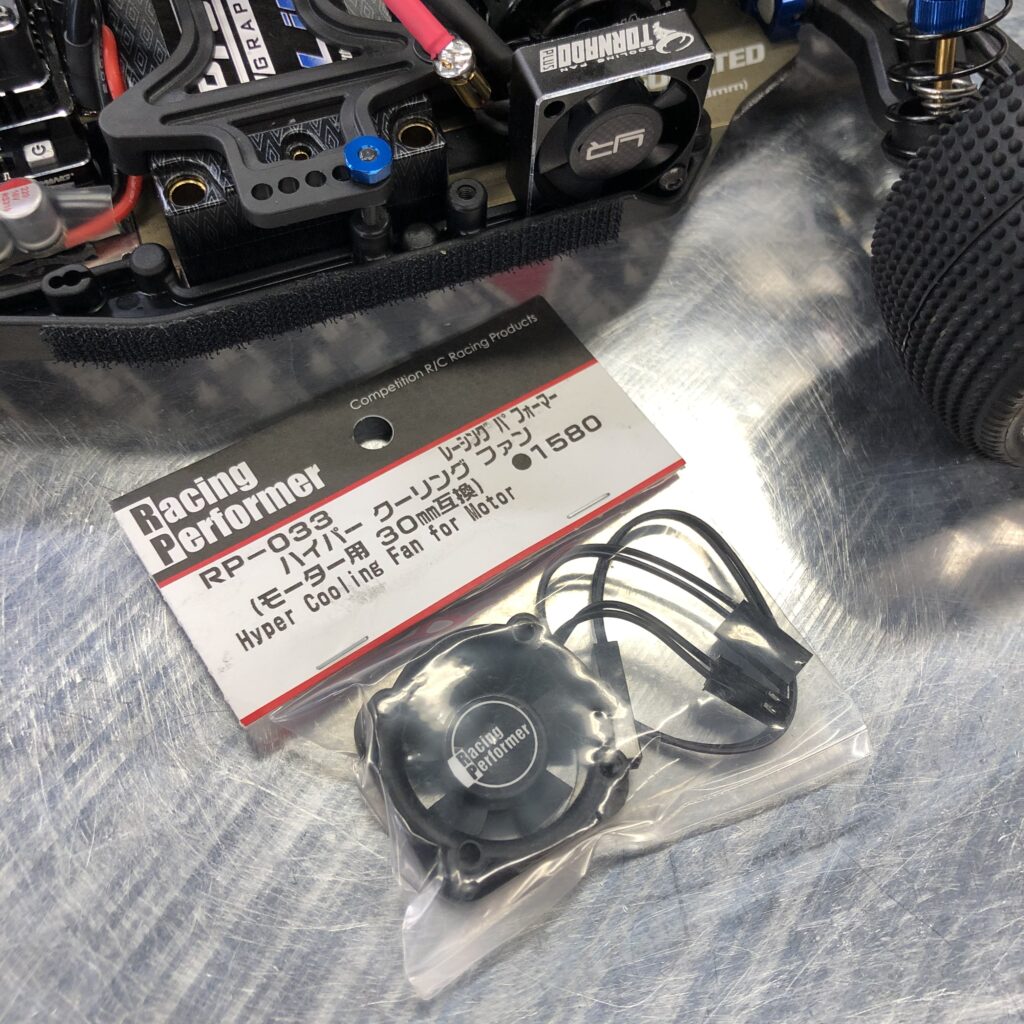
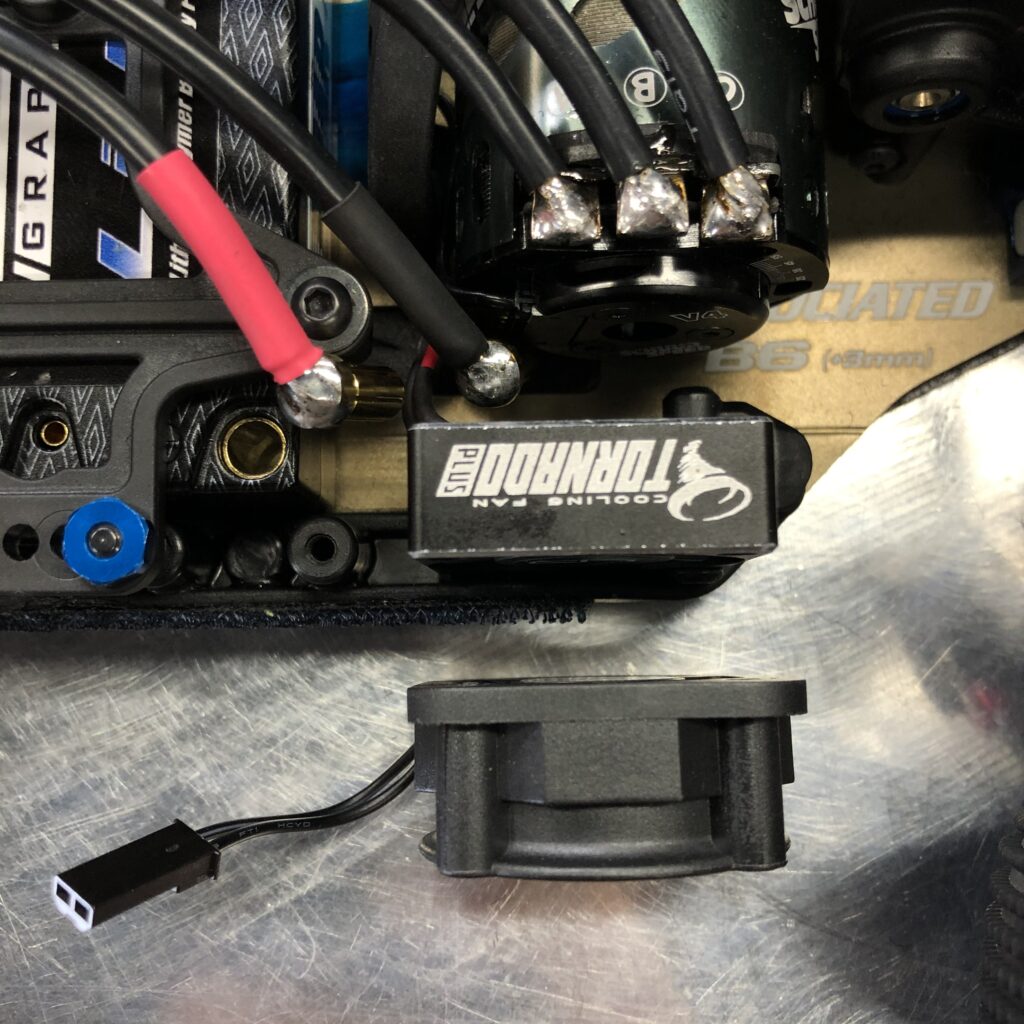
I got this Yokomo fan from amain. Both my Yeah Racing and this new Yokomo fan are spec’ed at 30x30x10mm but you can see above that the shroud is much bigger on the new one. Side note: I was tipped to solder the fan directly to the battery input on the ESC that way it can be powered down after a race but the fan stays on to cool the motor. This is great practice because when the car comes off the track the motor temps will continue to rise before cooling down. Also, I like this plug close to the fan just in case it fails I won’t have to solder in a replacement.
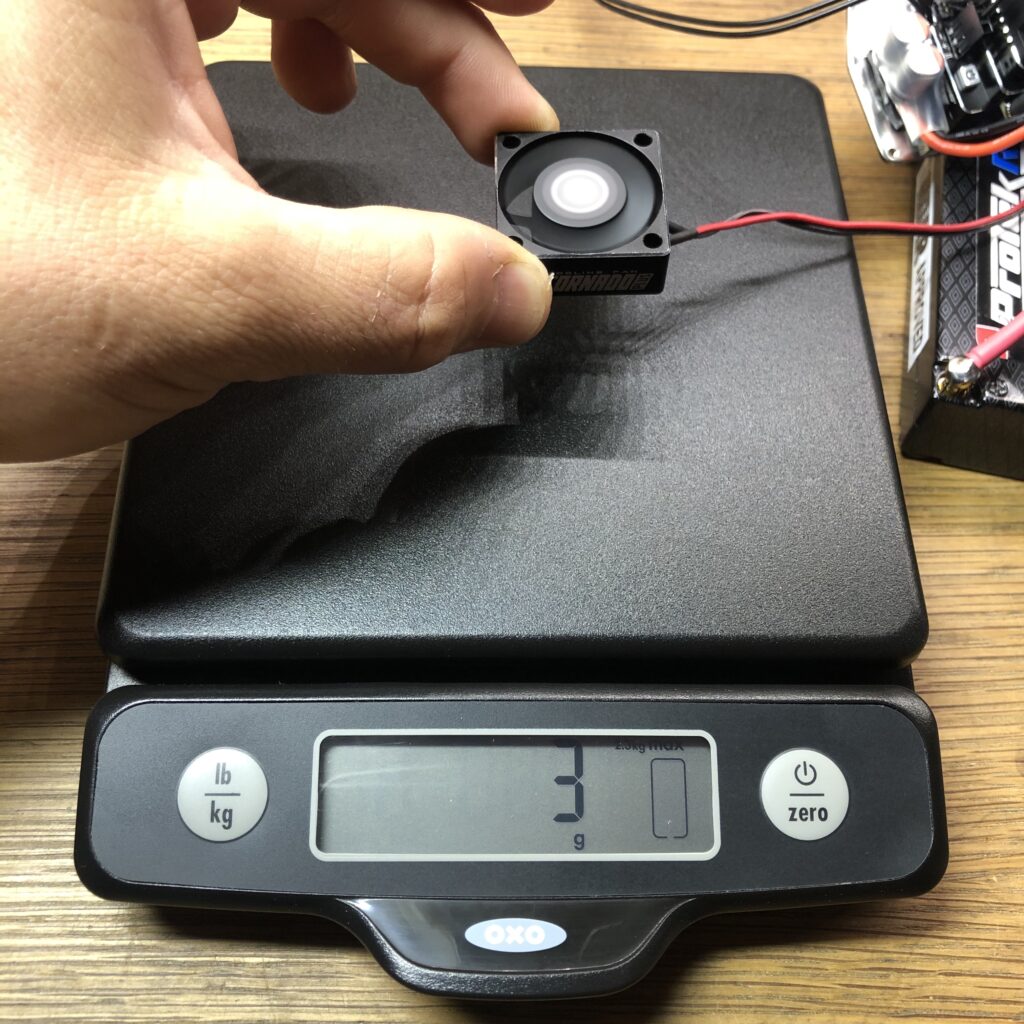
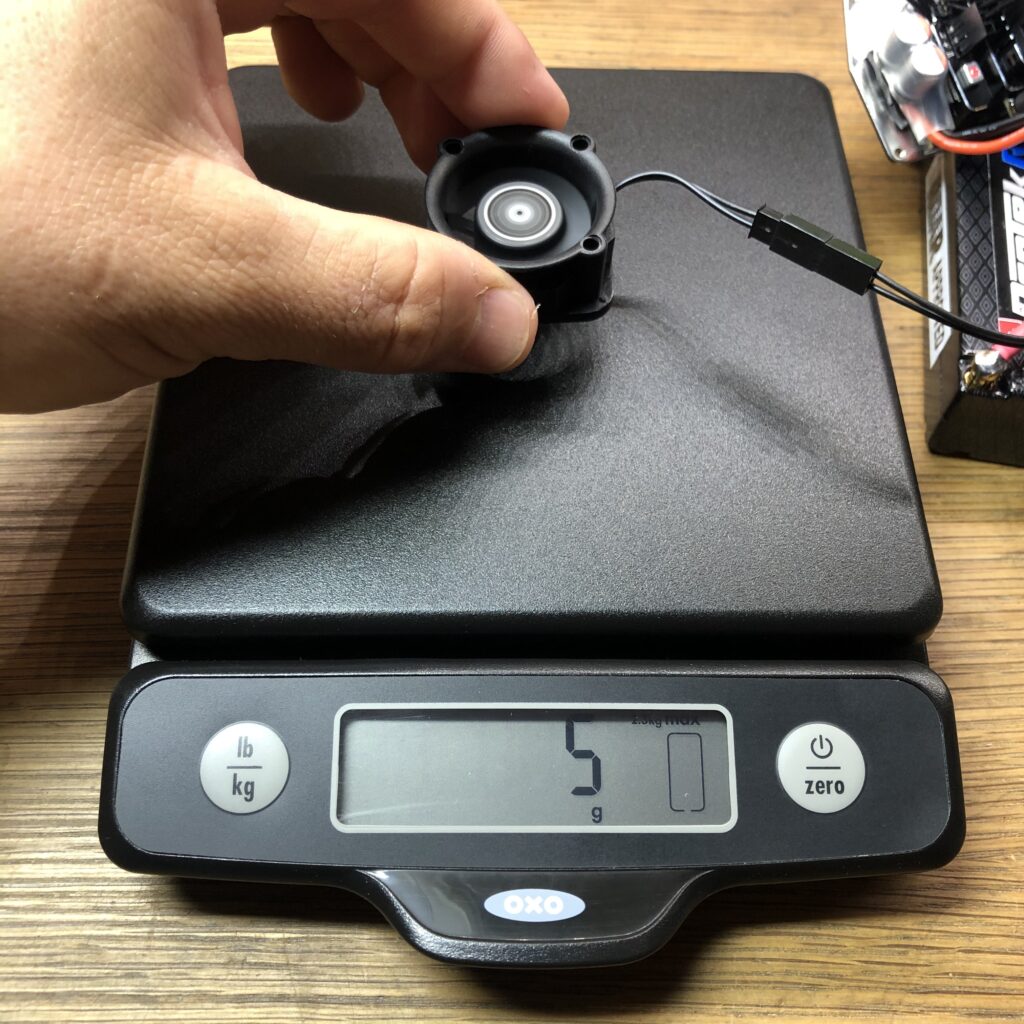
Roughly 60% more air pressure from the new fan on the scale, not a bad sign!
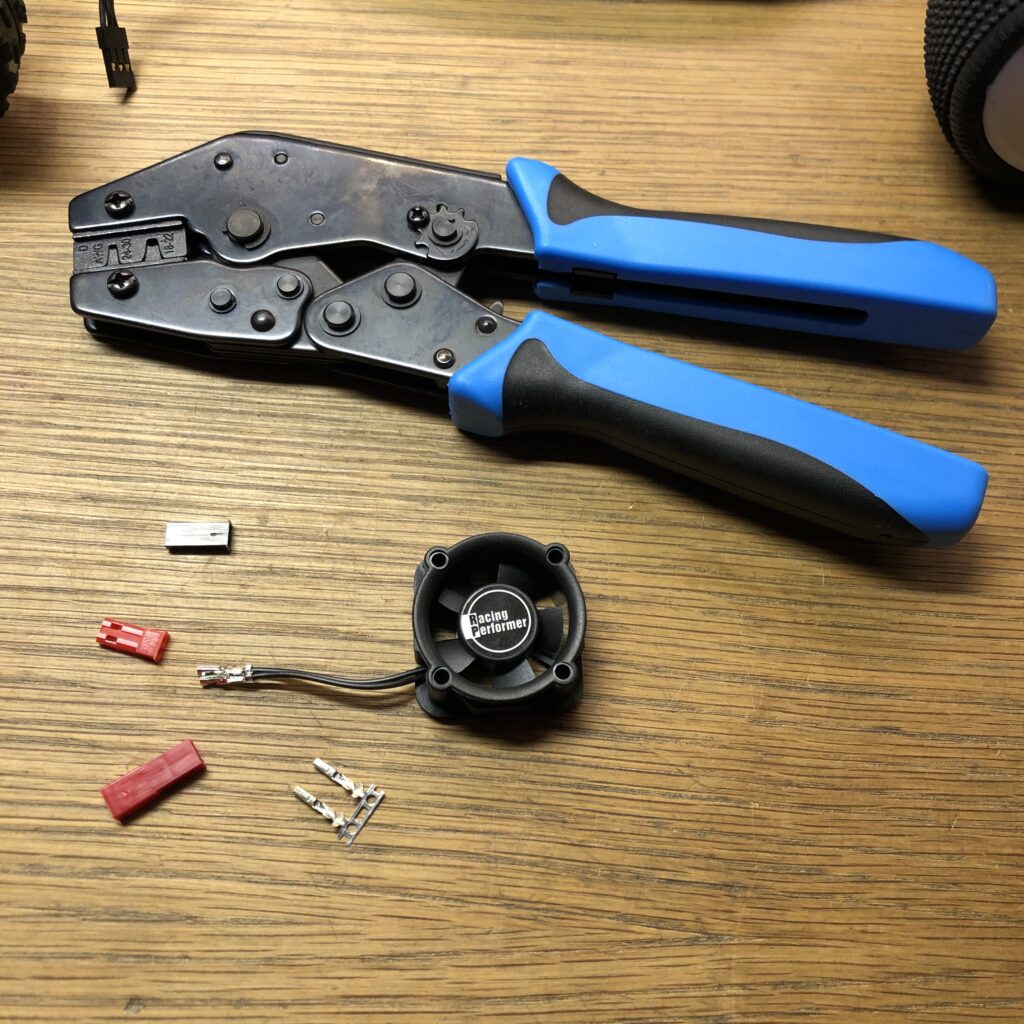
I’ve been on the lookout for a tool to crimp pins for servo plugs. After much research, I decided not to get the set that amain sells as these are generic mini crimpers not specific for these JST type of pins. Then I came across commercial-grade crimp machines which are supposedly how these are done in the factory. As much as $400 on eBay, lol.
Update: Amain now stocks blue handle crimpers similar to mine.
I got these crimpers from Hansen Hobbies. $40 shipped. Not bad. Their website seems a little sketchy but I received them within a few days and Hansen threw in a bunch of JST pins for free. I shortened the lead on the fan about a half-inch to keep the plug behind and out of the way of the battery.
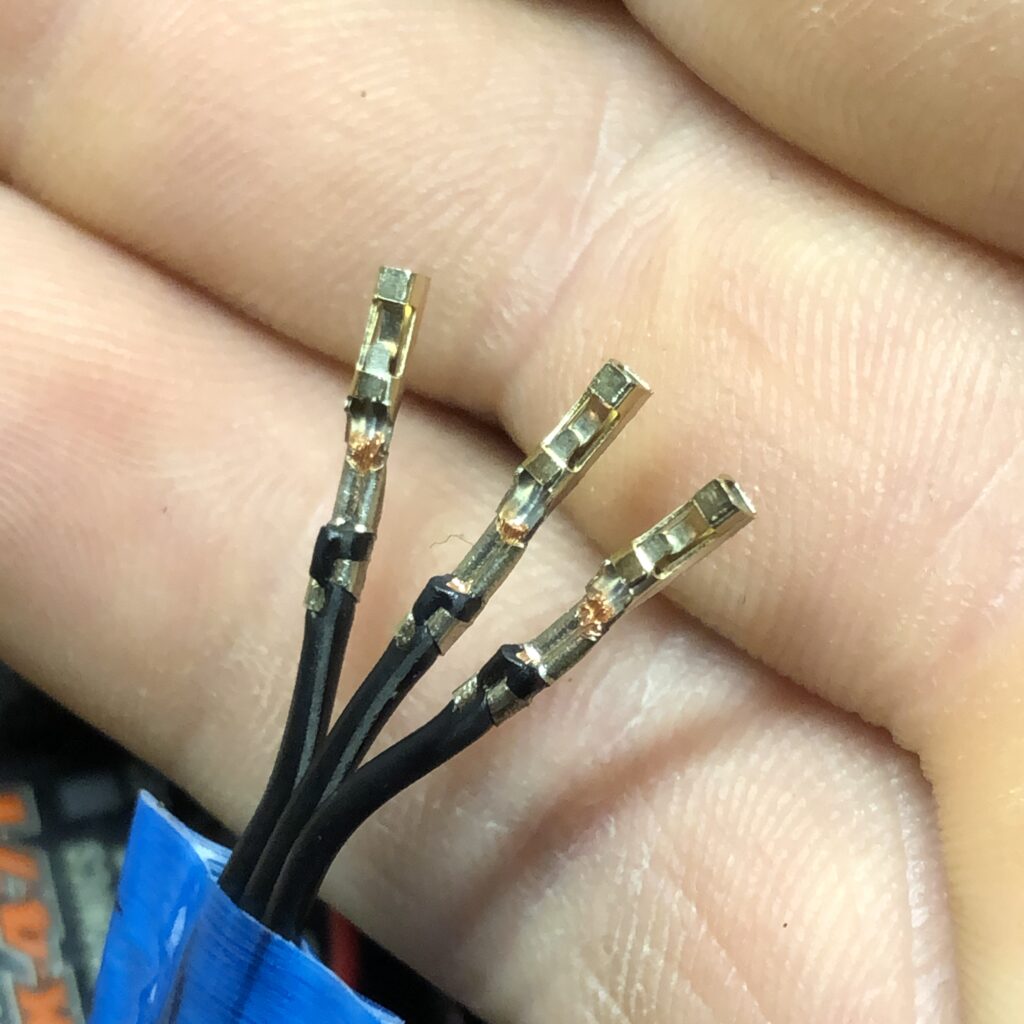
I also took this time to shorten my ESC and servo wires. I crimped these pins on with my new tool and I think it worked out great. Much easier and cleaner than what I could do before with pliers and solder. Note the piece of tape on the servo wire on which I drew “s + -“. All black is cool but not as easy to distinguish polarity.
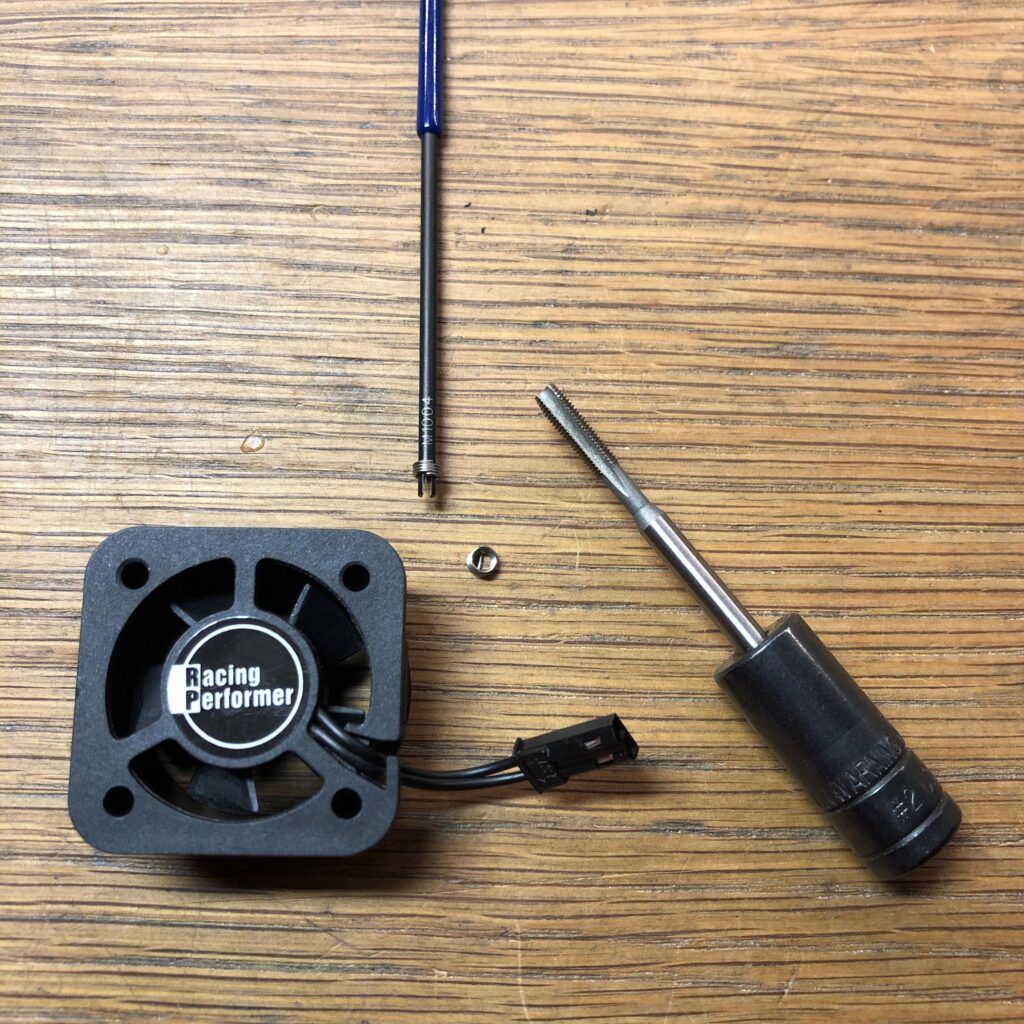
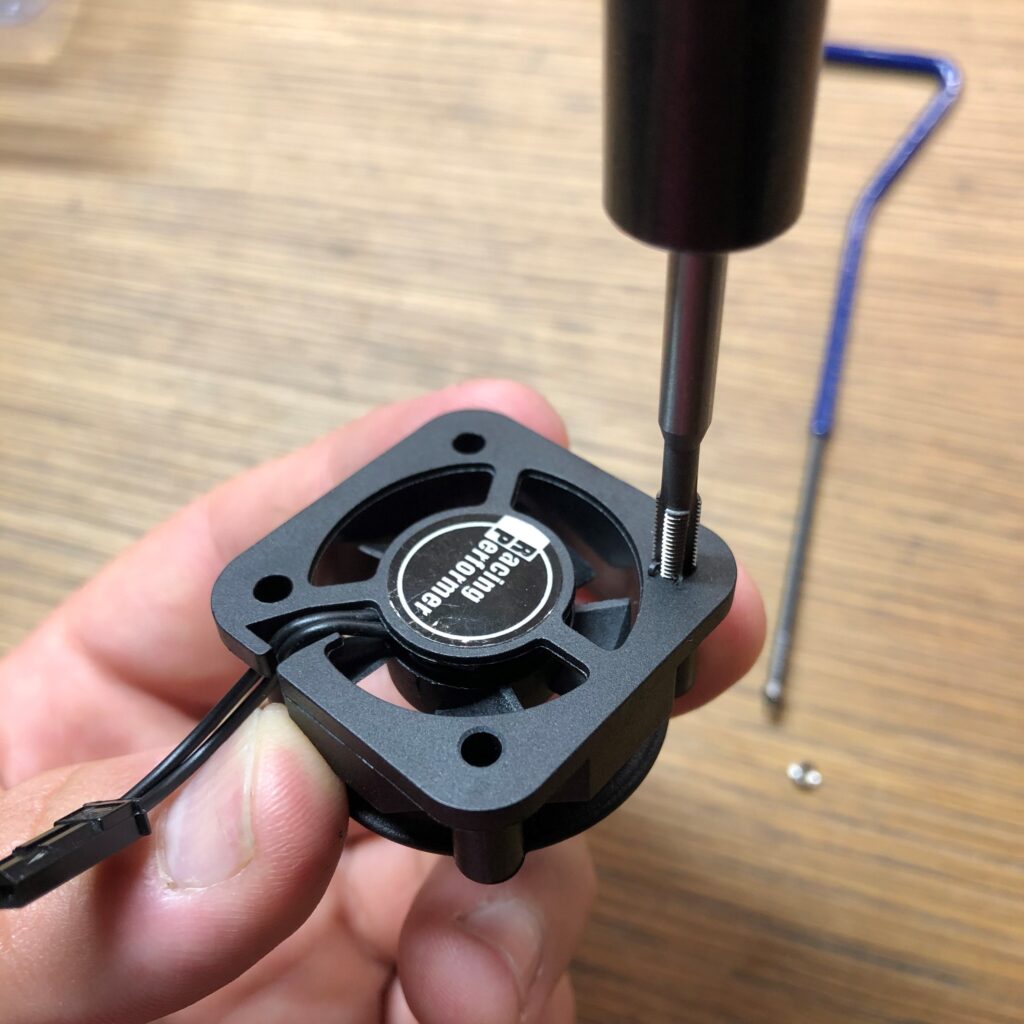
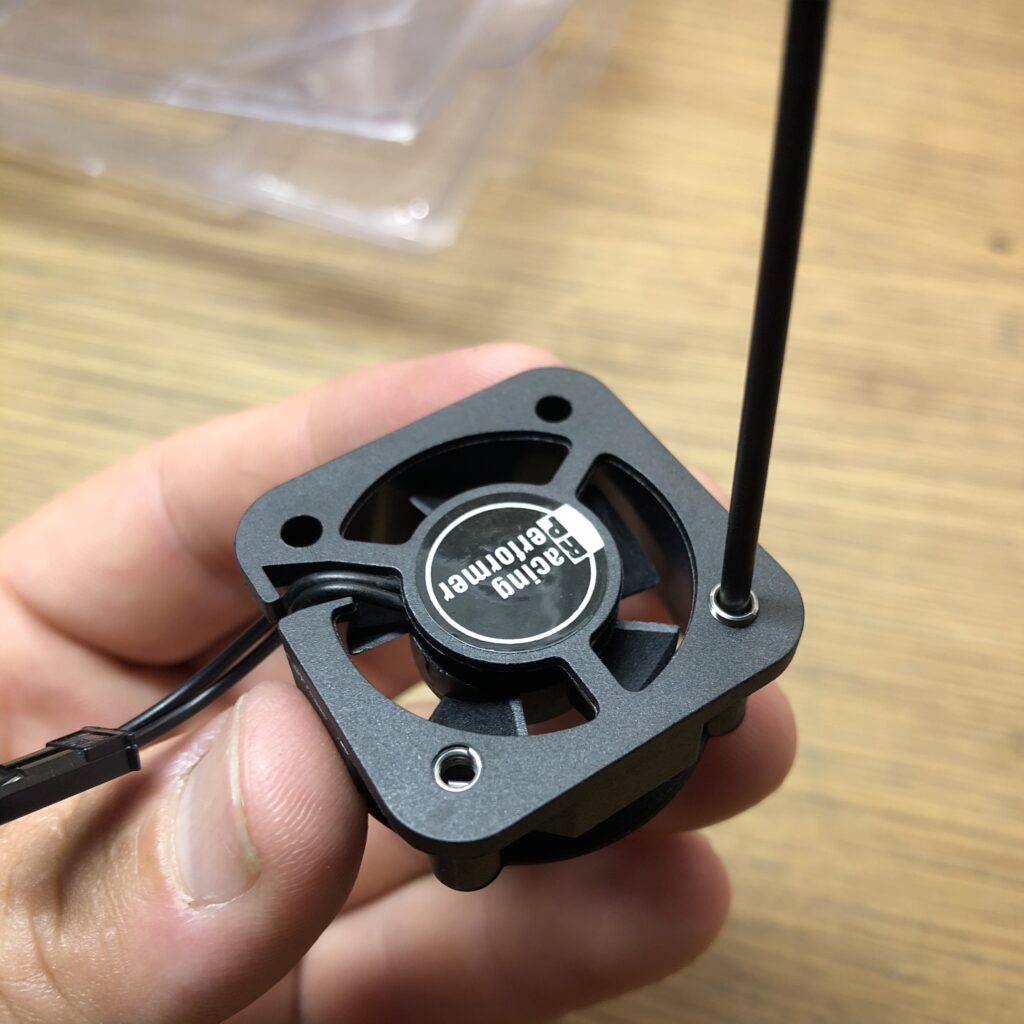
Now to mount the fan. It’s too thicc to fit where they intended on the B6.2, so it’s back to where it went on the B6.1. I used a M3 helicoil kit I got off of amazon to install threads in the fan housing.
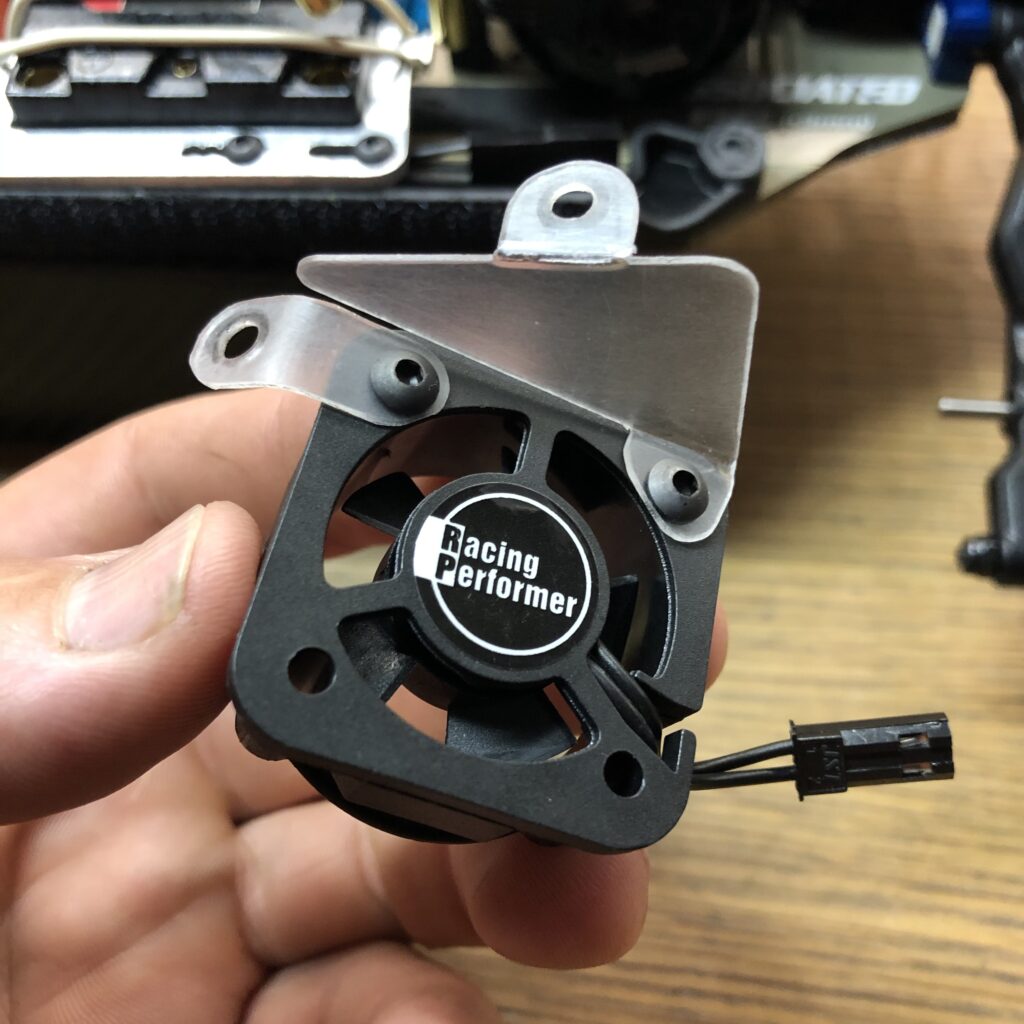
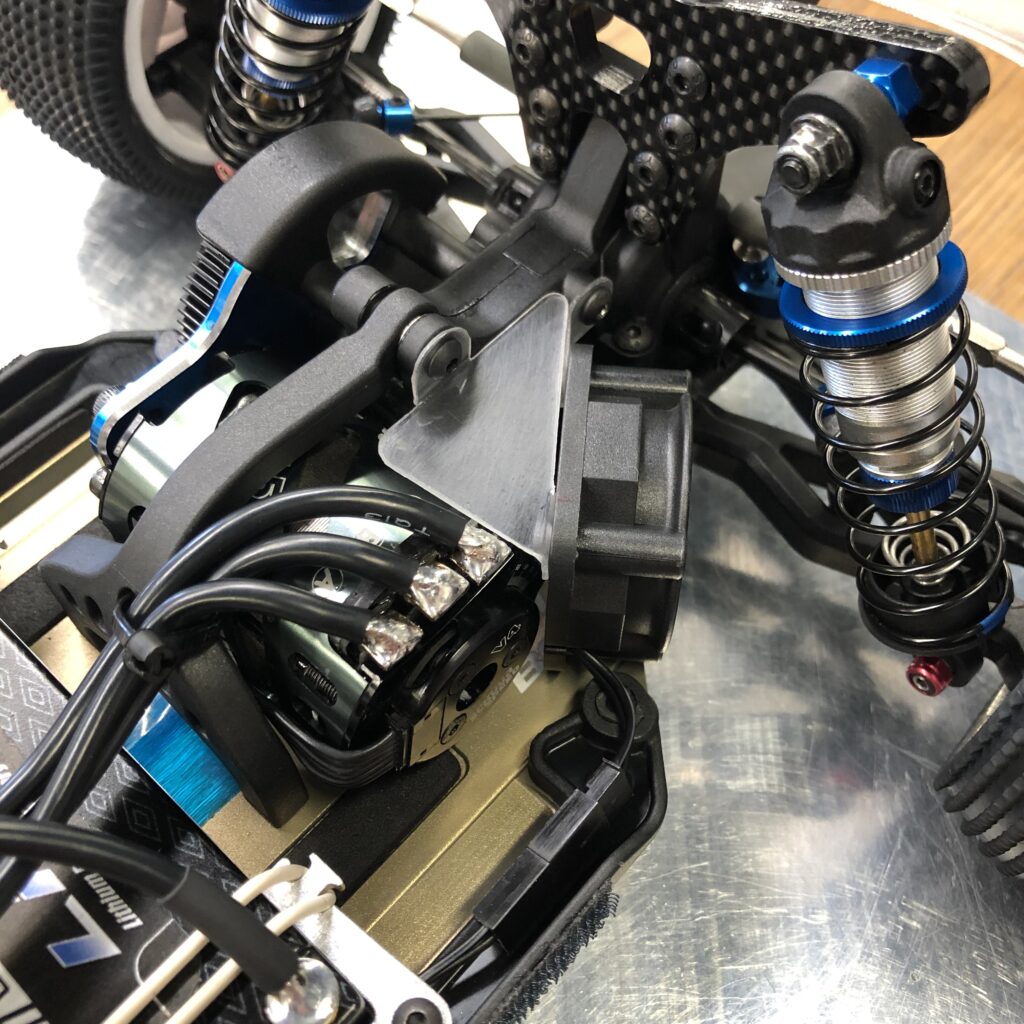
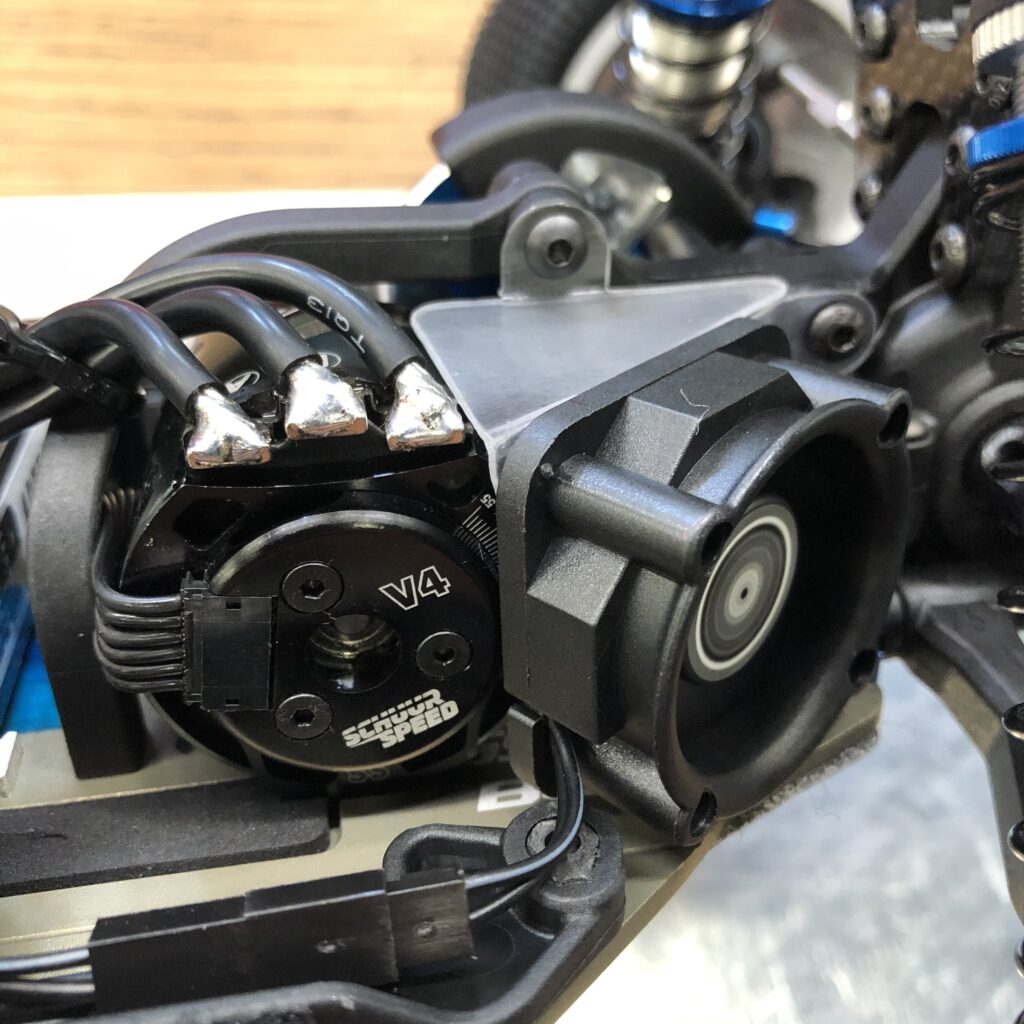
Fan mount + shroud to the motor that I made out of a scrap bit of lexan. I used M3x6 screws into the threaded insert at the top and servo tape to hold the bottom in place. This worked out well as now the motor temps are below 140.

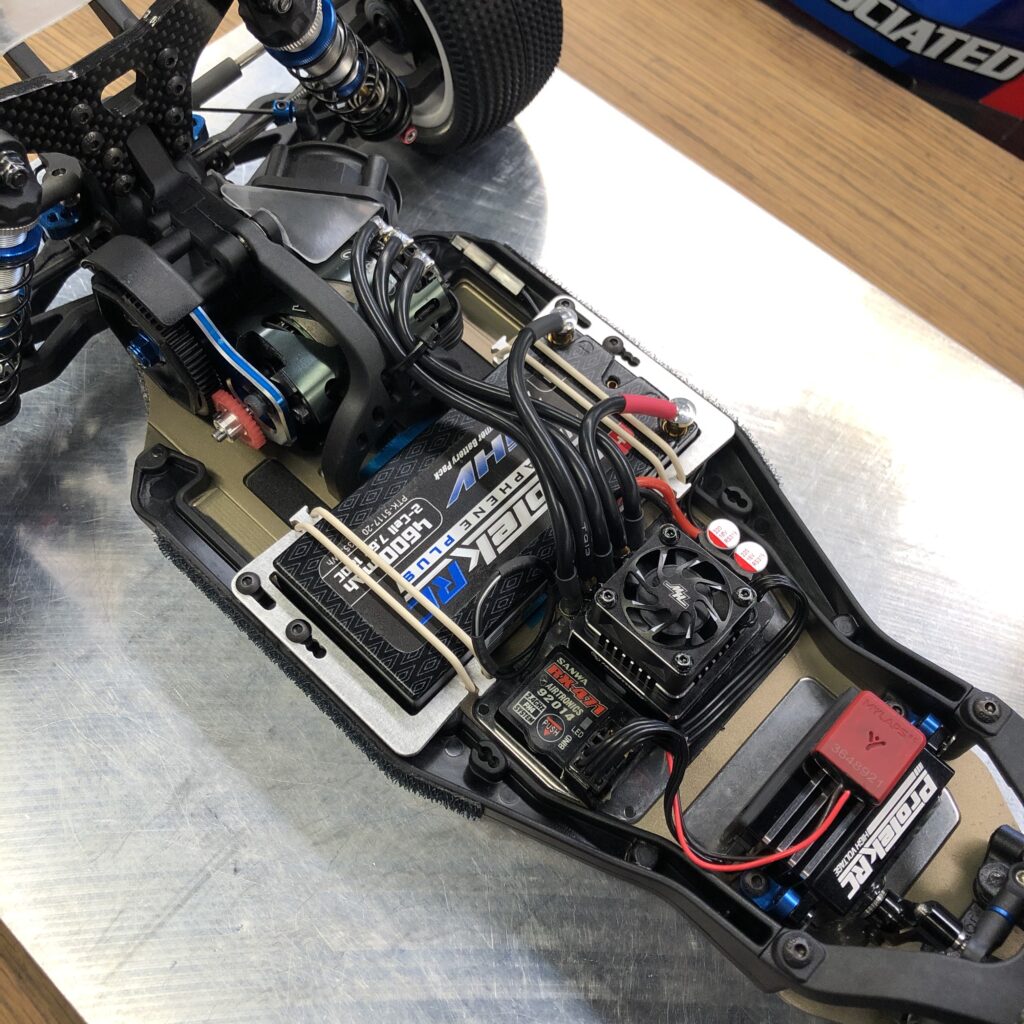
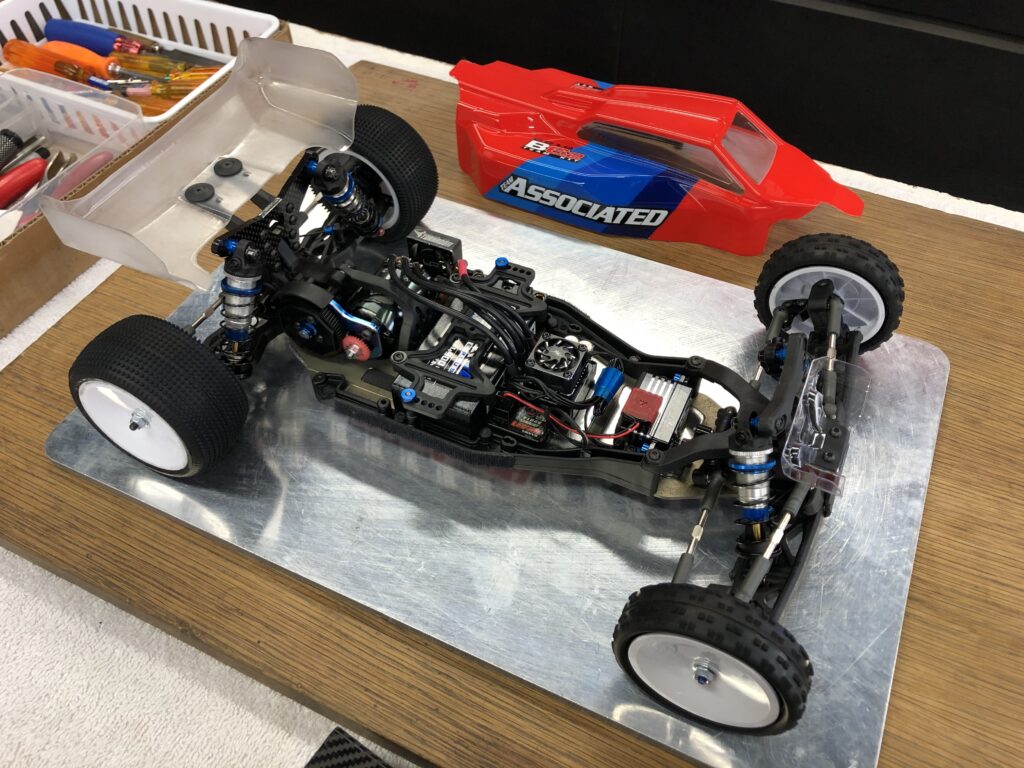
Before and after tidying up my wires, upgrading the fan and my new battery hold downs, more on those later.
I really like this read. You described what I felt my car was doing. I will be trying your wing idea soon. For the fan did you cut out the body in that corner? I went a different route then you did to try and get the rear to be free
Thanks, Roy! Yes, I cut out the back corner of the body. Have you had success with your setup changes?
Yes, my bug is pretty good. I know need to start driving better to see it’s new short coming